Is your Mac’s desktop full of files and folders that you said you’ll clean later, but just couldn’t get to it? Wouldn’t it be nice if there was a free, yet automated solution to clean up your Mac desktop?
I’m telling you right now, there is. And it’s already built-in your Mac…
For most people, their desktop is the temporary holding space of files and documents. But because we’re all busy (lazy), we suddenly realize one day our desktop is so messy it’s impossible to find what you’re looking for. Then we make a vow to clean this again next time.
What if I tell you that you can keep your desktop clean — free from any files and folders forever — in just 5 minutes? Keep reading…
Most articles I found online about this topic either fall into these three buckets:
- Tips and tricks to organize your files into folders
- Use the new feature called Stacks in macOS Mojave
- Copy all documents/files and dump them into a new folder
I’m not going to cover any one of those.
No, this article is about how you can automatically clean up your Mac’s desktop and transfer them into a separate folder of your choosing.
Yes, all automated. You set this up once, and you’ll always have a clean desktop on your Mac.
Added Bonus: Bring Your Files with You
Do you have an existing Dropbox account? A Google Drive storage? Or a OneDrive account?
With this method, you can automatically move all your files from your desktop to a designated folder in these services. This way, you don’t have to subscribe for extra iCloud storage, yet be able to access all your files with you.
Follow these step-by-step instructions and you’ll always have a clean desktop. And have you heard of the productivity benefits of having a clear desktop?
6 Steps to Automatically Clean Up Your Desktop Mac
1. Open the Automator app
As the name implies, the Automator app can automate stuff for you after you set it up. In our case, we want to clean up our desktop by simply moving them to another folder.
Press ‘command + space’ at the same time to bring up the Spotlight Search. Then type in Automator. Hit enter.
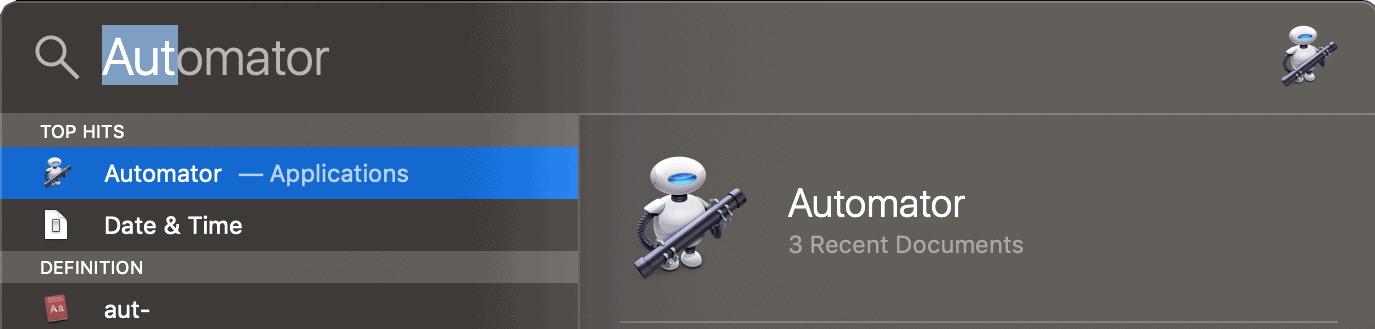
Now, don’t worry. Even if you haven’t used this before, I’ll walk you through this step-by-step.
You should see a screen that looks like this…
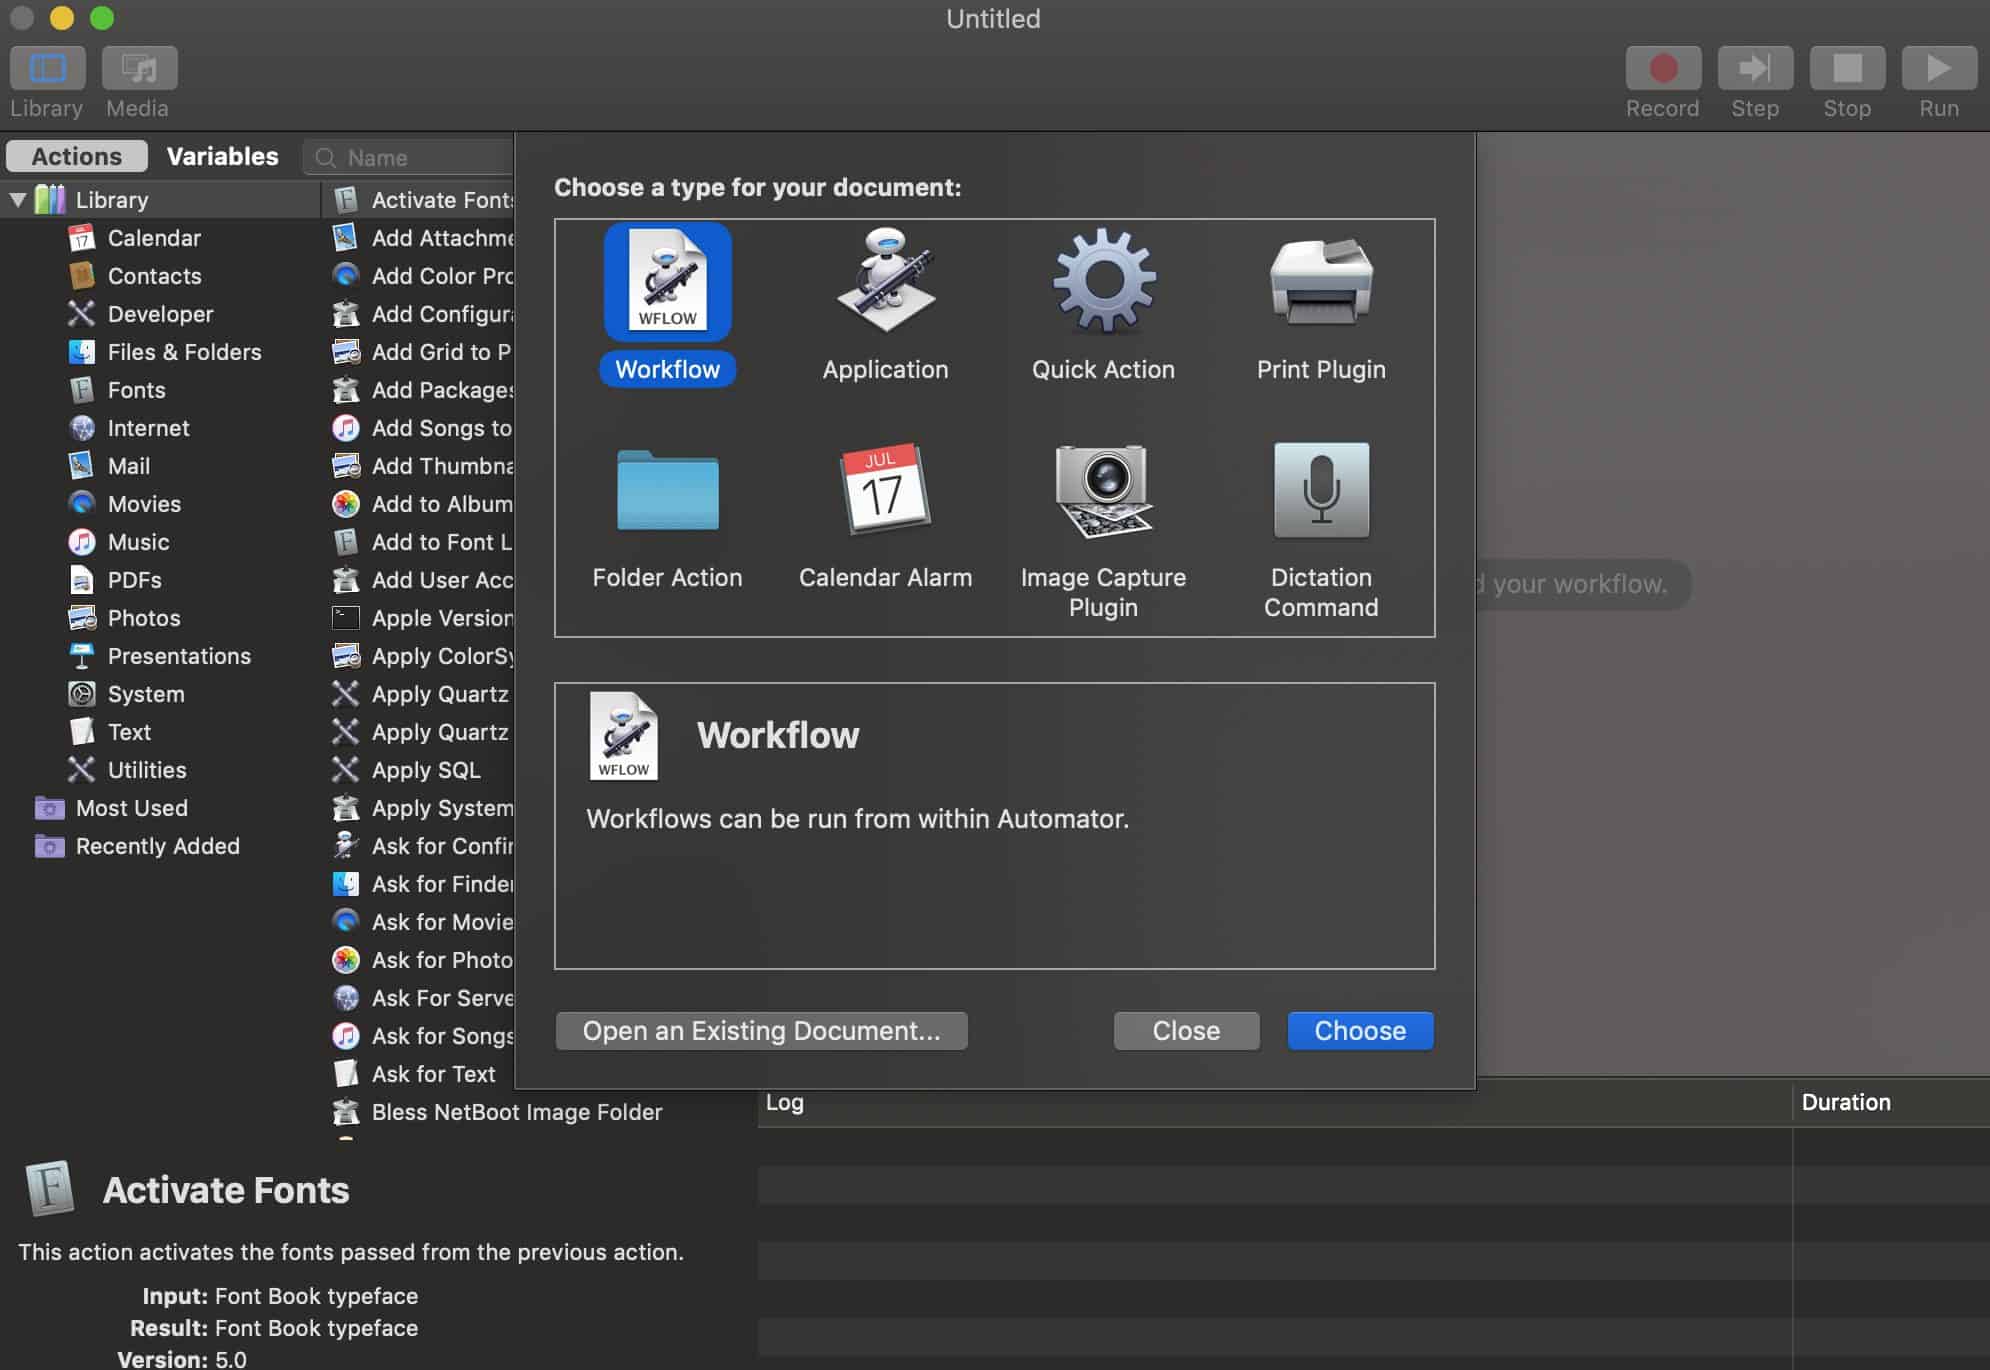
2. Choose Folder Actions
That popup screen will now close and you’ll be inside the app itself.
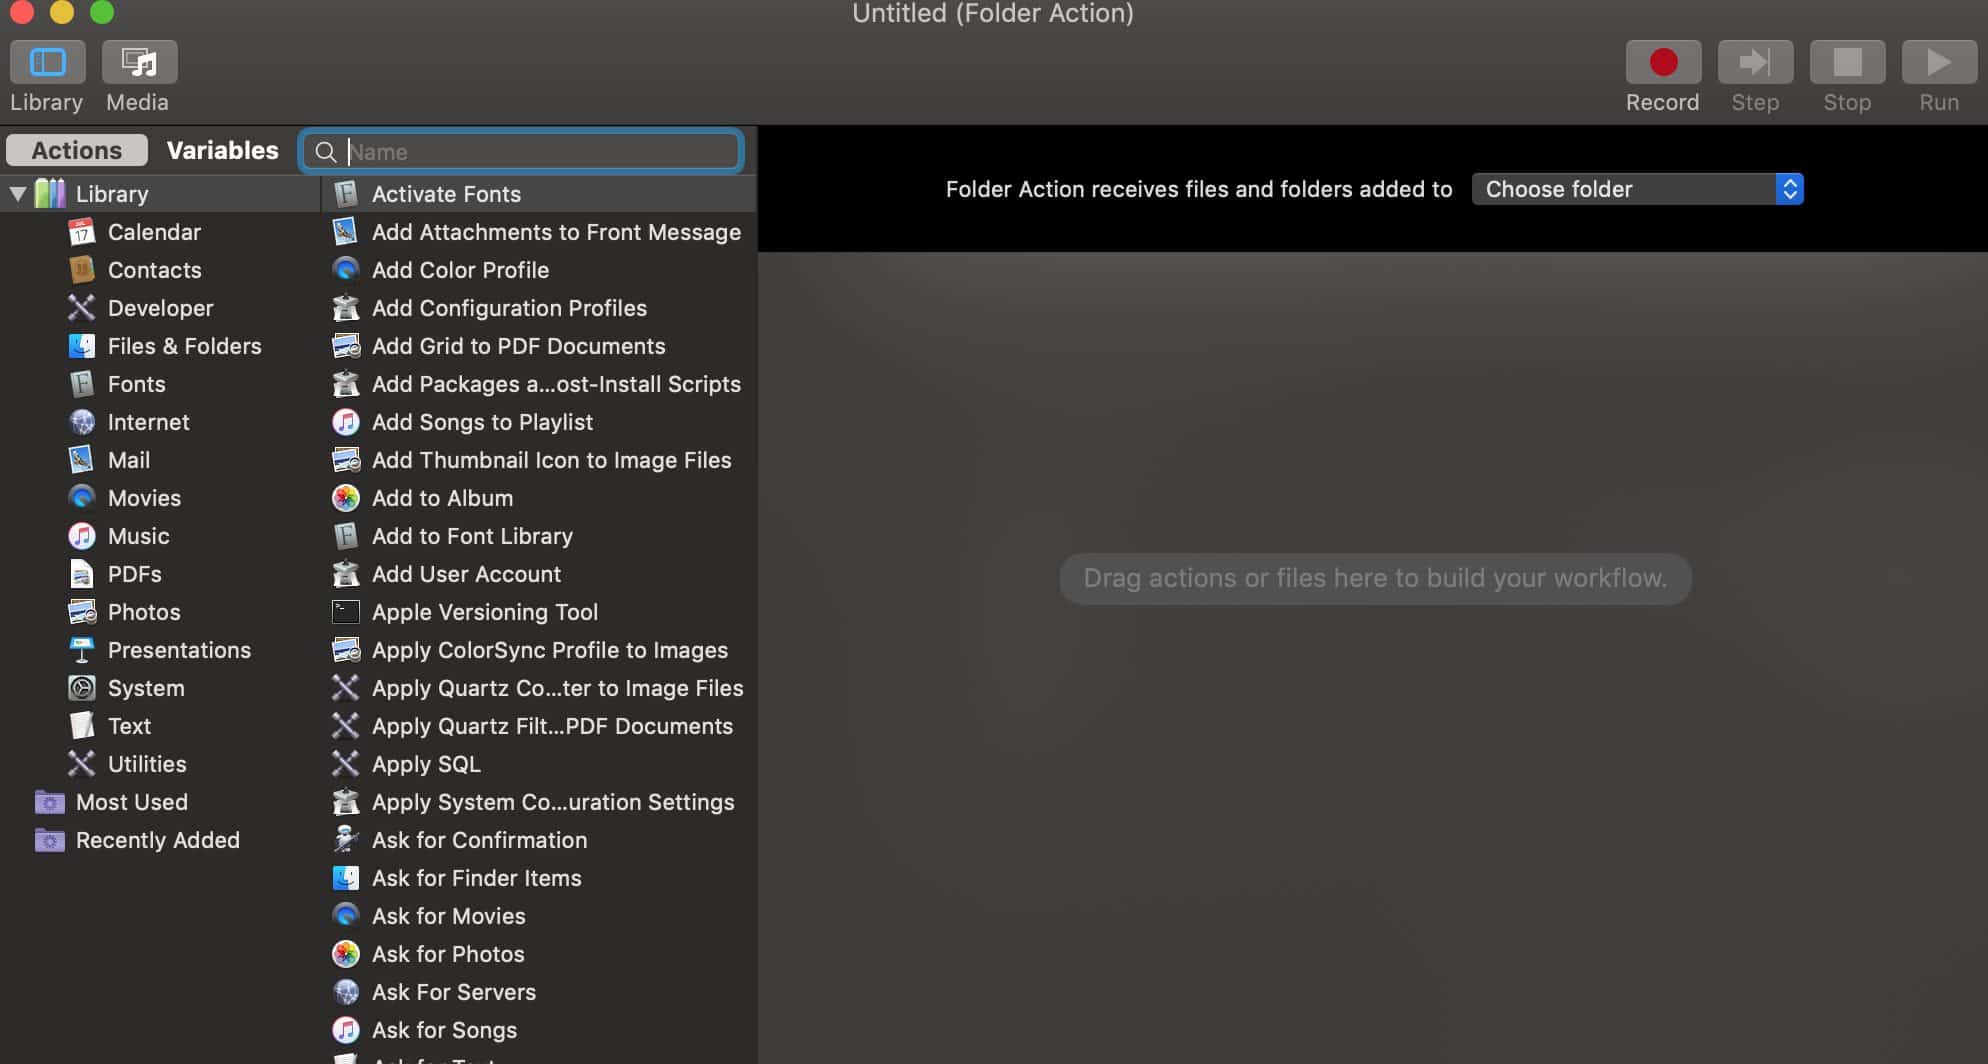
3. Choose the desktop folder at the top
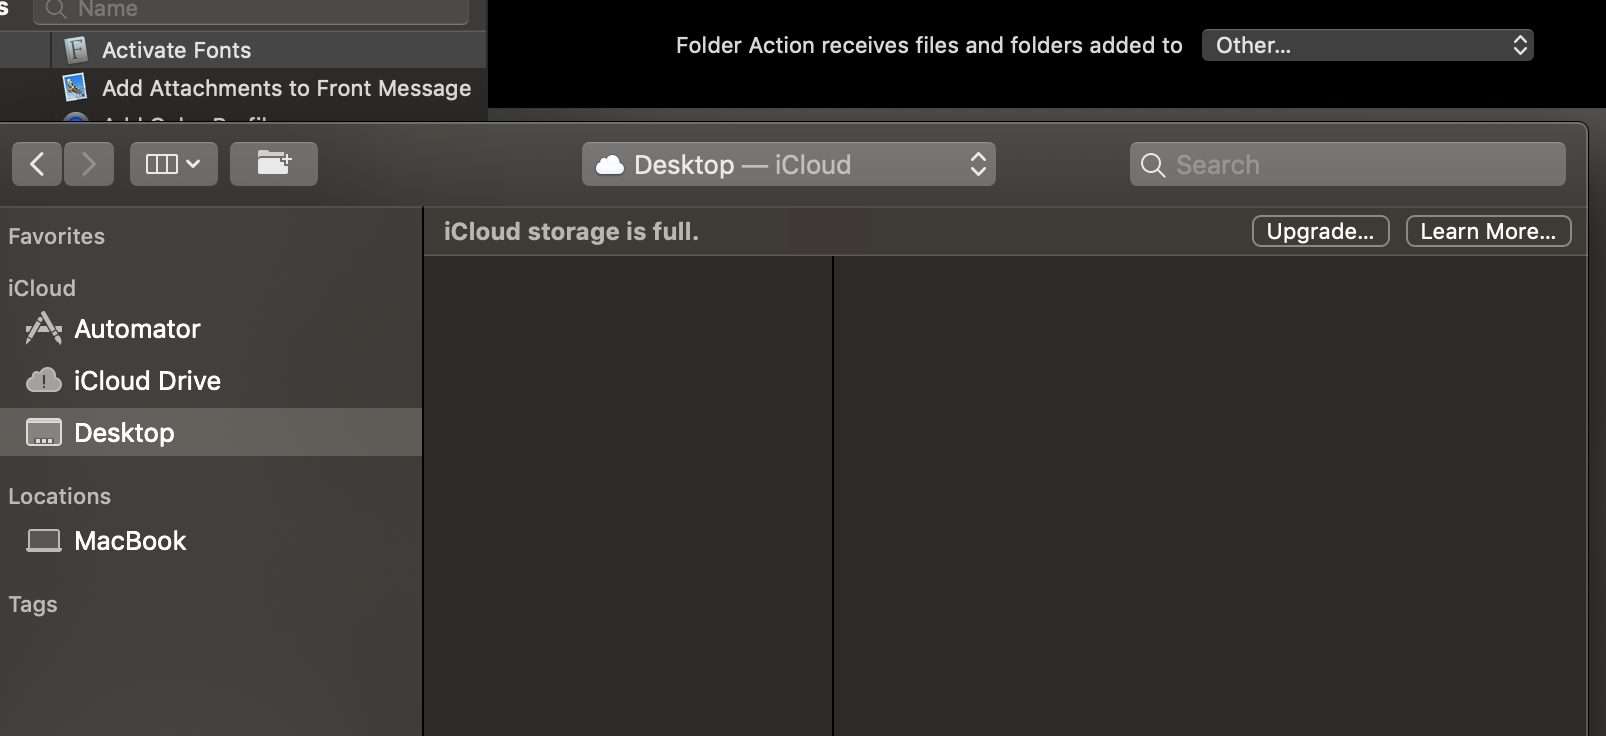
Click on the ‘Choose folder’ selection, then click on ‘Other…’
(This will be the “source” folder)
A separate finder window will open. Scroll down the left sidebar and choose the desktop.
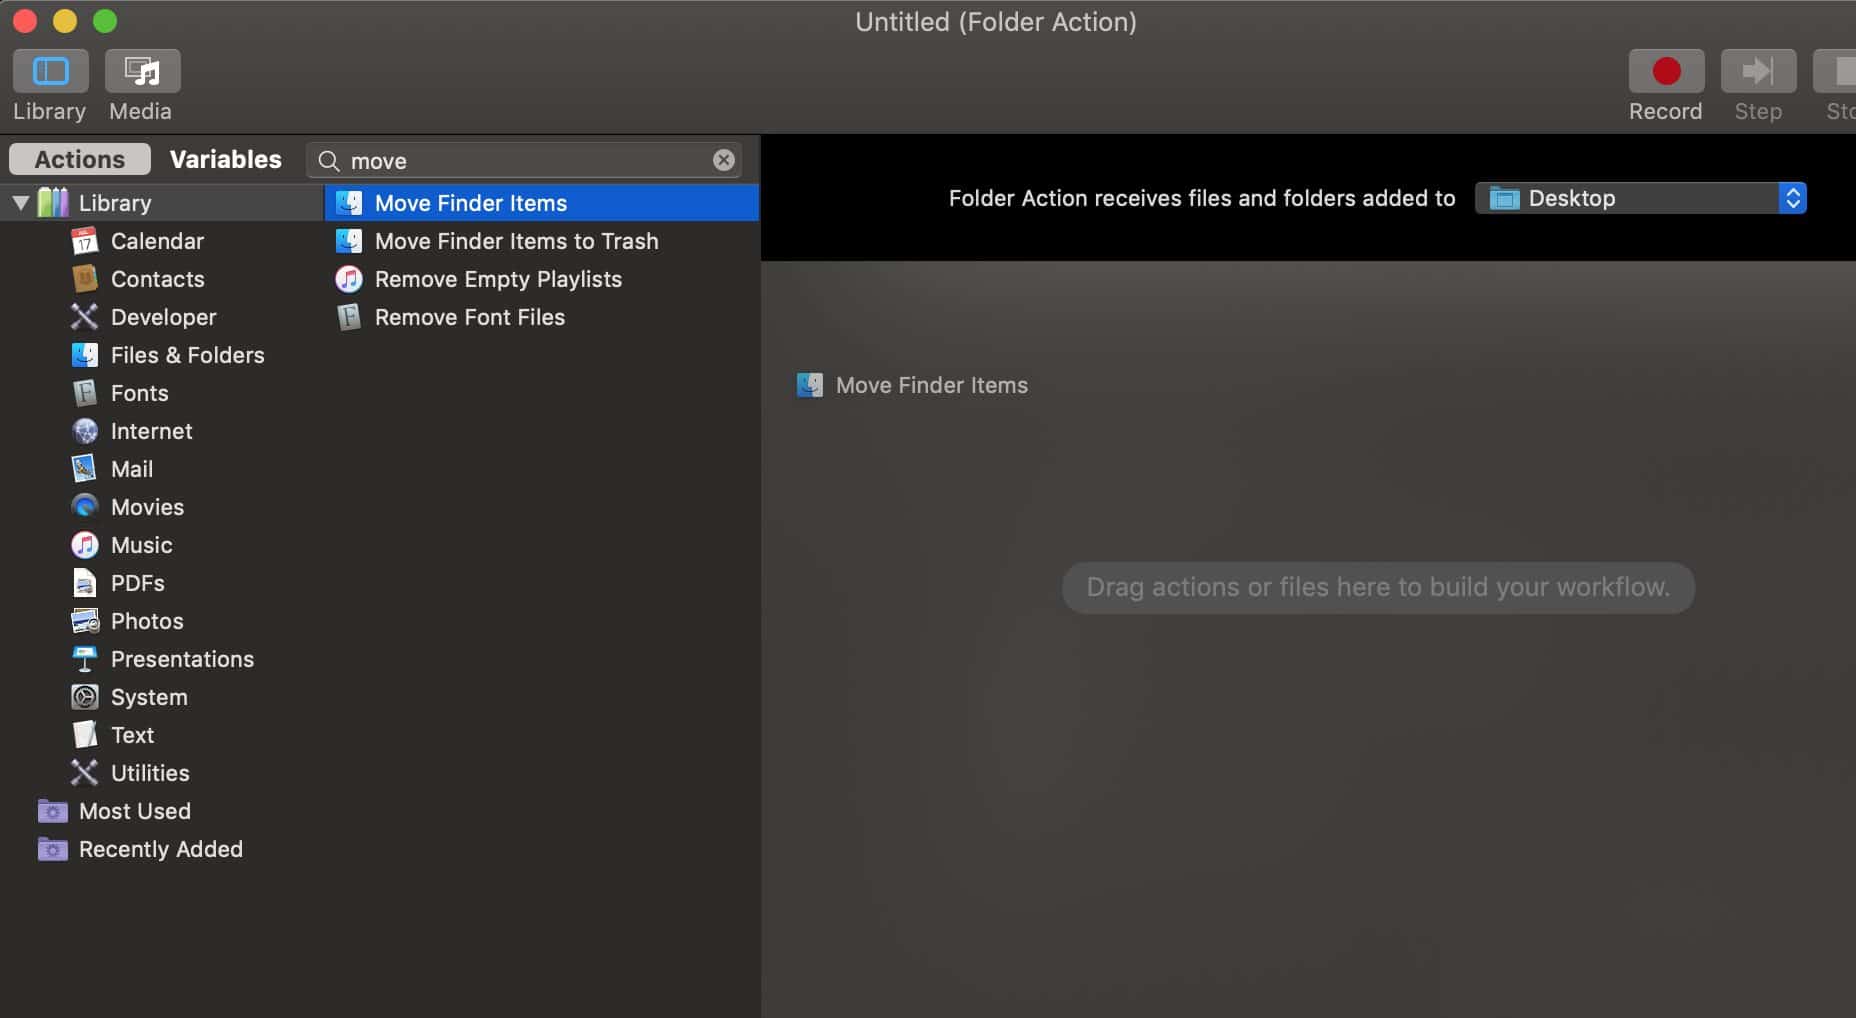
4. Add the ‘Move Finder Items’ action
Click on the search bar in the actions column (second column) and start type ‘move.’
This will filter the actions. You will then see the ‘Move Finder Items.’
Now, go ahead and drag that into the main screen.
5. Select the folder you want the files to be transferred to
Let’s say you want to move it to your Dropbox folder.
(This will be the “destination” folder)
Click on the ‘Desktop’ icon under the Move Finder Items. A list of folders will show up…
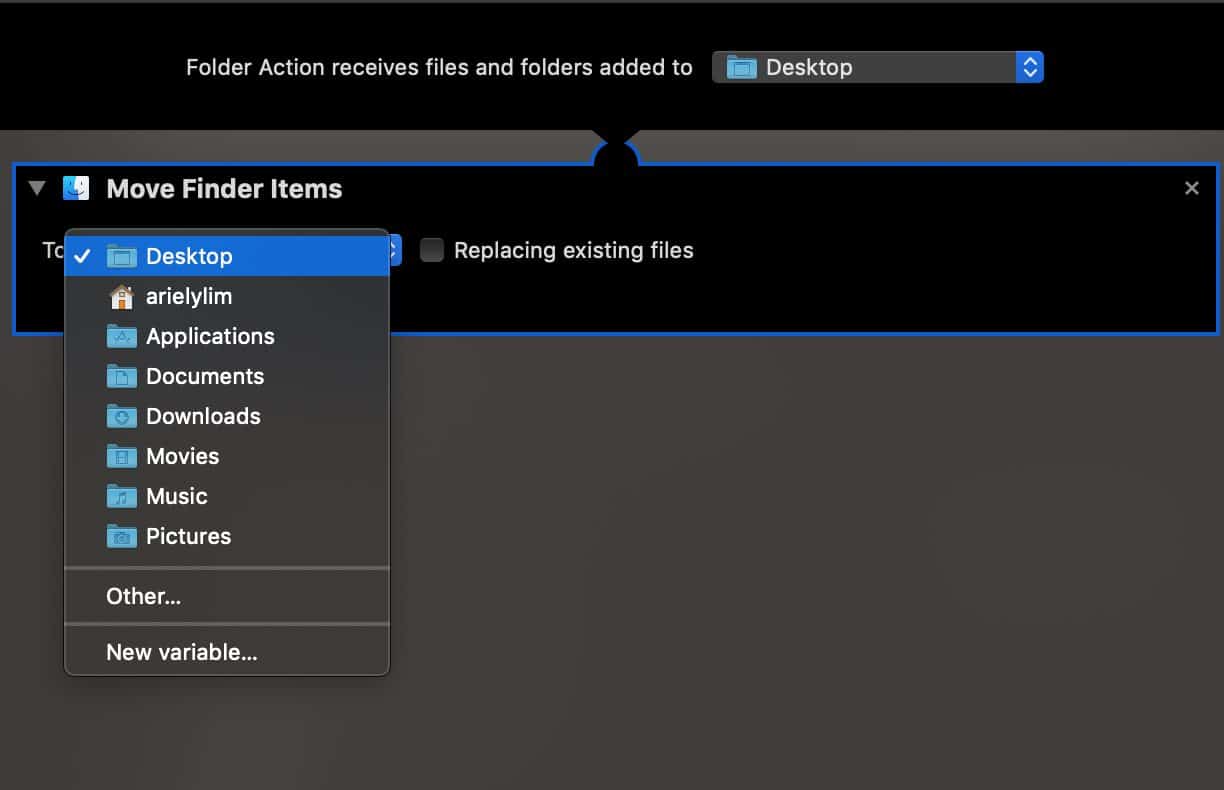
Most likely, your Dropbox folder isn’t listed here. So, just click on ‘Other…’ and a finder window will open up again, just like before.
Select your Dropbox folder (or create a subfolder, which I recommend).
Finally, click on ‘Choose’ to save. You should have something that looks like this…
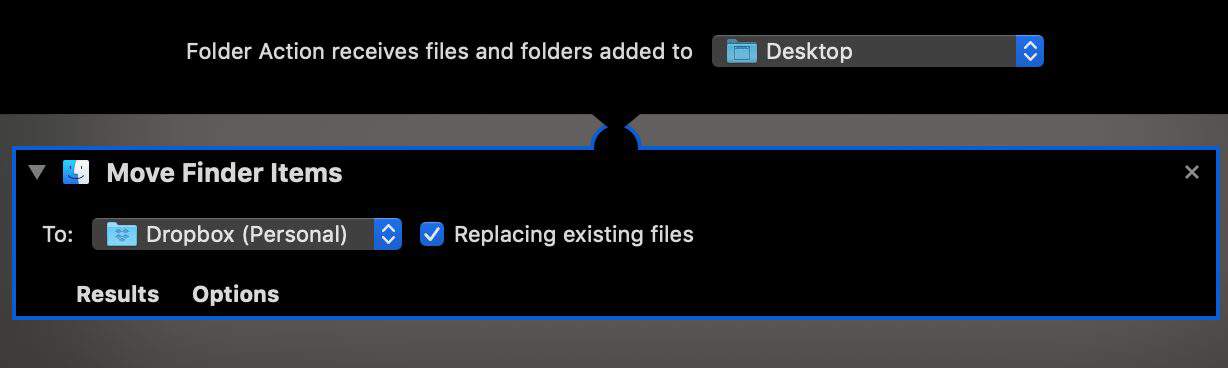
Again, you can use any folder in your Mac here.
6. Save your work
Now, it’s time to save your work.
Press ‘command + s’ at the same time to bring up the save dialogue.
Type in a name, then hit ‘Save.’
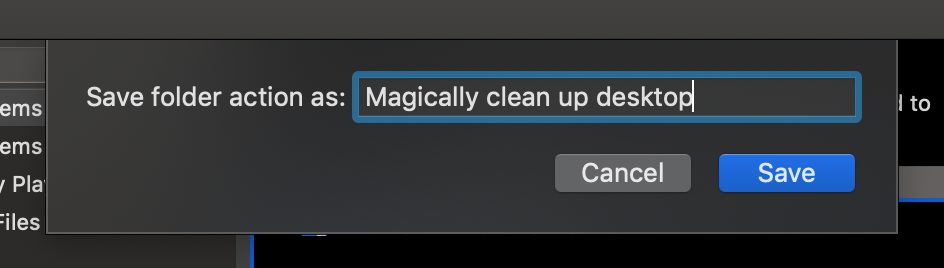
And you’re all done.
Conclusion
What will happen now is that every time you save a file on your desktop — take screenshot, downloaded a file from your email, or copying a folder from a USB drive — they will not be stored in your desktop anymore. They will automatically be moved to the folder you selected.
Note: Existing files on your desktop will not be affected. Only the new ones. So, if you want to clean up your current desktop, just move them manually to the folder you chose.
To summarize…
- Start by creating the automation (steps 1 & 2)
- All files you add to a certain folder, e.g. desktop (step 3)…
- Gets added to a folder of your choosing (steps 4 & 5)
- Save the automation to have it run automatically (step 6)
With this, you will always have a clean desktop.
The best part is you can do this for any folder you want.
In my case, I created two Folder Action automations to move my files from my desktop and downloads folder into their own respective folders inside Google Drive. I am subscribed to a Google for Business account so it makes sense for me to add it there.
Plus, I get the benefit of having all my files accessible anywhere I go. Once these files are inside my Google Drive folder, it automatically syncs to my account. So, even if I’m on my mobile, or using a separate computer, I can get access to these files.
Again, you can do this with Dropbox, OneDrive, or maybe even just inside a folder that is not your desktop.
How does it feel to have a clean desktop? I’d love to know. Let me know in the comments below…

1 thought on “Automatically Clean Up Your Mac Desktop”
Sorry, doesn’t work for me