Your spouse asks you to buy the groceries. One of the items on your list is mozzarella cheese. You know nothing about it except it’s the type of cheese used in pizzas that makes your mouth drool as you pull the slice from the box.

You’re now on the dairy aisle. It’s the last one on your list. You see different types of mozzarella. They’re all roughly in the same price range. The only thing that you noticed is different is the brand.
What do you do?
Often, the answer falls in these camps:
- Call your spouse. If they have a brand preference, they’ll say it. But most likely, it will fall along the lines of “you decide” — which is the next option
- Pick one, or
- Pick a couple
What does this have to do with optimization? If you choose option #3, you are doing optimization already. You chose two different brands to find out which one tastes better (or the one which makes you spouse happy) then make a note to buy that again in the future.
What Is Optimization?
Optimization is an activity that allows you to test and validate different with the ultimate purpose of finding which one performs better against a goal or metric.
In digital marketing, that means testing a variation of a single web page vs the original to find out which one performs better. This also applies for apps or anything in general where you test one version to another (or more) to find out which gives you better results.
These results are key metrics. You choose them upfront and will be the basis of success or failure for your tests. I’ll discuss this more below.
It’s also more commonly known as A/B Testing or Multivariate Testing. If you want to make it fancy, you use Conversion Rate Optimization.
Regardless of the terminology you use, the principle behind them is the same. You conduct experiments to determine which one will yield better outcomes.
A simple way to think about optimization is by filling in the blanks:
I want to find out if changing ______ would lead to a higher ______.
Let’s put that into action:
I want to find out if changing the words of my header would lead to higher time on page (which indicates people are reading past my initial headline).
This is the example I used below.
Google Optimize: Google’s Free Website Optimization Tool
Google Optimize is part of the Google Marketing Platform which includes Analytics and Tag Manager. At its core, Optimize allows you to test variations of your sites and apps.
It’s similar to the grocery example earlier. You decide on a couple of things:
- Which variables to test —e.g. two different brands of mozzarella cheese
- What metric you’ll use—e.g. which tastes better and/or the one your spouse prefers
- How long you’ll be testing—e.g. until you finish it or until you buy it again
These are the same things you will need if you want to conduct optimizations in Google Optimize.
But before that, you have to create an account so you can follow along. If you already have one, skip to the next part.
How to Create an Account in Google Optimize
If you haven’t already, you can create an account in Google Optimize. All you need is a Gmail account and you’re all set.
Step 1: Go to the Google Optimize Website
Click here and you’ll be asked to login via Gmail.
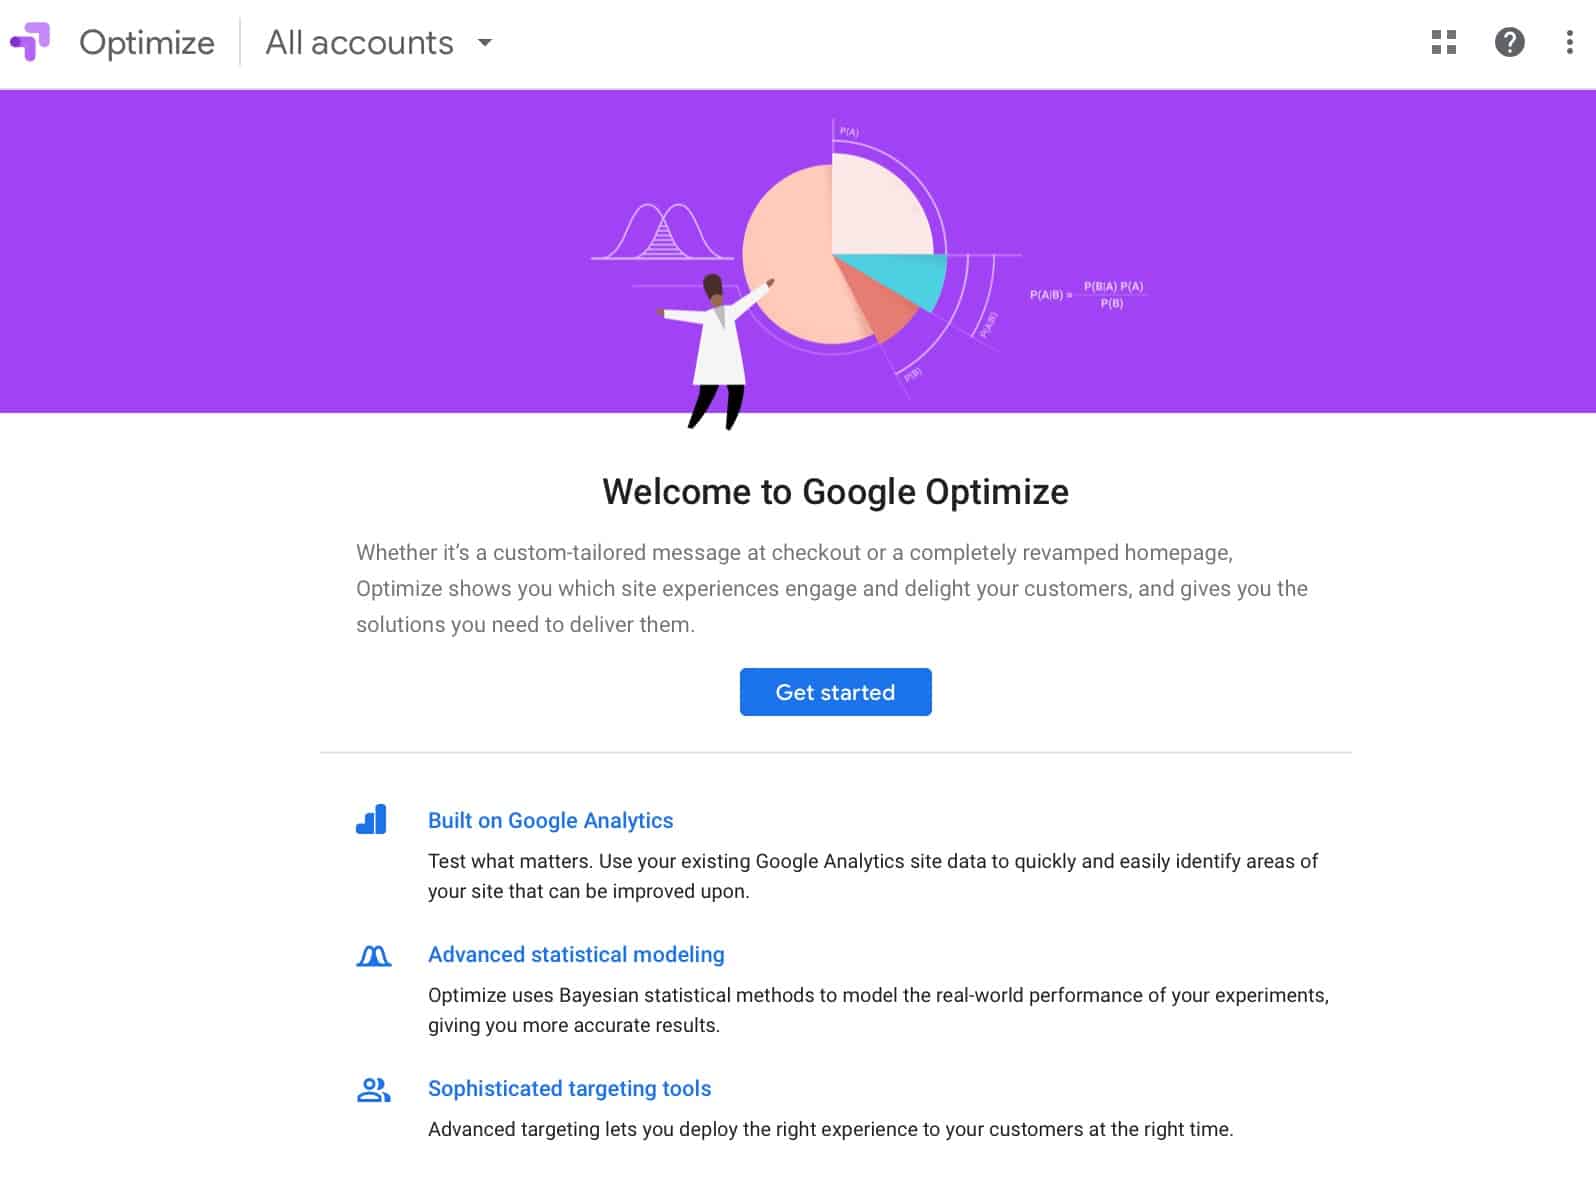
If this is your first time, you’ll see a welcome screen that looks like this.
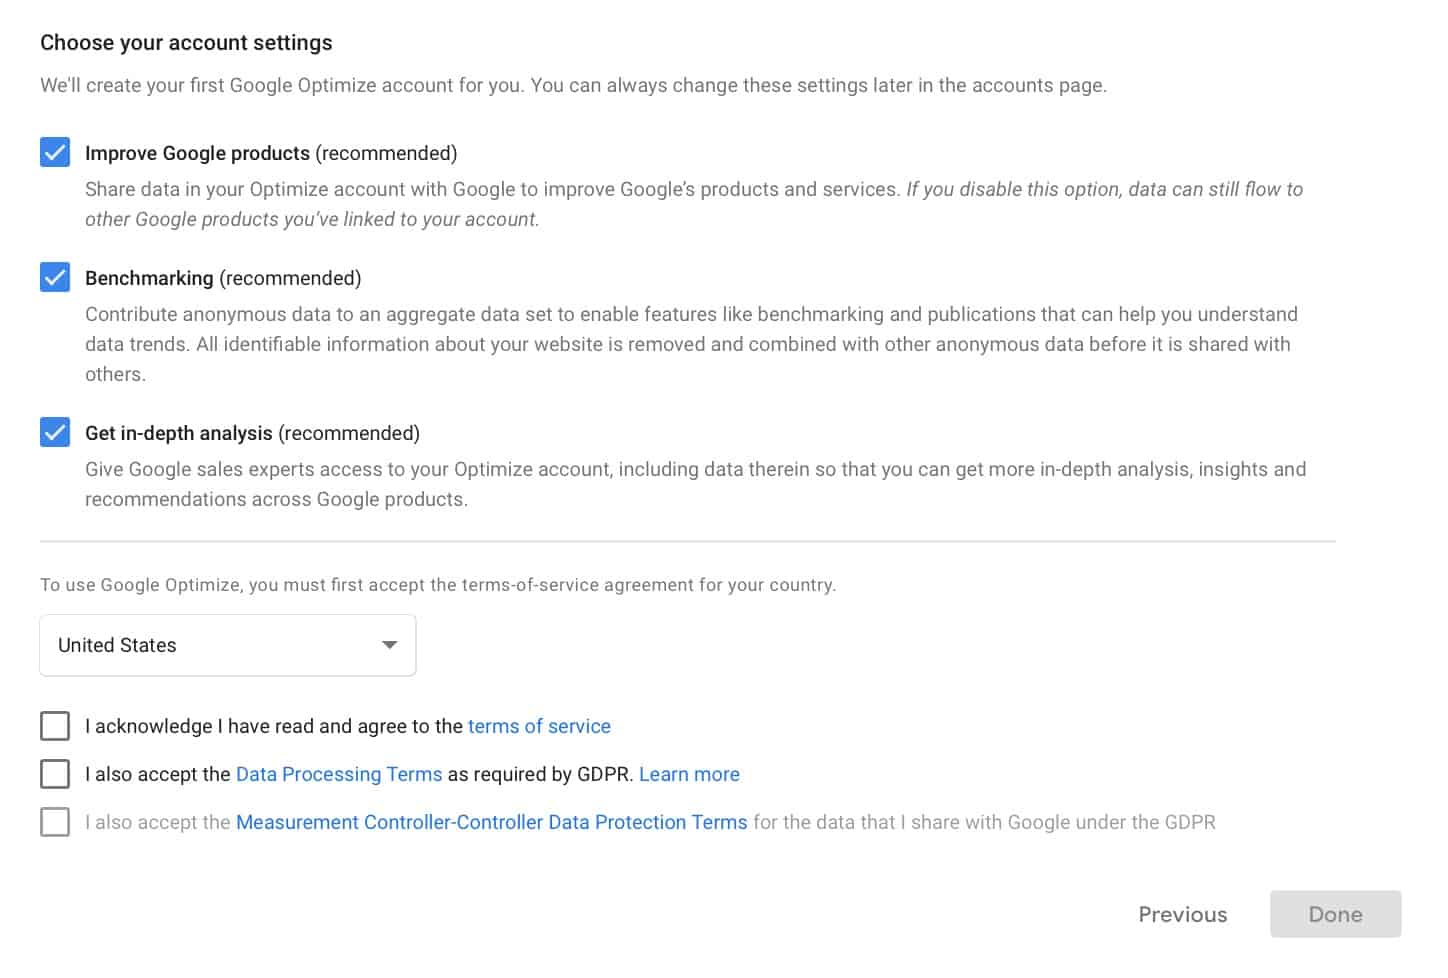
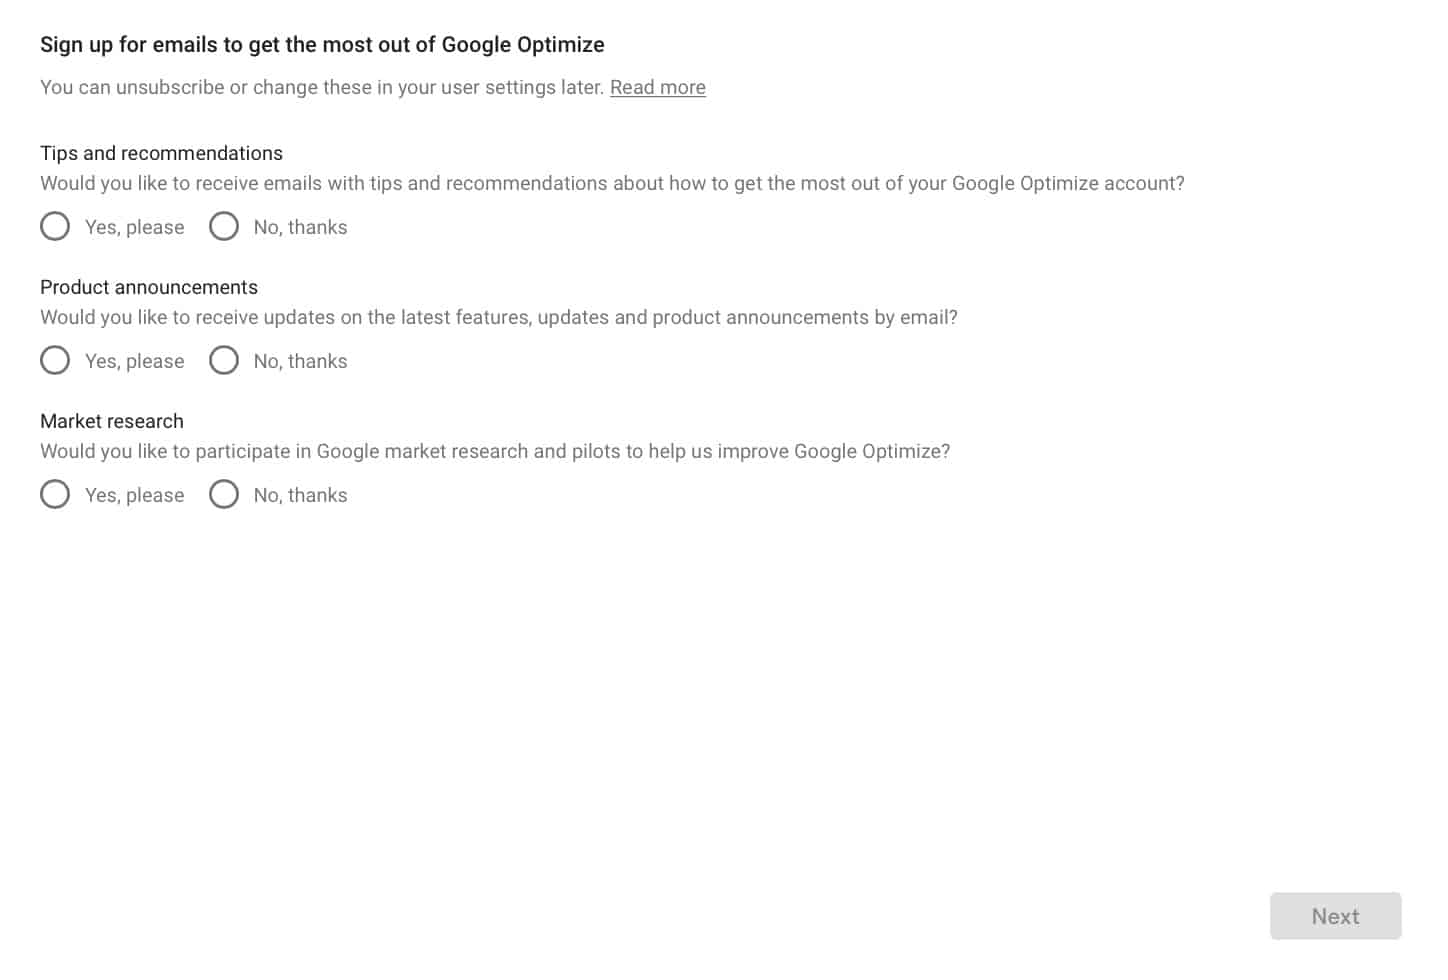
Step 2: Accept Terms and Conditions
Click on Get Started and you’ll see some boilerplate terms and conditions. Check them out. Follow the instructions.
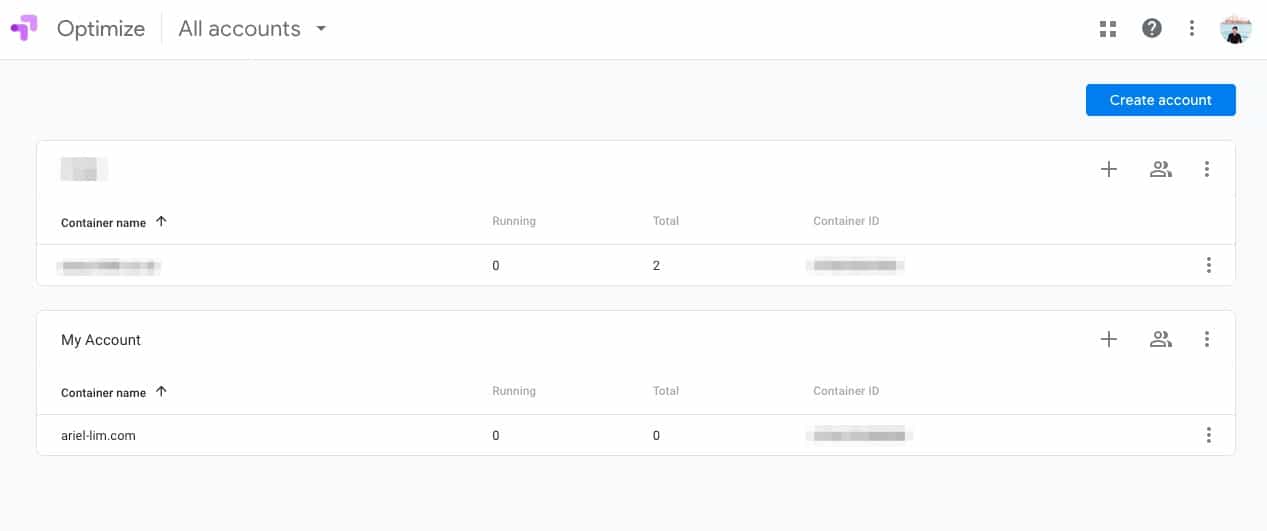
If you already have an account, you will see it listed here (along with other Google Optimize accounts you have access to) when you open optimize.google.com
Step 3: Success
After creating an account, click on it and you’ll be taken to the main dashboard.
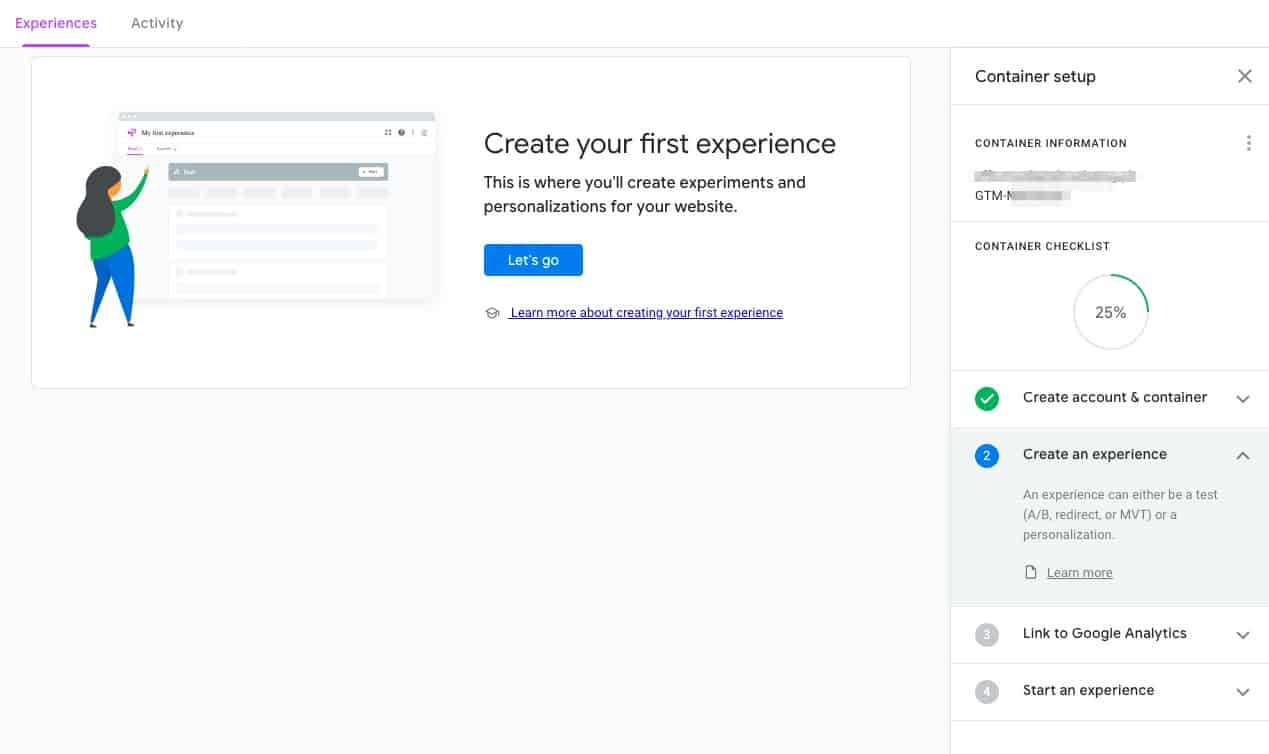
Here, you’ll see a tutorial screen since you just created an account. But if you already have experiences running, you will see it listed here.

Done? Great. Let’s go into some basic terminologies first before creating your first experience.
Google Optimize Basics
Let’s discuss a few terms first.
Experience
Google Optimize uses the term experience to describe the various tests or experiments you are running on your site.
If you want to test your homepage with a redesign, you create an experience. If you want to test which image or call-to-action performs better, you create an experience.
Experience Types
When creating an experience, you’ll encounter these different types. Here’s what they are and what they mean.
- A/B Test
- Multivariate Test
- Redirect Test
- Personalizaiton
A/B Test
Tests two or more variants of a page. Also called an A/B/n test.
Here’s how that might look like:
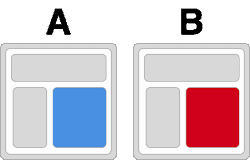
An A/B test of two variants of a product page (A and B). Variant A has a blue photo, while variant B has a red photo.
Multivariate Test
A multivariate test (MVT) tests variants of two or more elements simultaneously to see which produces a better outcome.

You can test two headlines and three images for a total of 6 combinations.
Redirect Test
A redirect test (or split URL test), is a special type of A/B test that allows you to test separate web pages against each other.
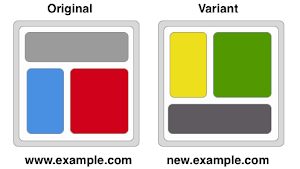
Similar to the previous two, but primarily used for different pages, like a homepage redesign—you test the original vs the redesigned page.
Personalization
This is an advanced setup where you implement the leader in your experiments (first three testing) permanently.
How to A/B Test Using Google Optimize
Now that you have an account and learned the basic terms, it’s time to create your first test—or in Optimize, your first experience.
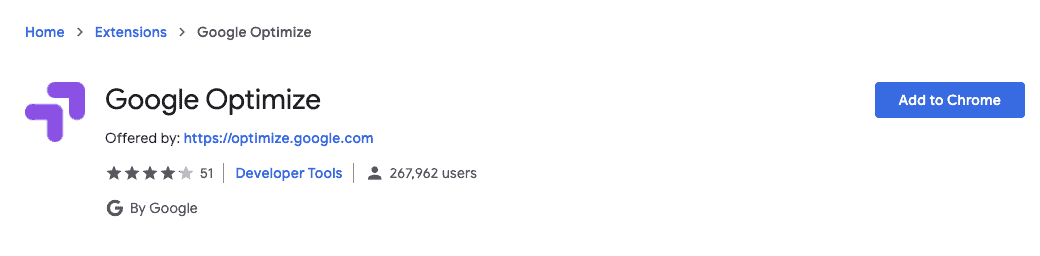
But first, in order to use Google Optimize, you have to use the Chrome browser and install the plugin extension.
- Open or download Google Chrome
- Go to the Chrome web store
- Search for Google Optimize
- Install it
- Go back to the Google Optimize website
Step 1: Click the Create Experience Button
Go back in your account and click on the create experience button.
You’re going to see a window slide-in.
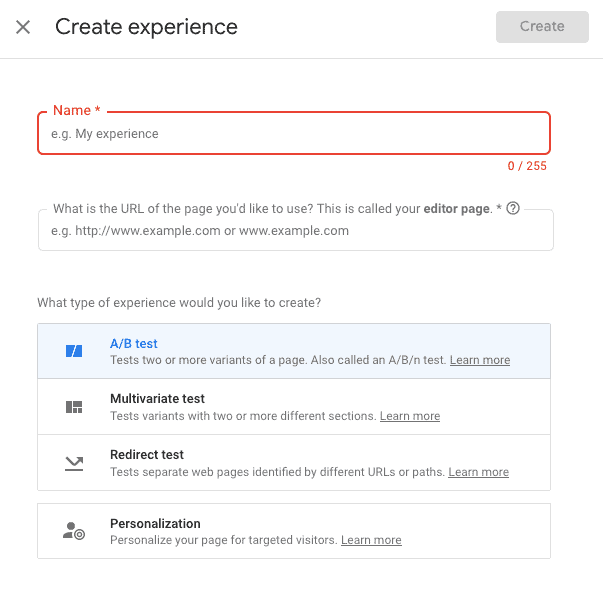
Step 2: Complete the Details Required
You’ll be required to do three things:
- Enter a name for your experience
- Enter the URL of the original version you’d like to test
- Pick an experience type
This would depend on your goal. For the purpose of this guide, I’ll share what I did to my website.
If you’re serious about copyrighting, the first thing that you always read is to come up with 10-25 different headlines. IT’s the first thing people see. All things being equal, if your headline is a home run, they will stick around to read your first sentence or your lead (or lede). And it’s purpose is to get them to read your next sentence. And so on.
In my case, I want to get my readers to stay on my site longer and read my content. There are various factors that can affect that. But the first thing people always see is the title on the page. So that’s what I wanted to test.
Choose a page that you’d like to test. In my case, I wanted to test this page because it was getting the most traffic.
Remember, the more traffic a page has, the better results you can get.
Next, choose an experience type. In my case, I wanted to test the headline. That’s only one element. So, I pick the A/B test.
Step 3: Add a Variant or Variants
The next step is to create the versions of what you’d like to test.
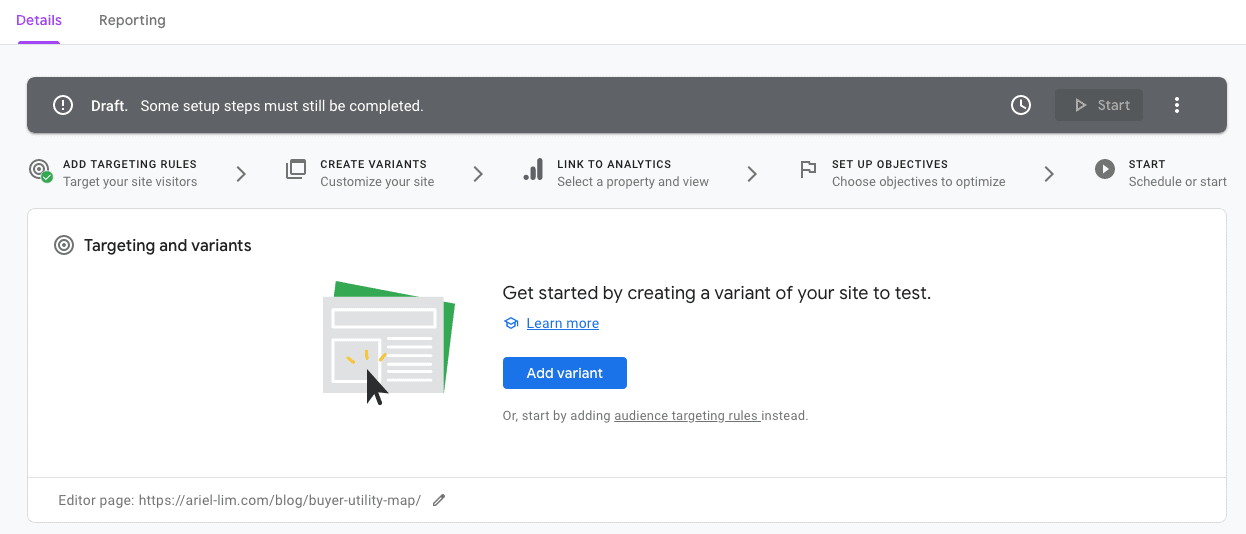
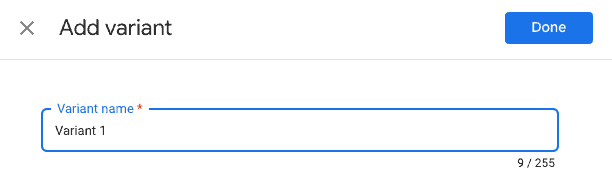
Click on the Add variant button. You’ll be asked to name the variant. You can name it anything you want. For example, if you’re testing your CTA colors, you can use the color here. Or if you’re testing 3 different designs, use your naming convention here so it’s easier to review them later on.
Step 4: Edit the Variants
This step requires you to use Google Chrome and have the Google Optimize plugin installed. If it’s not, you won’t be able to complete this step.
After you go in, you will see an exact duplicate of the page you are trying to test.
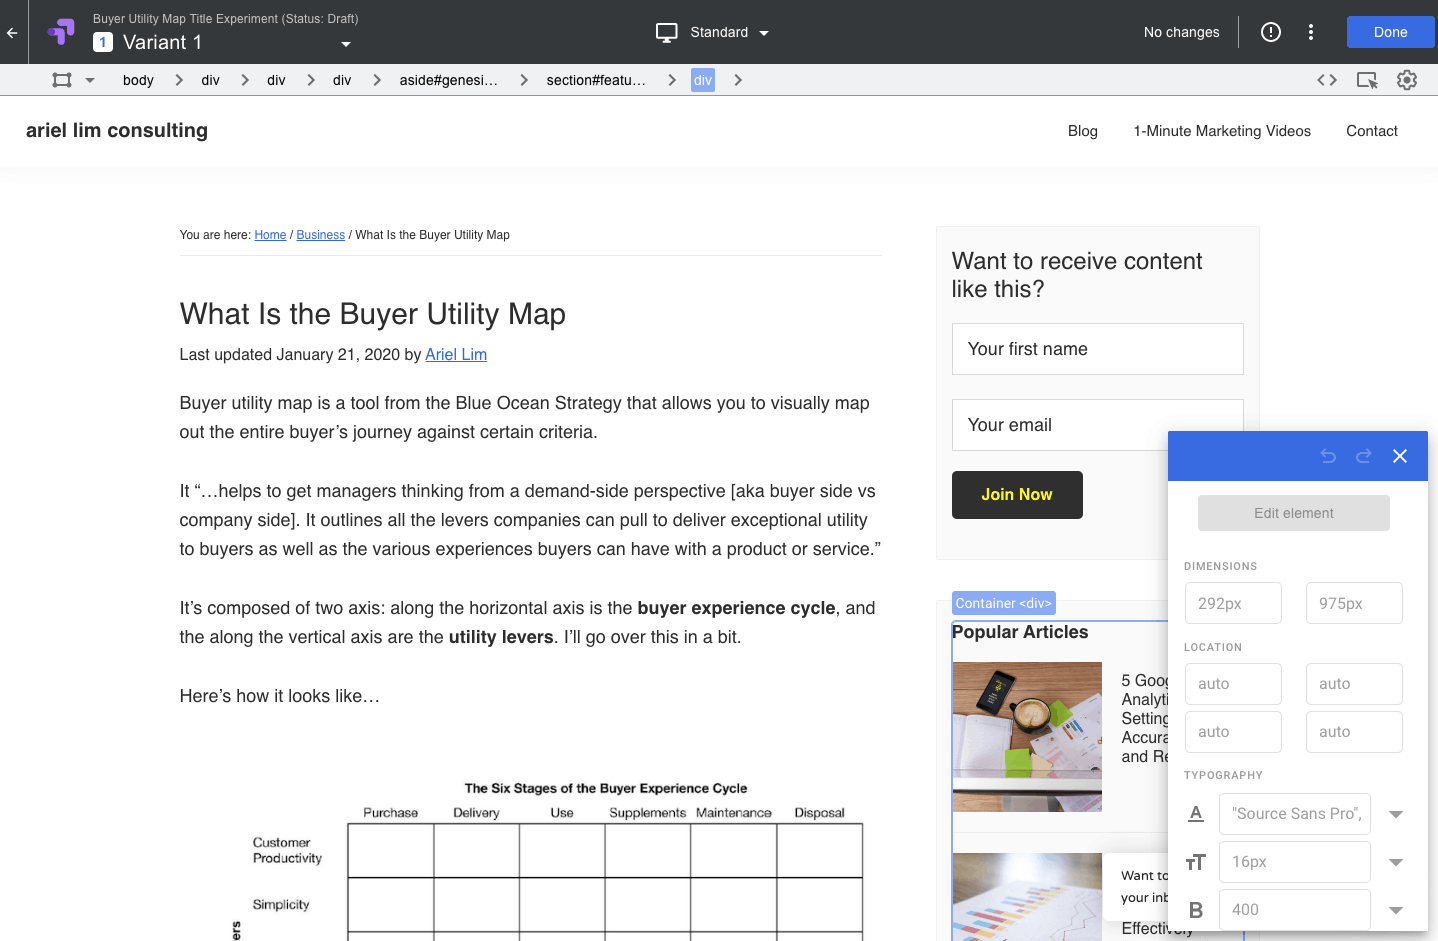
It’s like a regular page builder. Click on an area you want to edit, then some options show up. Then you make your changes. Here, I want to edit my headline.
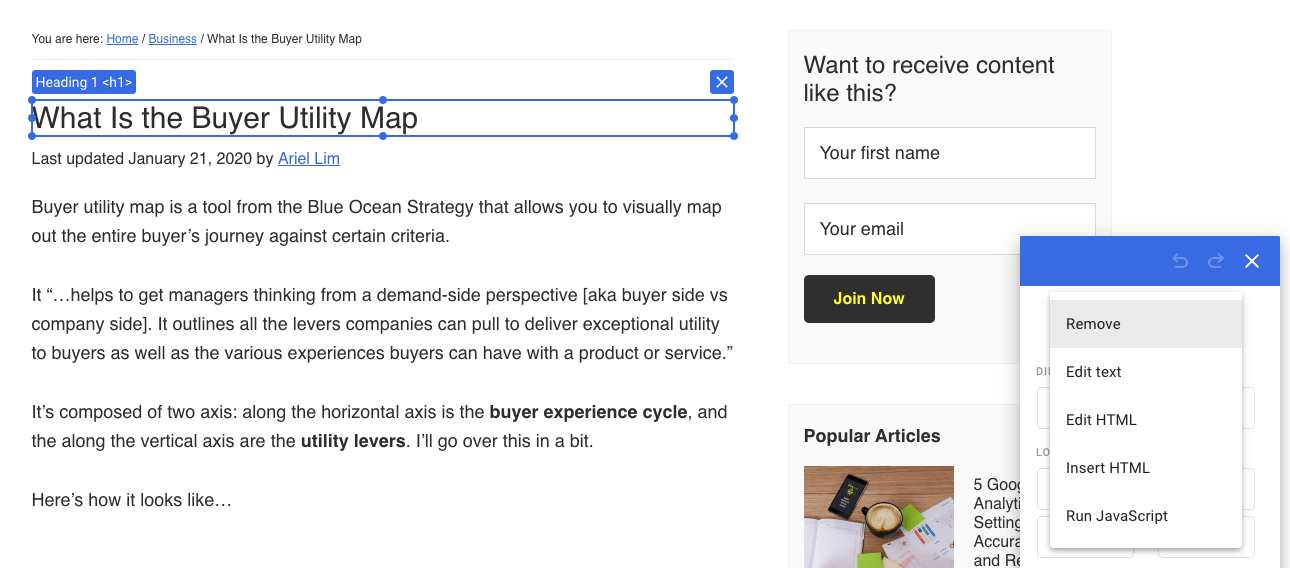
I make some changes then hit done.
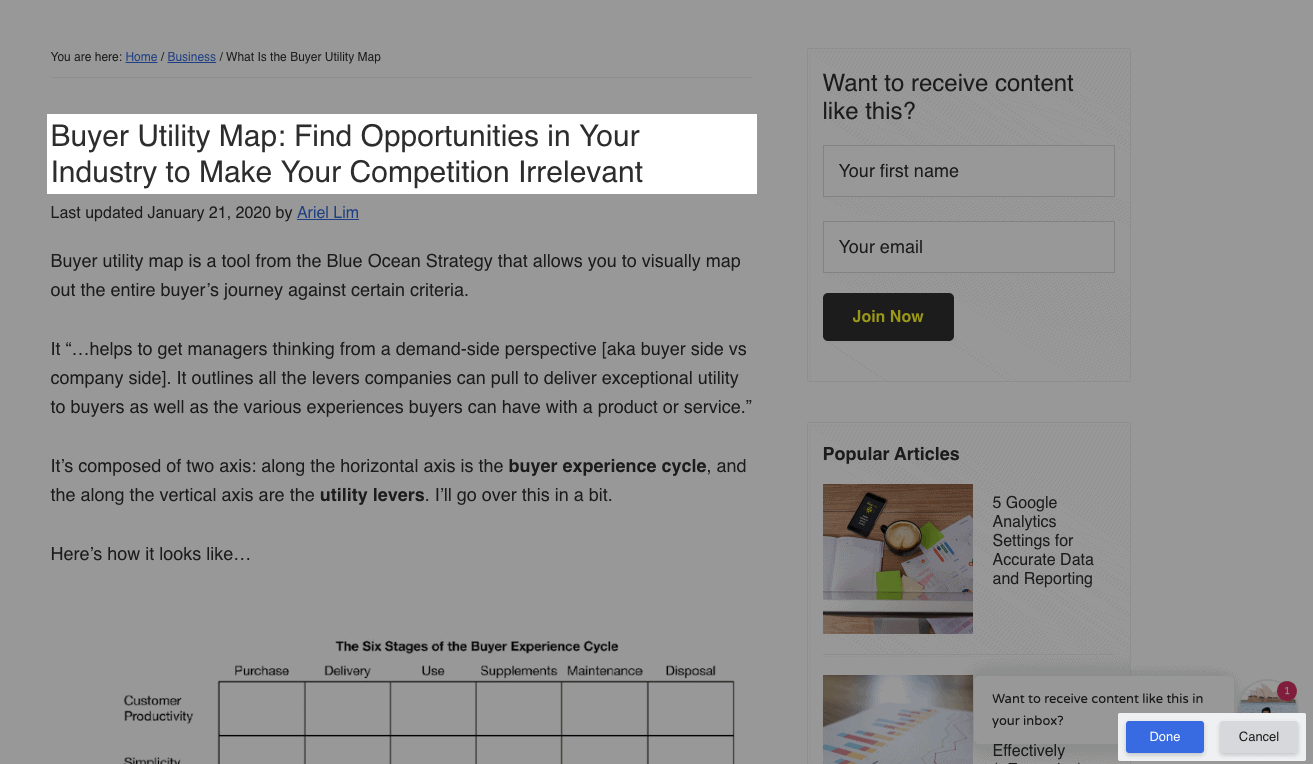
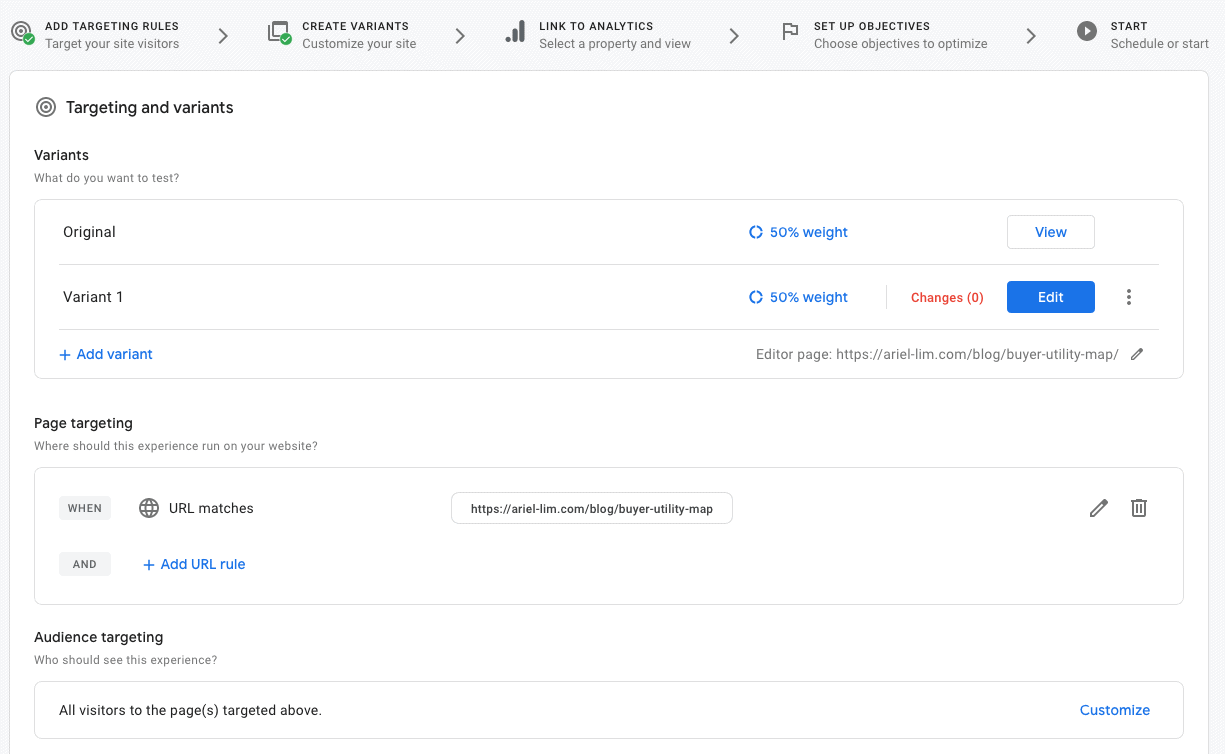
Now, my variant has a different title than my original.
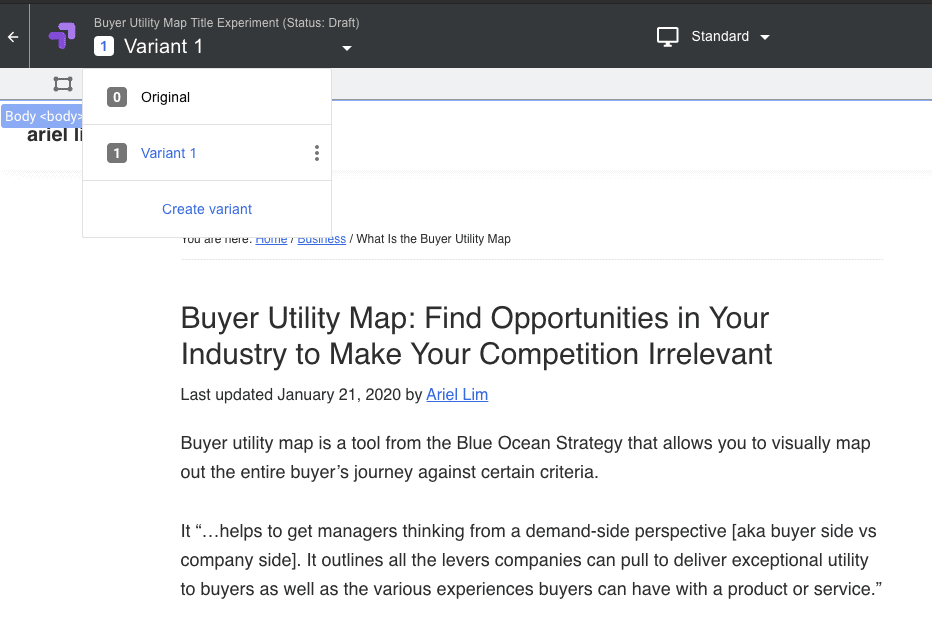
From the original: “what is the buyer utility map,” it’s now “buyer utility map: find opportunities in your industry to make your competition irrelevant.”
Step 5: Add a Description
The next step is to add a description to the experience.
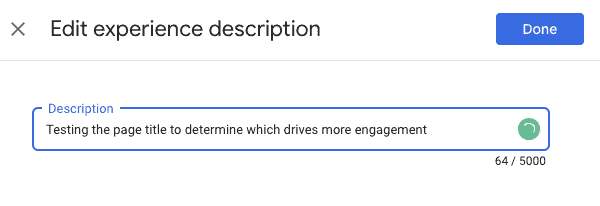
Write whatever would make sense to you later. If you’ll run several tests, this will help you remember what this is all about.
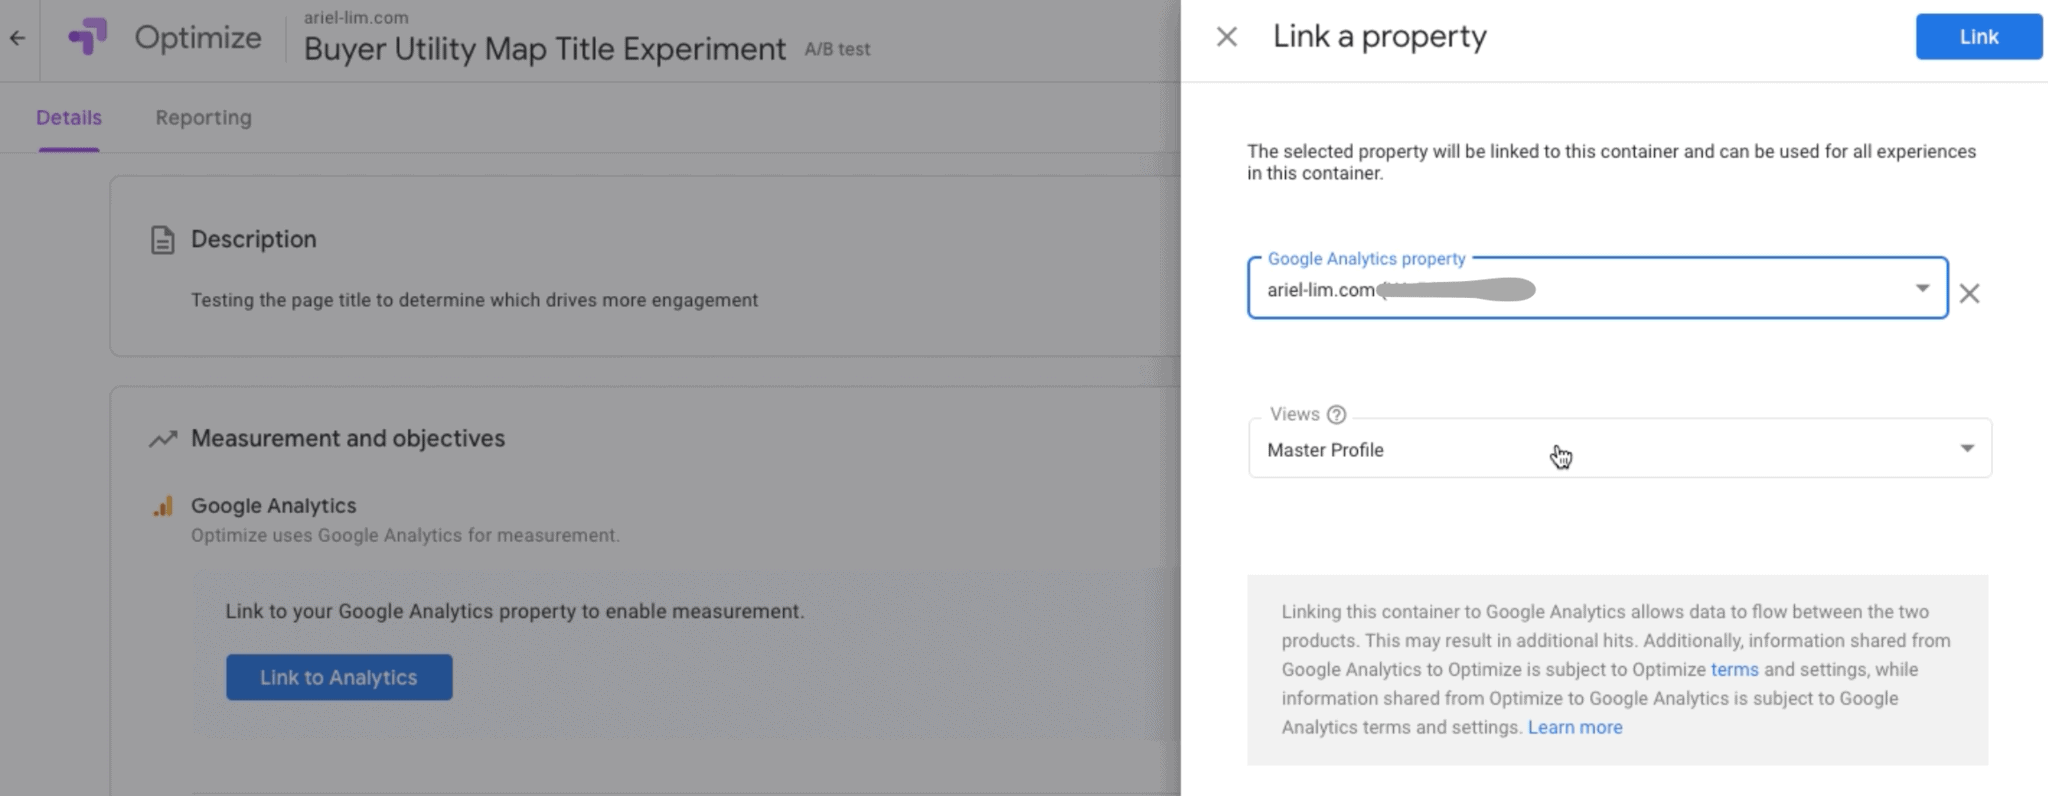
Step 6: Link to Google Analytics
Click on Link to Analytics then follow the instructions. You’ll be asked to choose a Google Analytics account, then which property and view to add.
Step 7: Configure the Optimize Snippet
You will then see instructions to install the Google Optimize snippet code to your website.
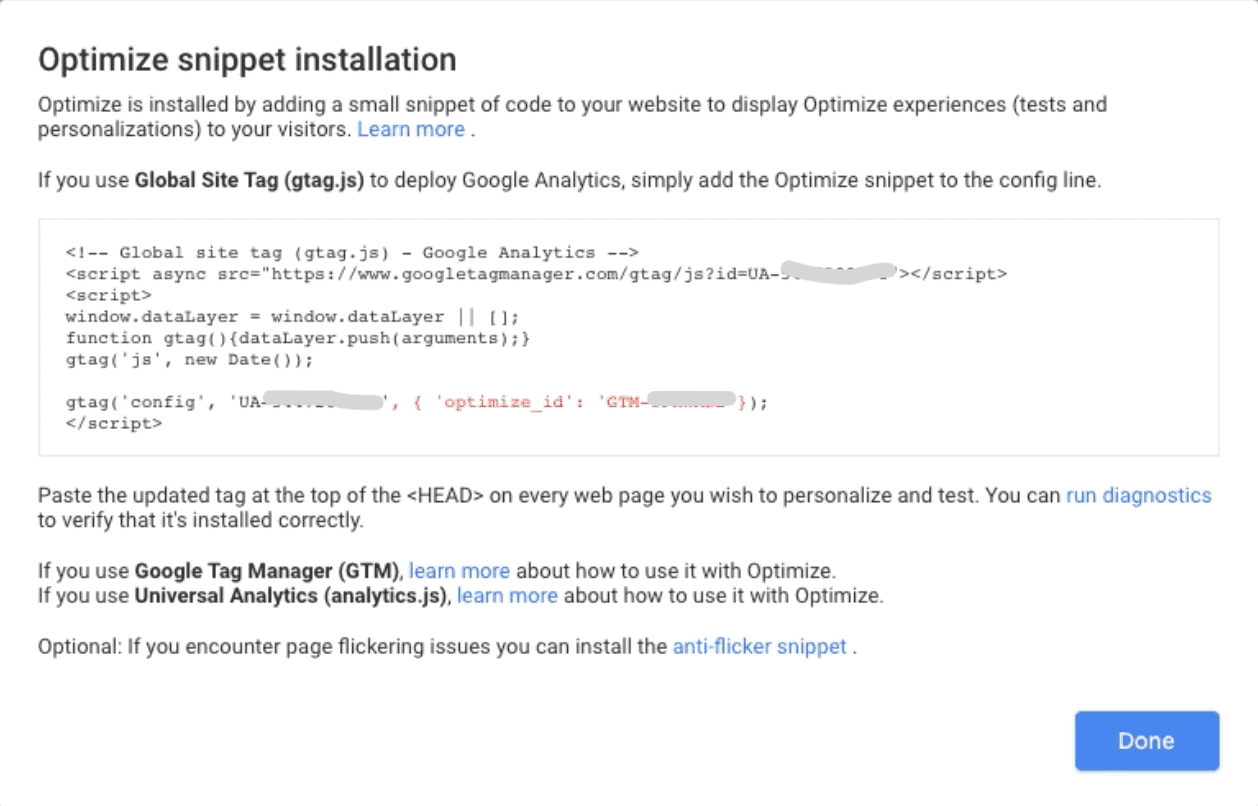
But, if you followed my instructions on using Google Tag Manager, you don’t have to deal with code anymore. All you need is to get the Google Optimize ID. This is the one in red and starts with GTM…Then, head on over to your tag manager account.
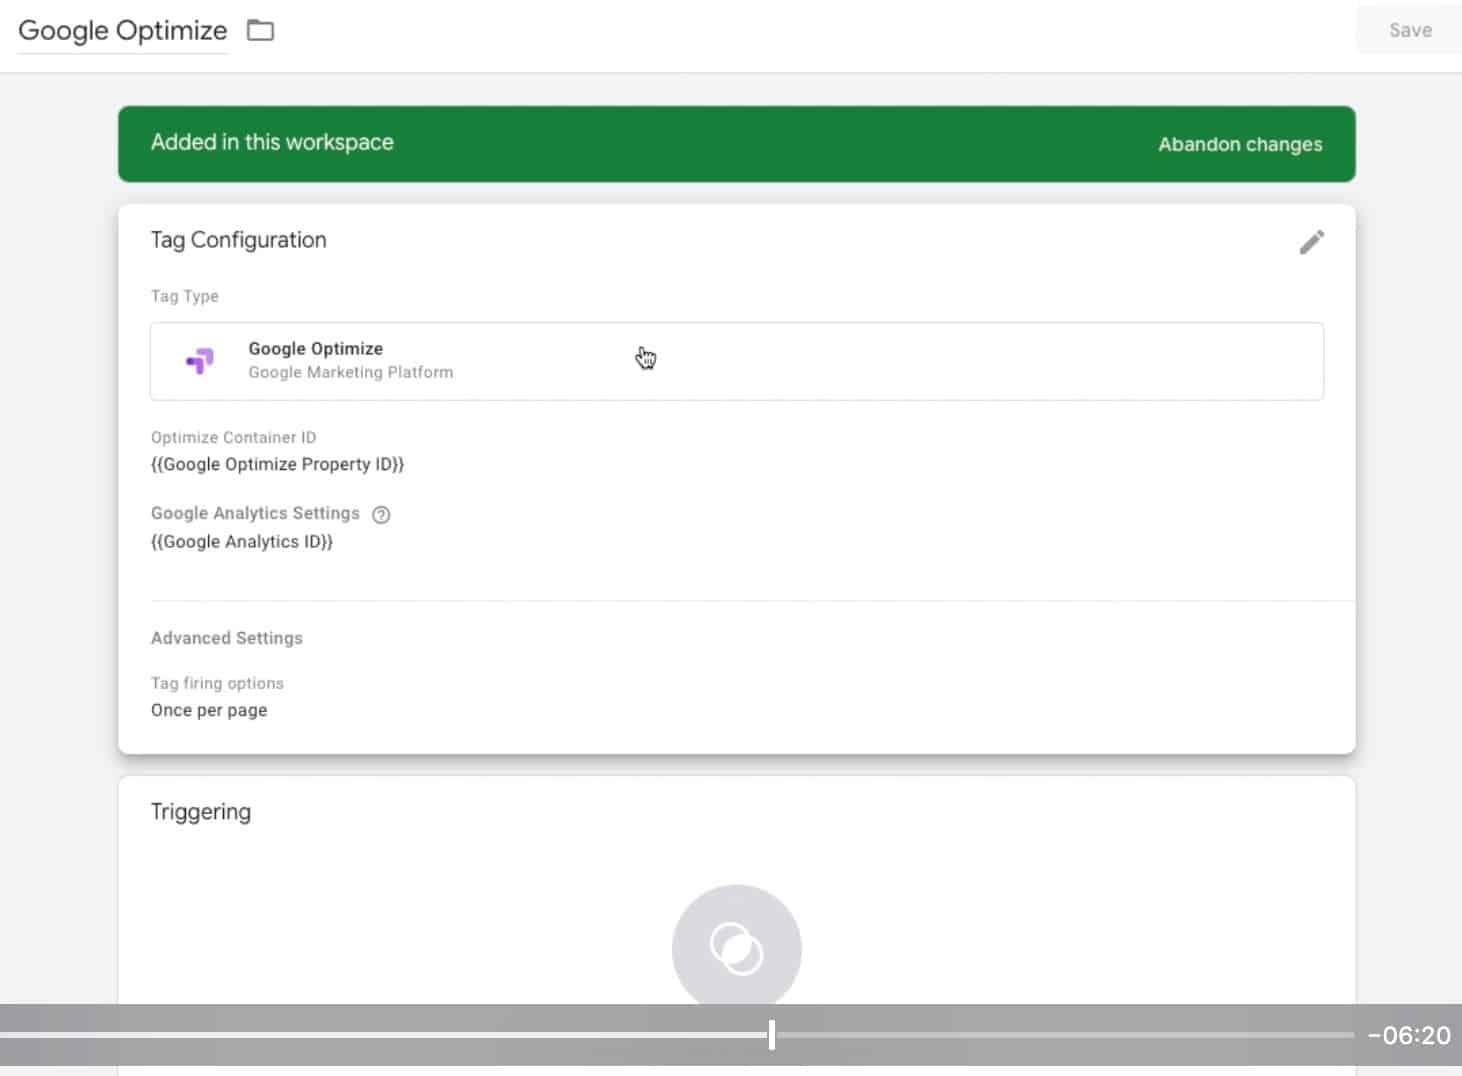
Once you’re in Google Tag Manager, create a new tag, then choose Google Optimize.
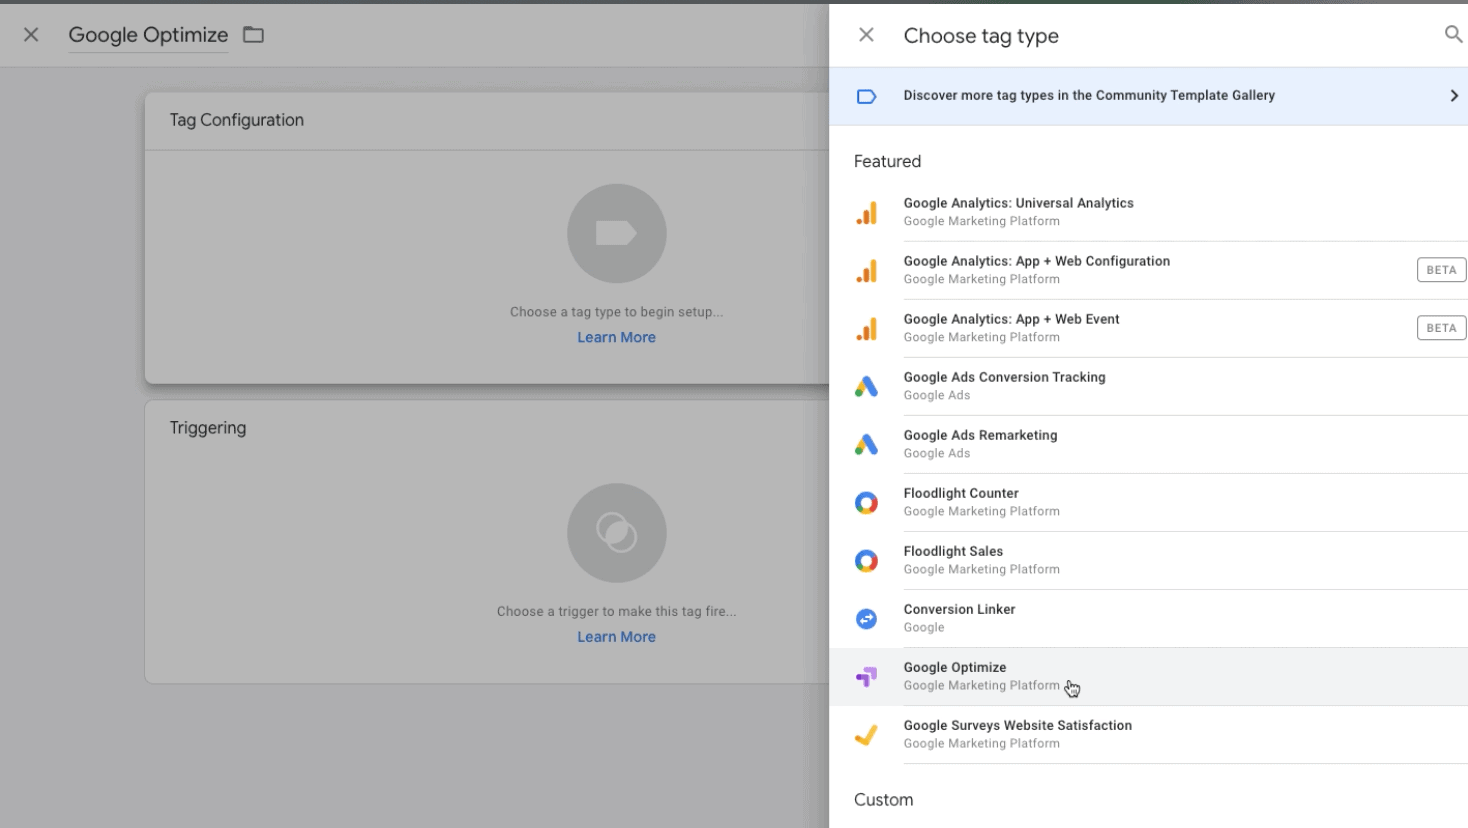
Then, follow the instructions by entering both your Optimize Container ID and your Google Analytics ID. There’s no need to add a trigger at this point. Hit save.
Next, go to your Google Analytics Pageview Tag and do the following:
- Scroll down to the Advanced Settings.
- Configure the tag firing options to fire on once per page.
- Select the Google Optimize tag you just created to fire before this Pageview tag.
- Hit Save
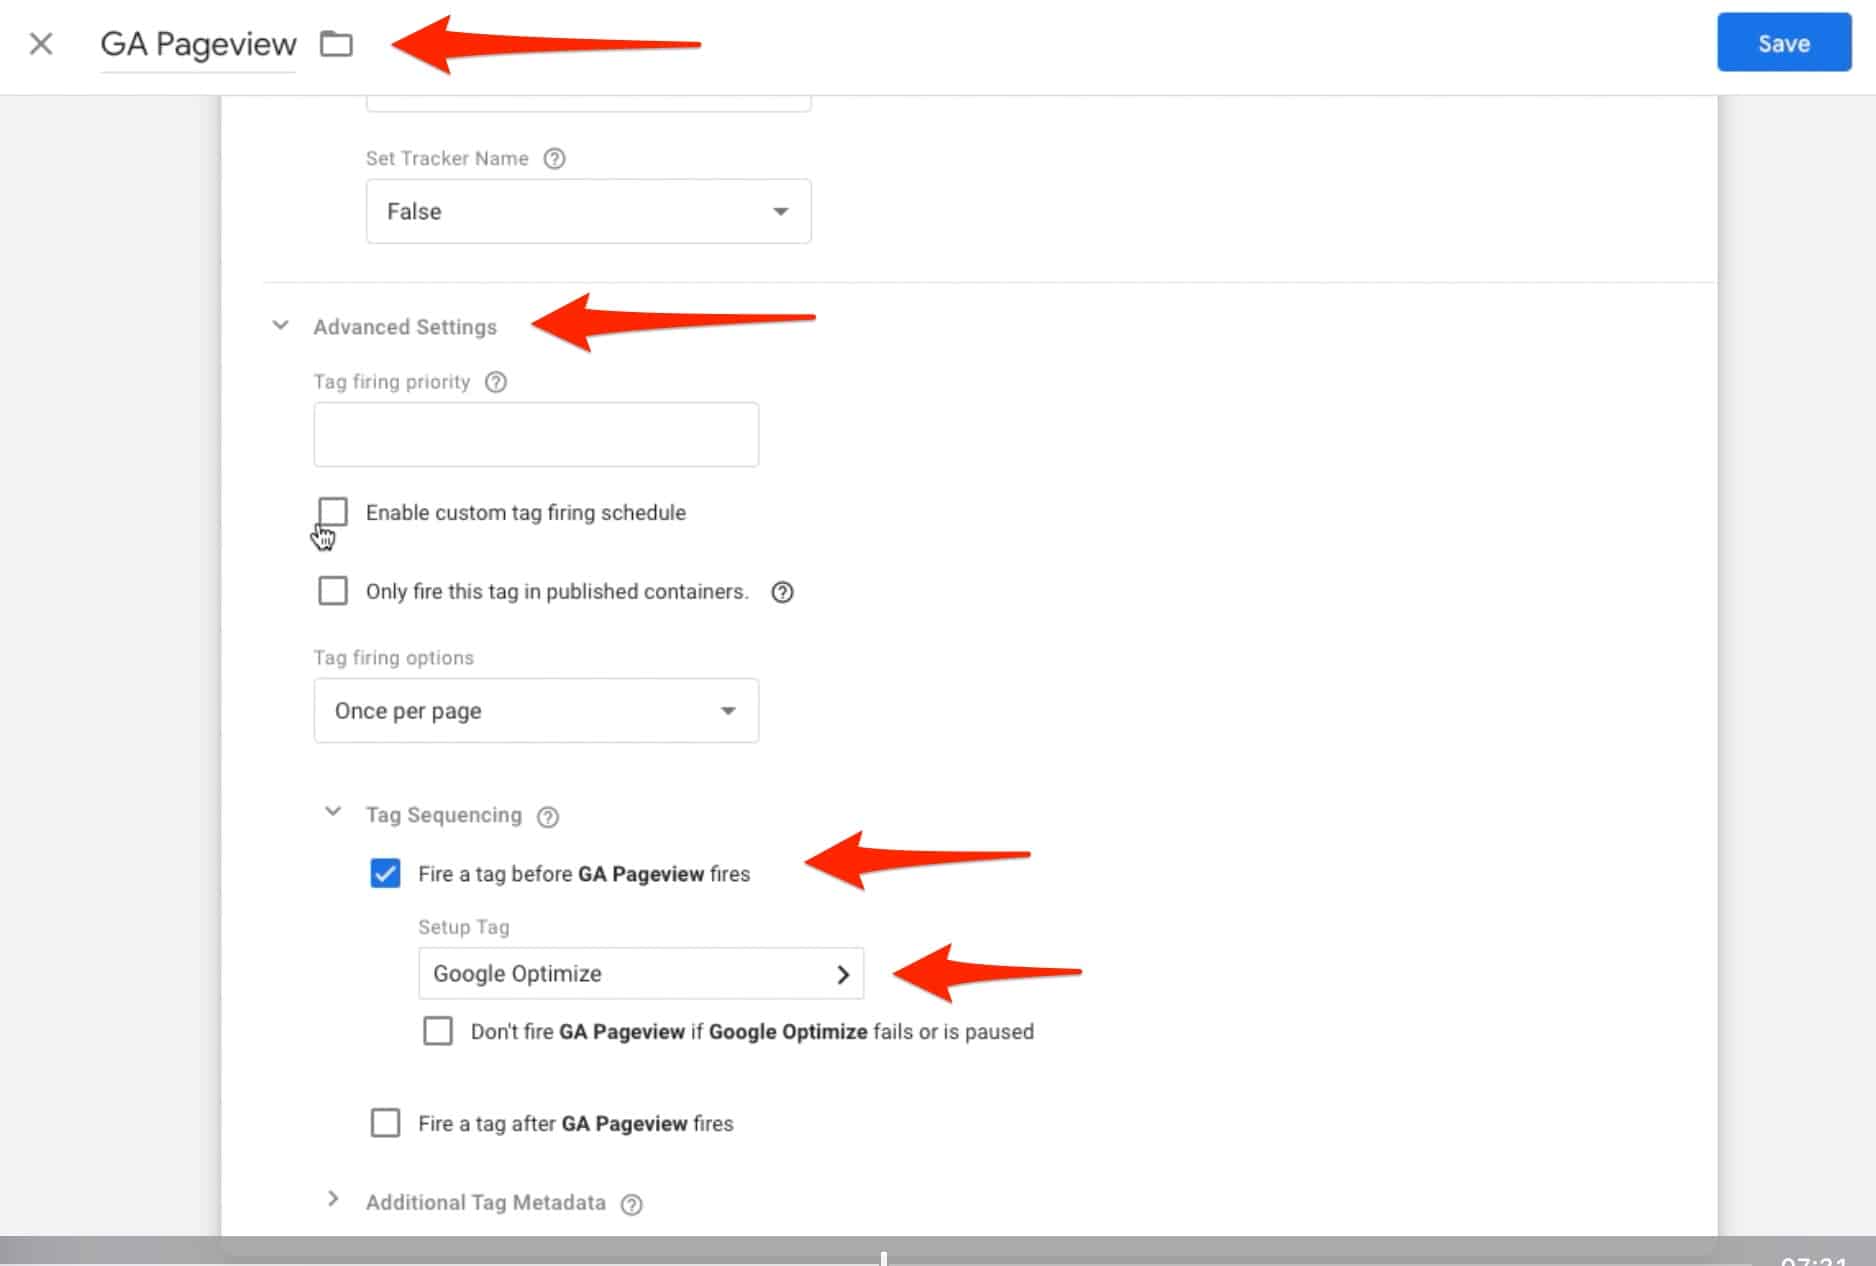
Lastly, go back to the Google Optimize tag then configure it to fire once per page then save the tag.
After all these changes, you can preview the changes and test if the tag is working inside Google Tag Manager. Once you’re happy with the changes, hit publish.
Now, go back to Optimize. You’ll never have to worry about this again.
Step 8: Choose an Objective
You’ll now notice the section for Analytics has changed. It will now show you the Google Analytics property it is linked to and allows you to choose the main objective for the test.
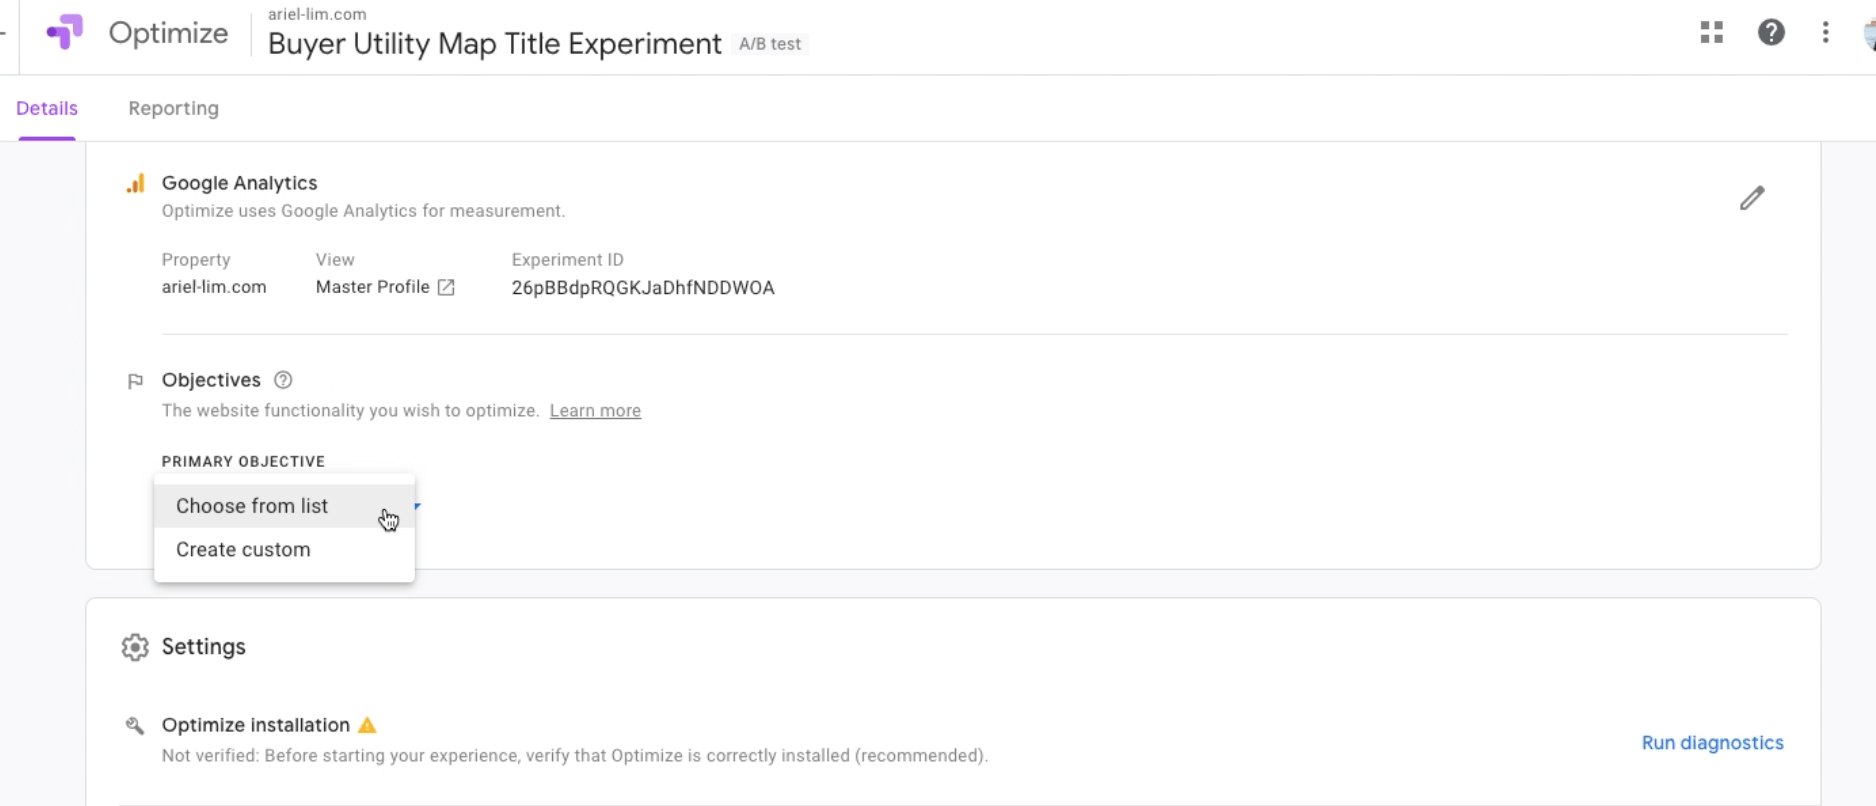
Click on the choose from list and the goals in your Google Analytics account will show up. Again, depending on what you want to do, you can select them here.
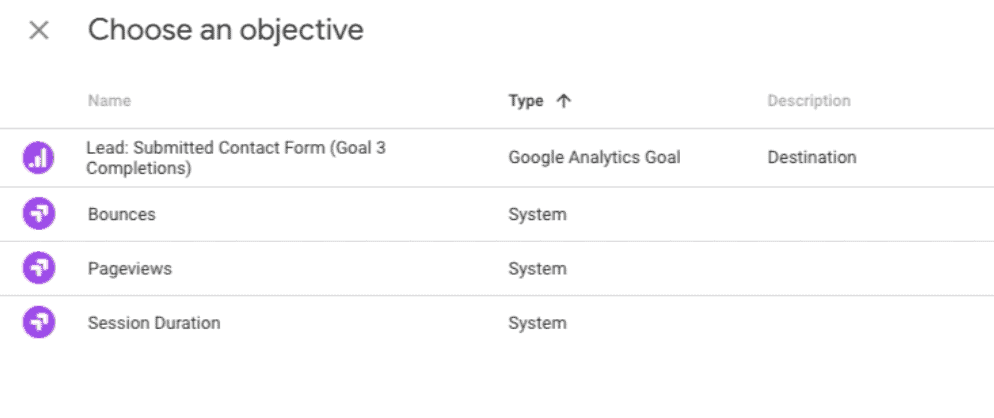
For example, if you are testing a lead generation page, you can choose that goal instead. Or let’s say you’re an affiliate marketing site, you can choose to track which led to more clicks to your affiliate links.
I chose for my experiment session duration. I want them to stay on the page longer and read my content.
Step 9: Test Your Configuration
After that, it’s time to test if everything is working properly. Click on the Run Diagnostics under the Settings section.
Your page will load to the URL that you entered when setting up the Experience. You’ll know if there’s something wrong with your setup.

But if not, you can proceed to the final step.
Step 10: Launch Your Experience
The final step is to launch your experience.
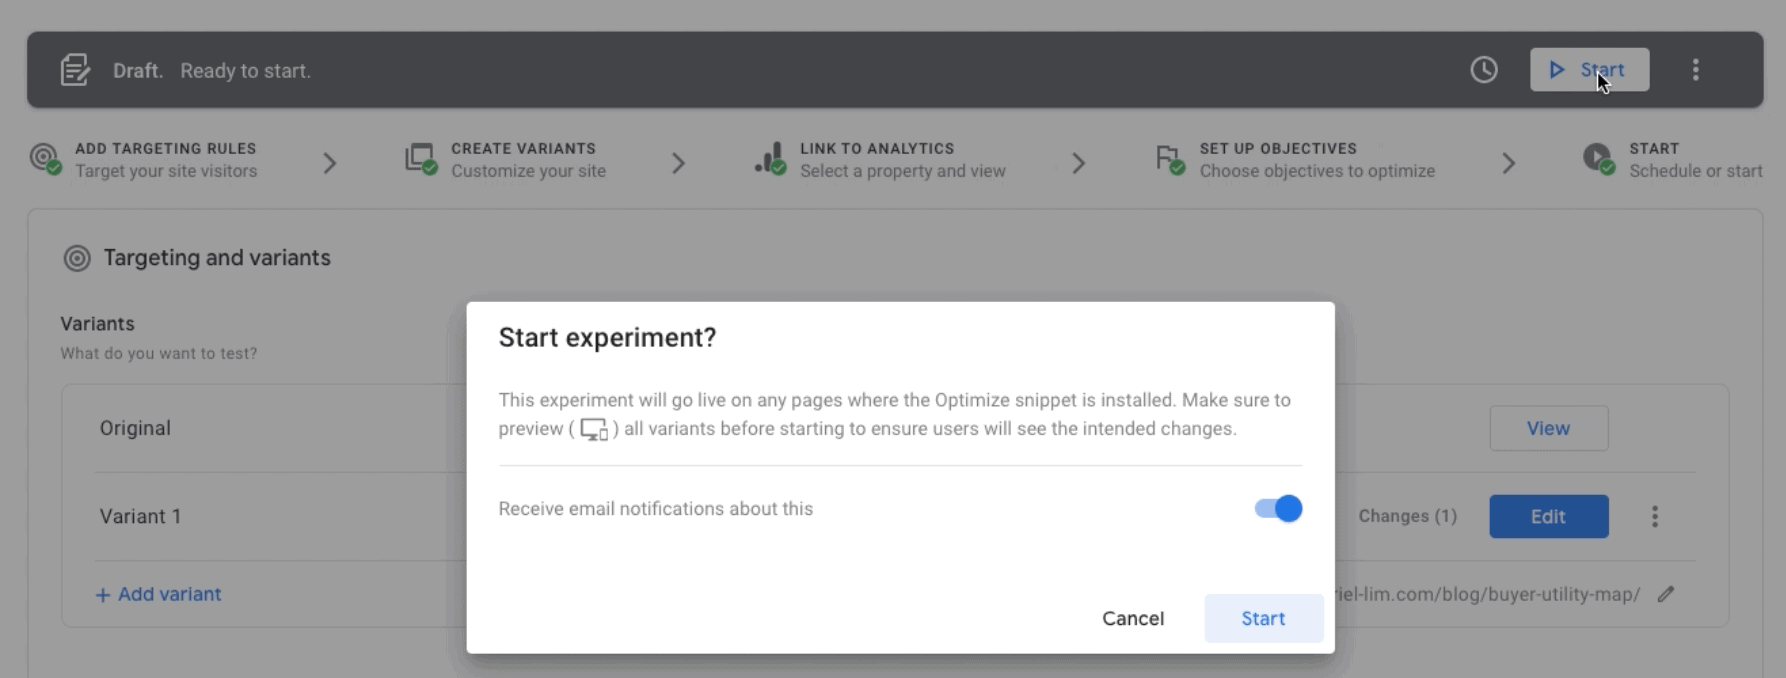
Scroll to the top of the page then click on Start. Confirm your settings then you’re good to go.
If you want to run more experiments, follow the same steps. The only difference is that you will no longer have to deal with linking the other Google products (Analytics and Tag Manager). You simply select them from the dropdown, then you’re good to go.
How to Analyze Your Experiences or Experiments
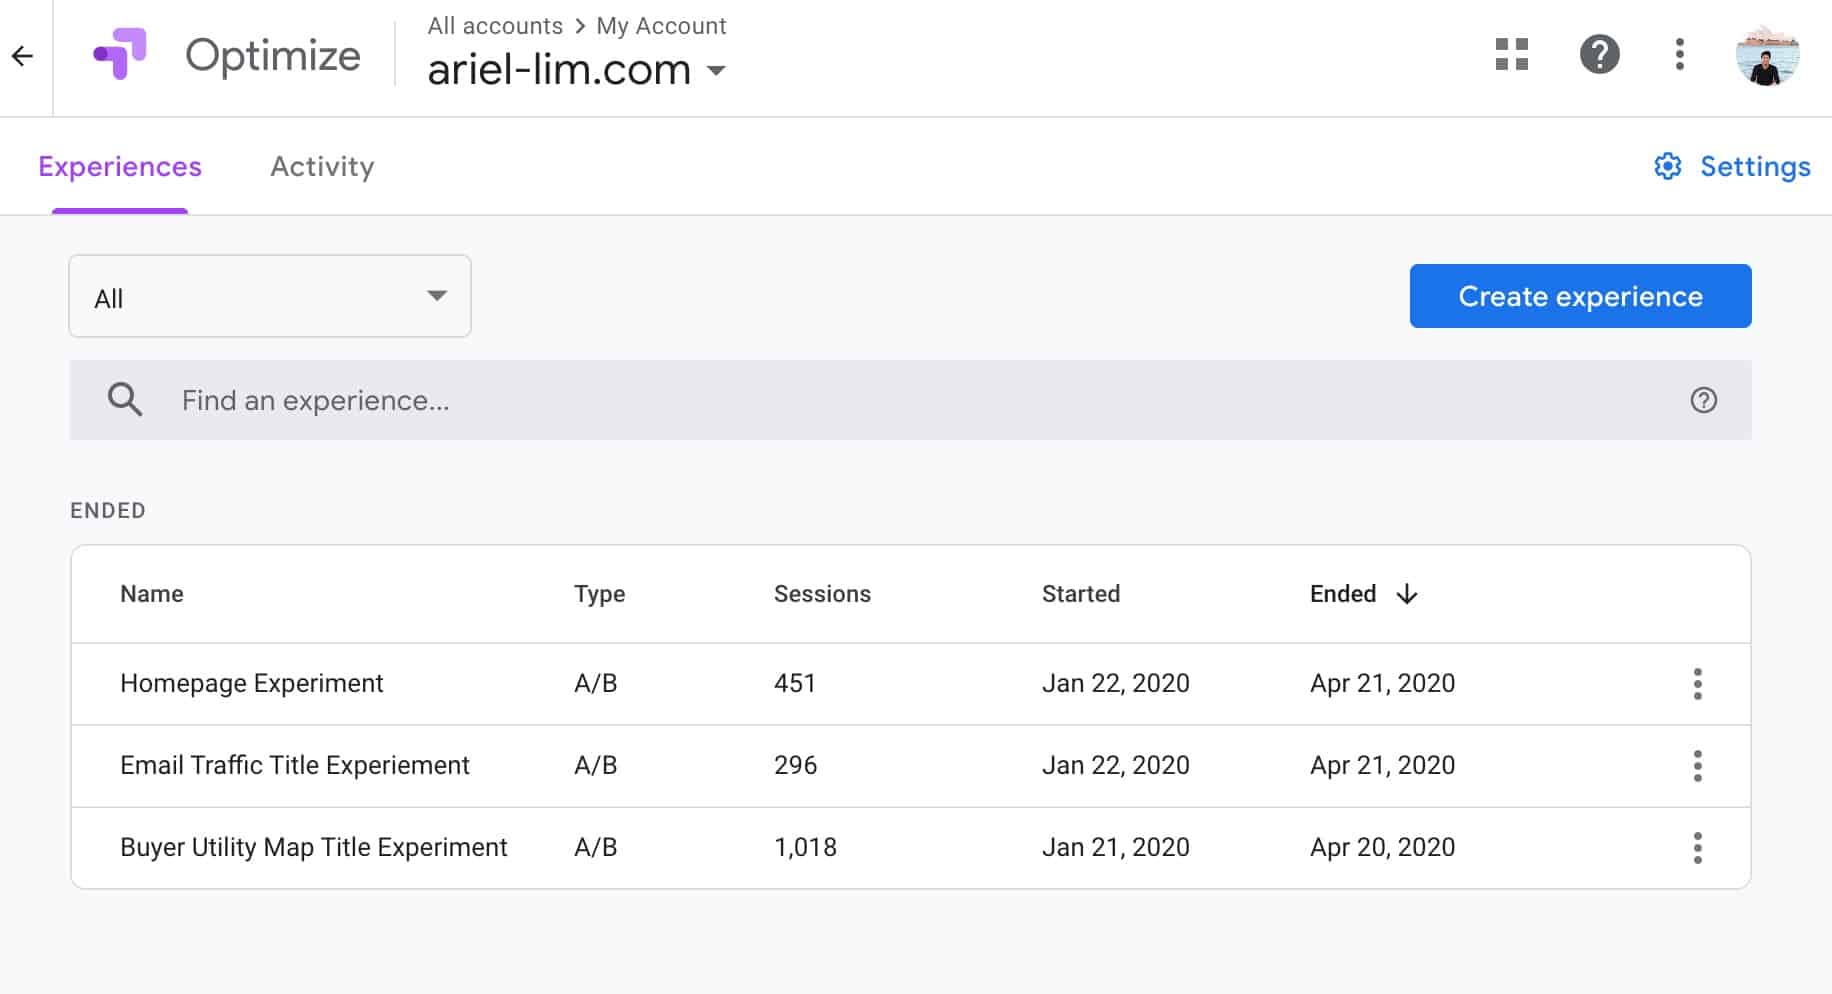
In my case, I decided to test three pages with the same goal, to increase session duration. I chose my top 3 most-visited pages.
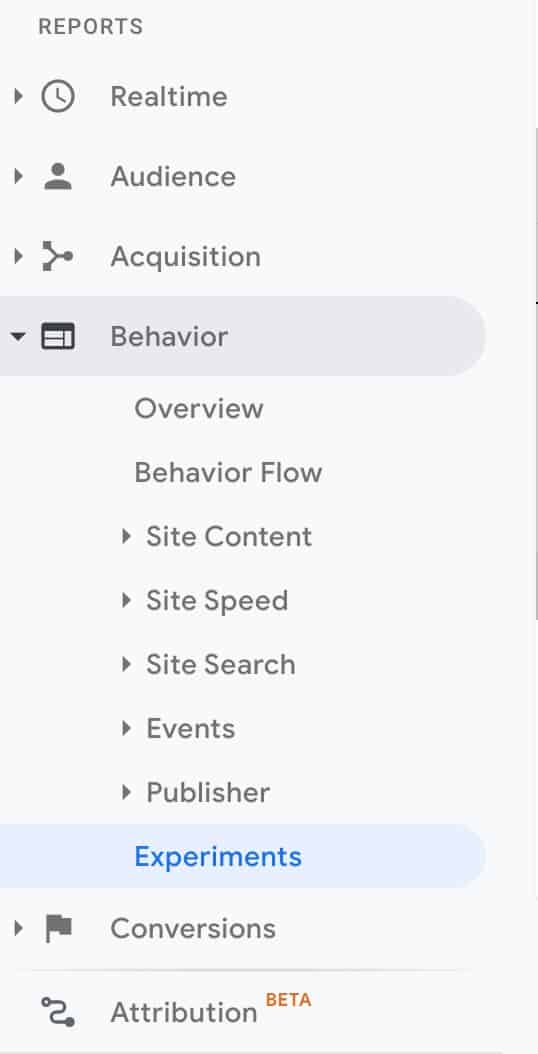
You can also find the same reports inside Google Analytics. Make sure you’re in the right property and view, then go to Behavior > Experiments.
Depending on the results, you will either find that there’s no clear winner in the experiment like this one.
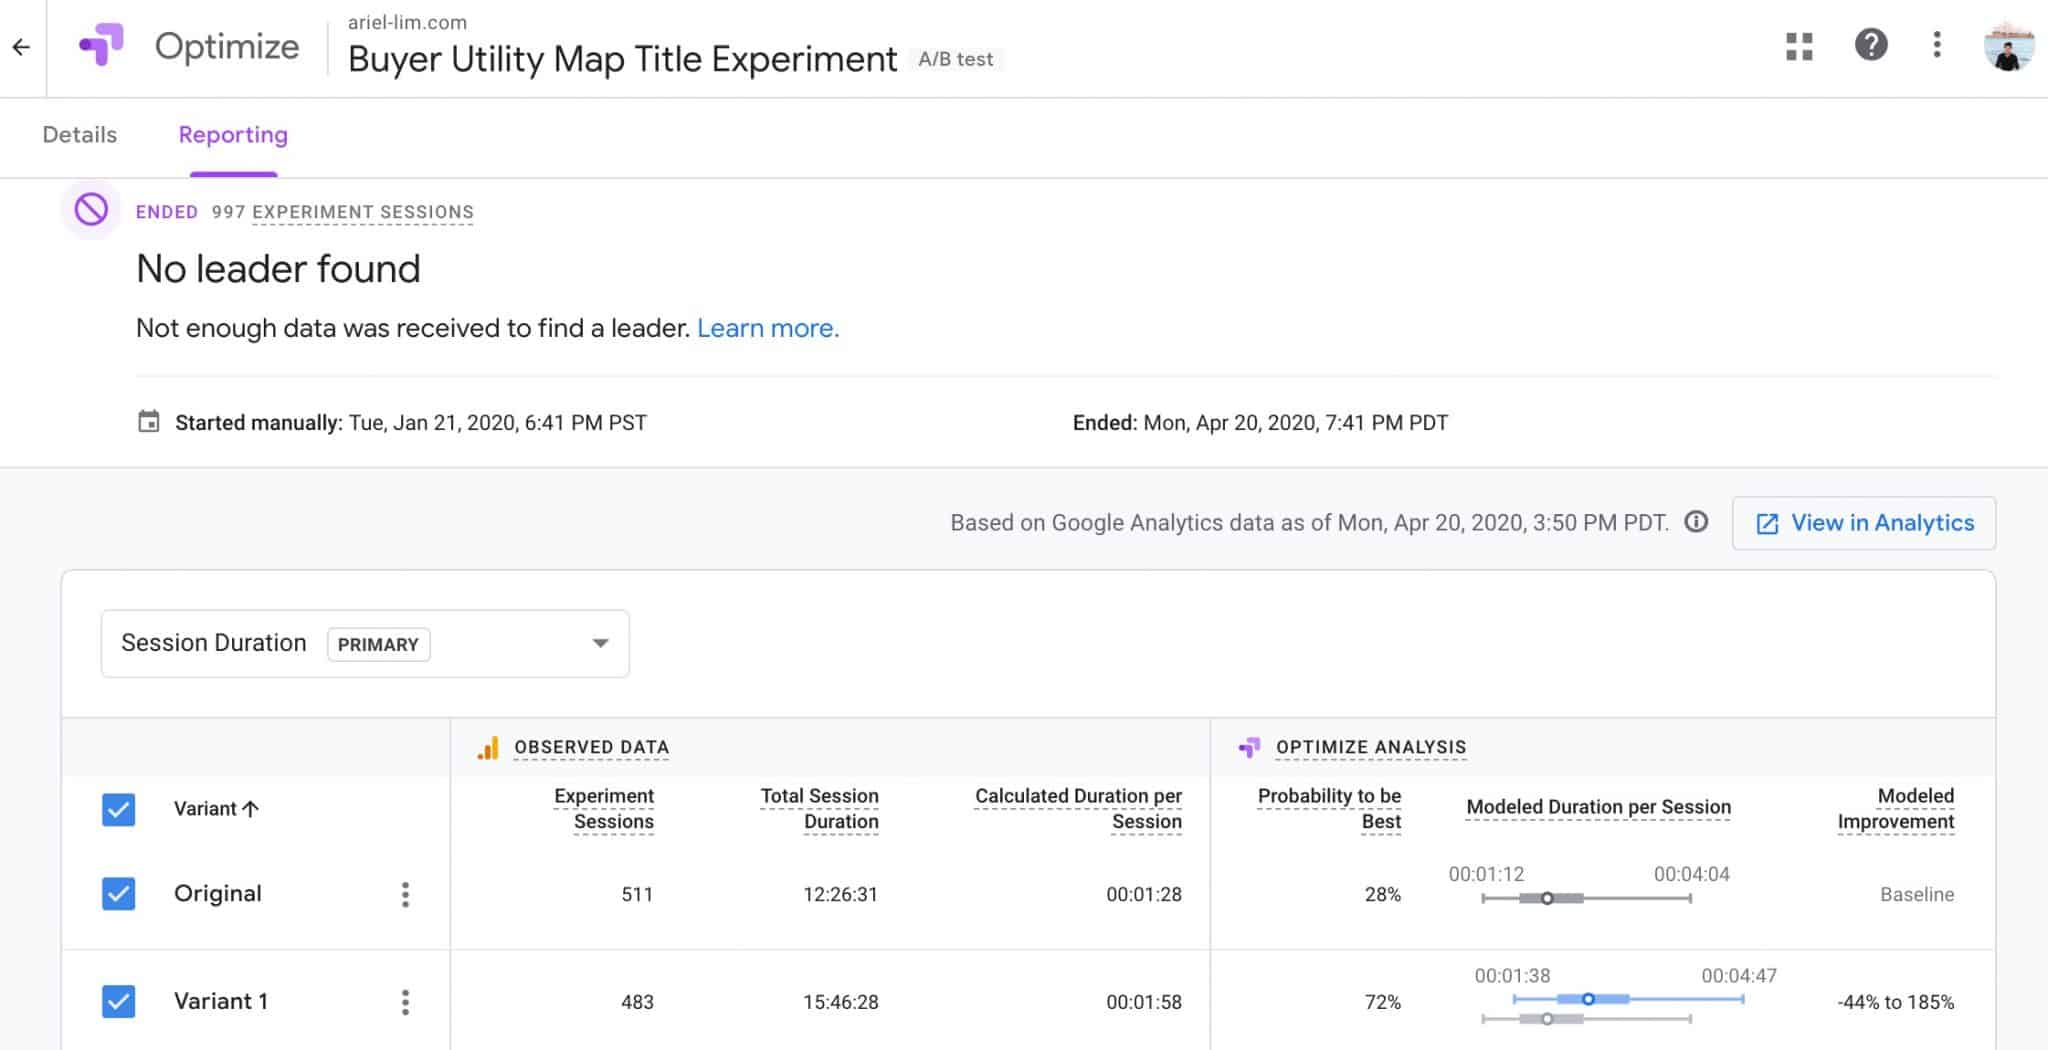
As you can see, the session duration improved a bit and the probability to perform higher (against the goal) is 72% as opposed to 28%. So, it’s up to you to decide if you want to implement the changes permanently, or conduct another experiment.
But in some cases, you might get a “clear winner” like the one below.
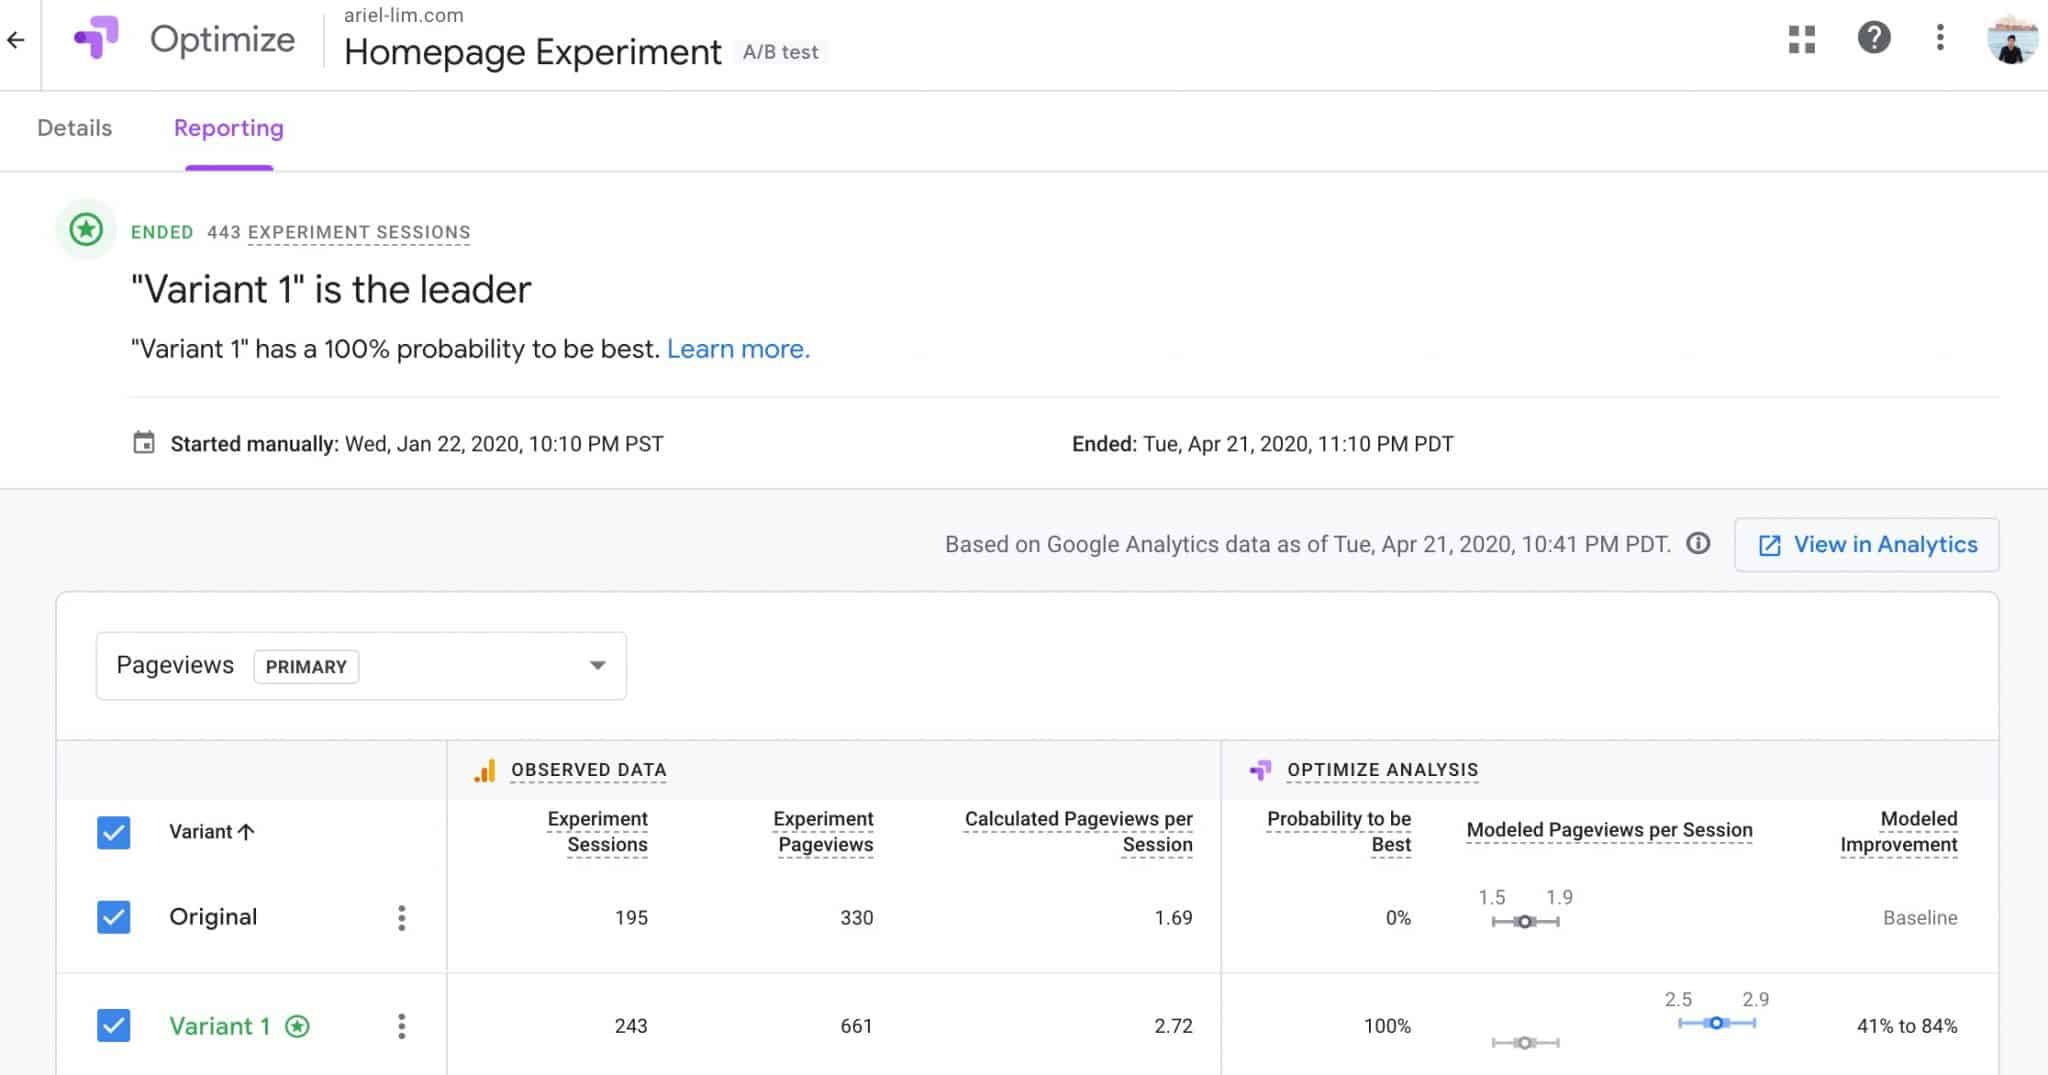
From there, you can make the changes permanent by (1)manually editing your website or (2) create a personalization inside Google Optimize.
Either option is fine. But the point is to make the chances so you can benefit from the results of your testing.
Over to You
The examples I shared are very simple. I experimented with multiple titles to see which ones lead to more time on page or session duration.
To take this a step further, you can create Experiences around your main landing pages. You choose the main objective or conversion goal in Google Analytics when a lead is triggered or a purchase is made. Then, Google Optimize will handle the rest.
After some time, you’ll see which version in your tests are bringing you more leads or customers. If there is a clear winner, implement the change. If there’s some doubt, continue testing.
Have you tried A/B testing before? Or are you planning to do so now using Google Optimize?
Either way, I’d love to know.
