If you’re like most people, the first time you’ve heard the name Cloudflare is when you’re trying to speed up your website using a content delivery network (CDN). That’s the same thing for me. And that’s what I’m going to talk about in this article—how can you use Cloudflare to make your website faster through its CDN.
As a side note, Cloudflare do offer a lot more than just providing CDNs. In fact, once you setup your website with Clourdlare, you’ll automatically be protected from malicious activities like DDoS attacks, bots, and other intrusions. They have different plans that you can choose from. But for the purposes of using their CDN to make your website faster, their free plan is all you need.
But before diving right in, let’s answer some of the most common questions:
Use Cloudflare as Your CDN in 5 Simple Steps
One of the biggest names in CDN is Cloudflare. Another name that usually comes up is StackPath (formerly MaxCDN). And because I’ve never used StackPath, I’ll be focusing on Cloudflare.
If you want to use Cloudflare as your CDN and speed up your website, follow these 5 steps.
1. Sign up for a free account
Visit cloudflare.com and create a free account.
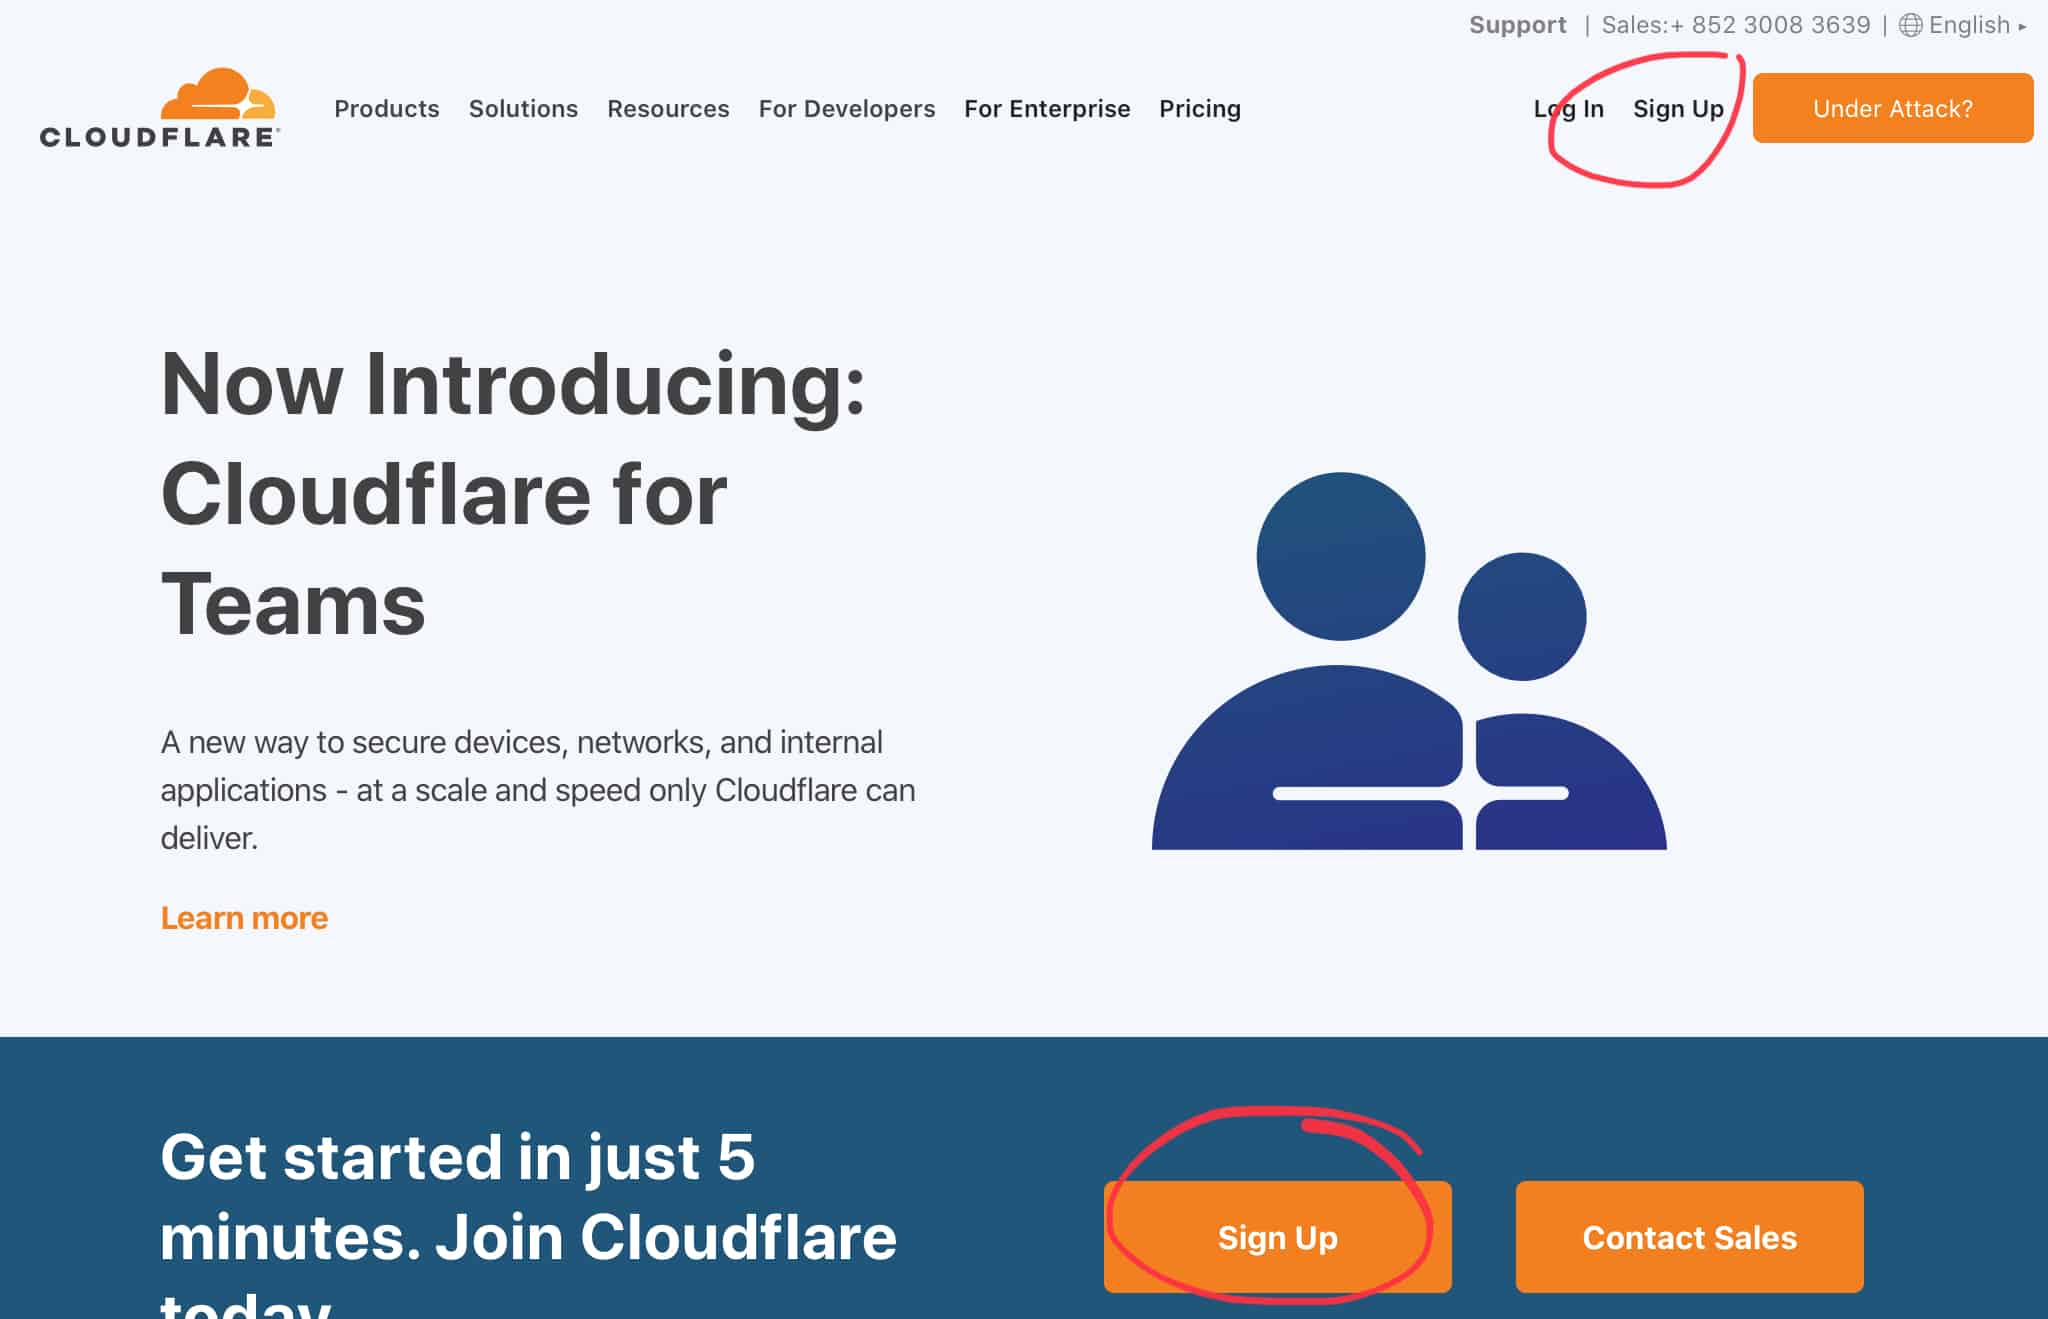
Go ahead. It won’t take you a minute.
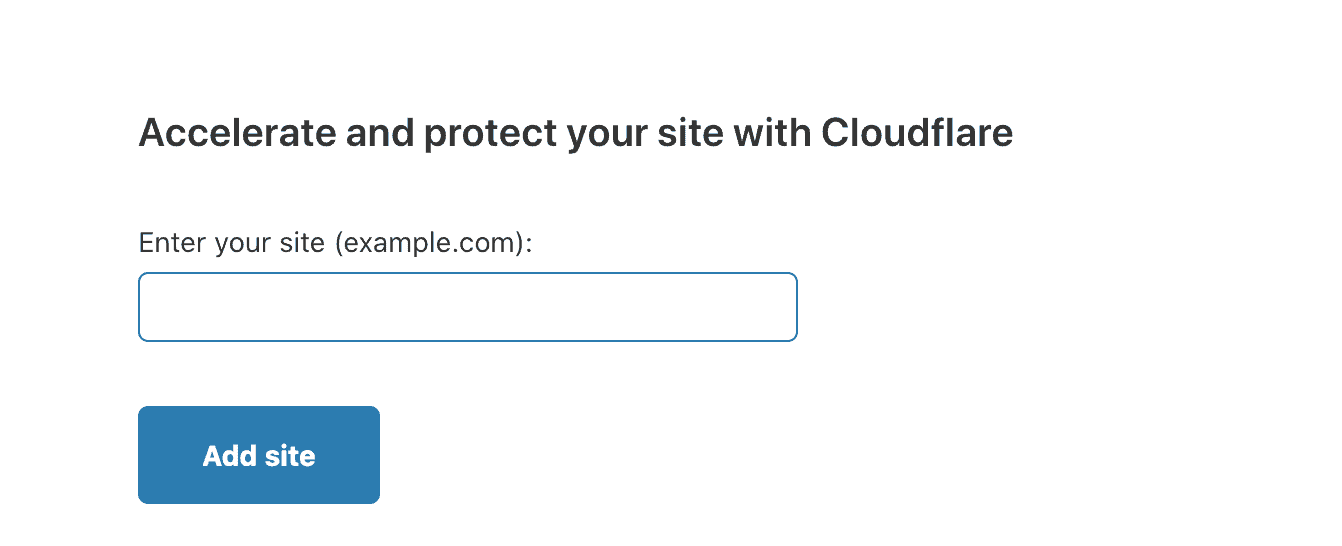
2. Add your website domain
Once you logged in successfully, the first thing you need to do is add your website.
Just enter your domain here.
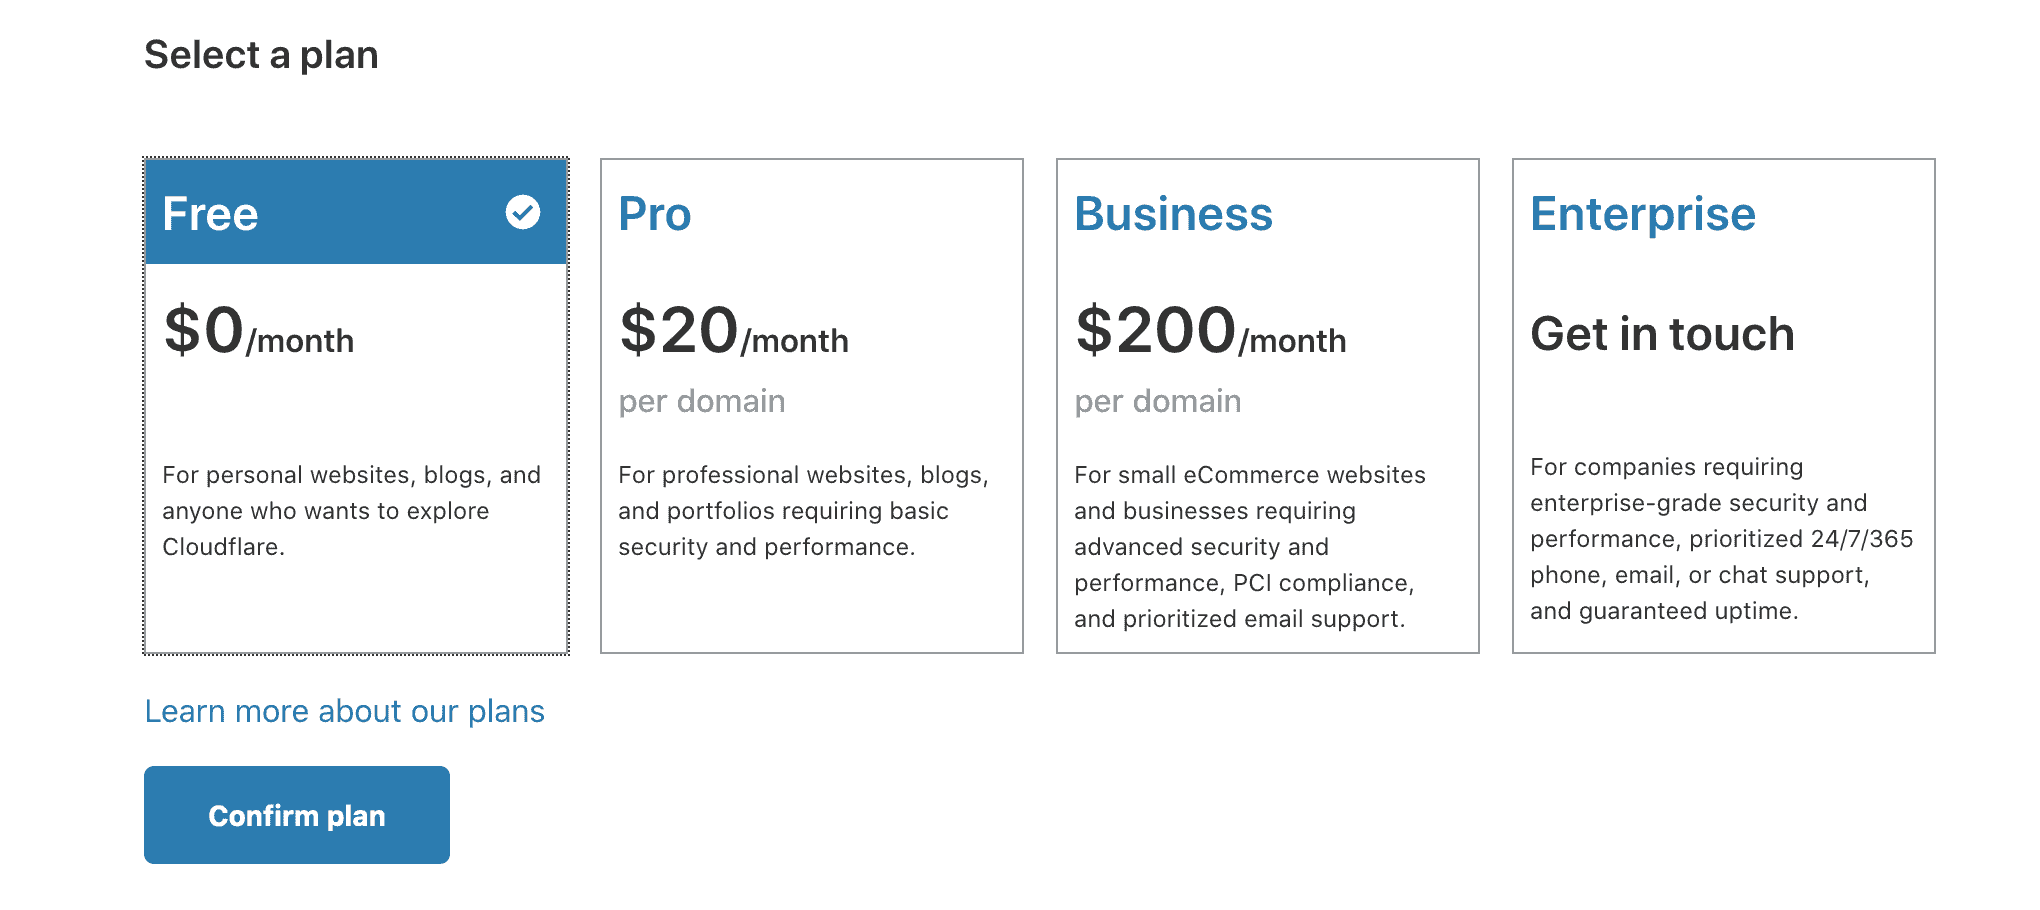
3. Choose the free plan
In the next screen, you’ll be ask to choose one of their plans. Like I said earlier, Cloudflare offers a lot of things. You can explore this for yourself later on.
For now, choose the free plan.
4. Change your nameservers
The next step can be a little scary if you’re not familiar with the process. But don’t worry. I’ll walk you through this.
Basically, what you need to do is follow the instructions in this screen to change your nameservers.
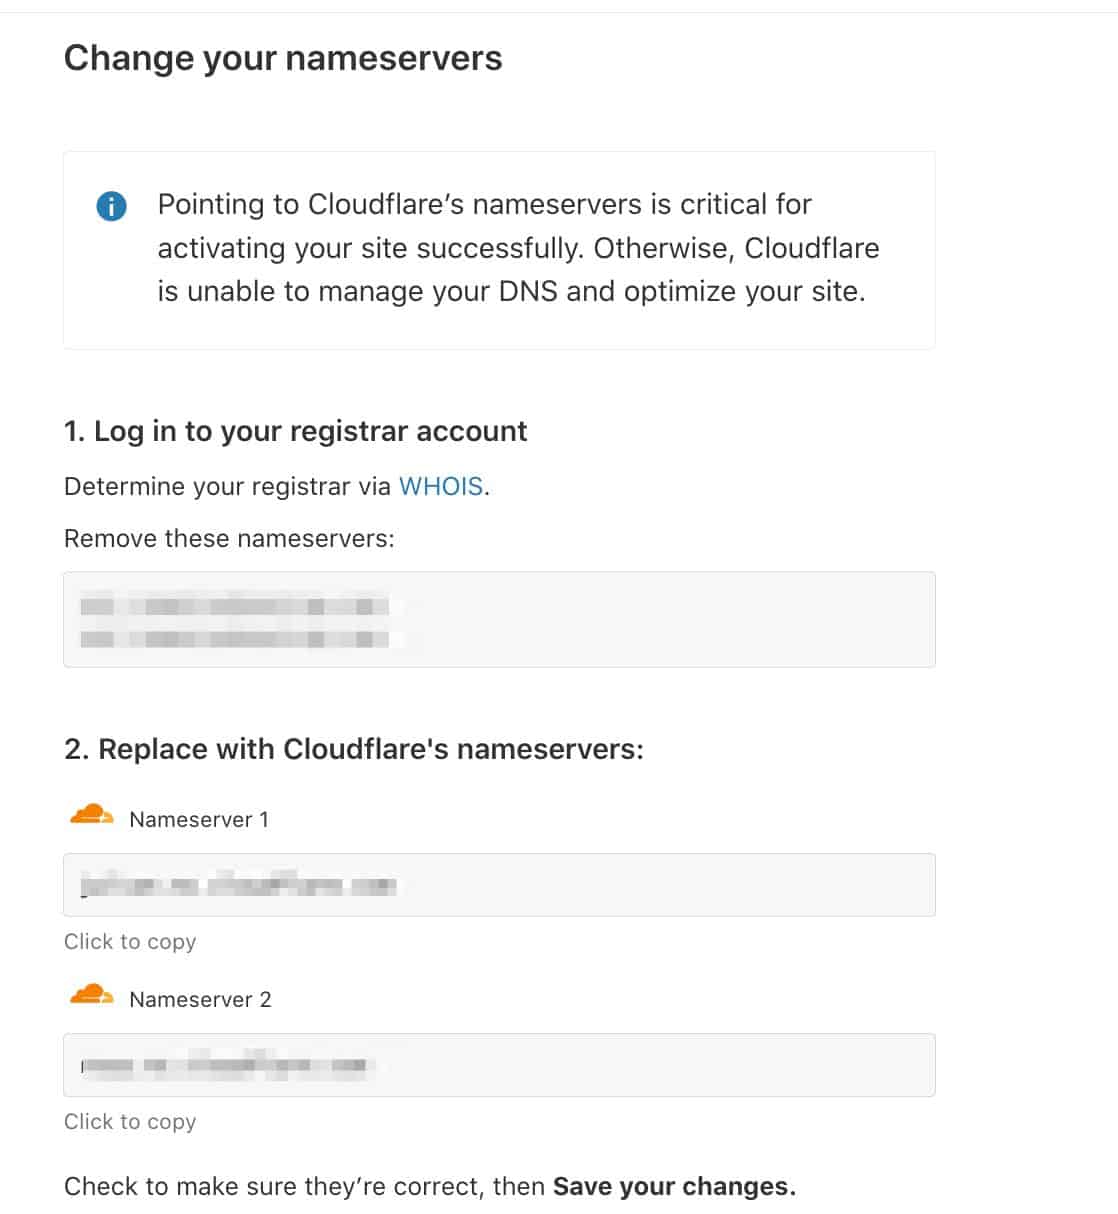
You can find your nameservers from your domain provider—where did you buy your domain?
I bought mine from GoDaddy. You might have a different provider, but the process should be similar.
Here’s it looks like inside GoDaddy.
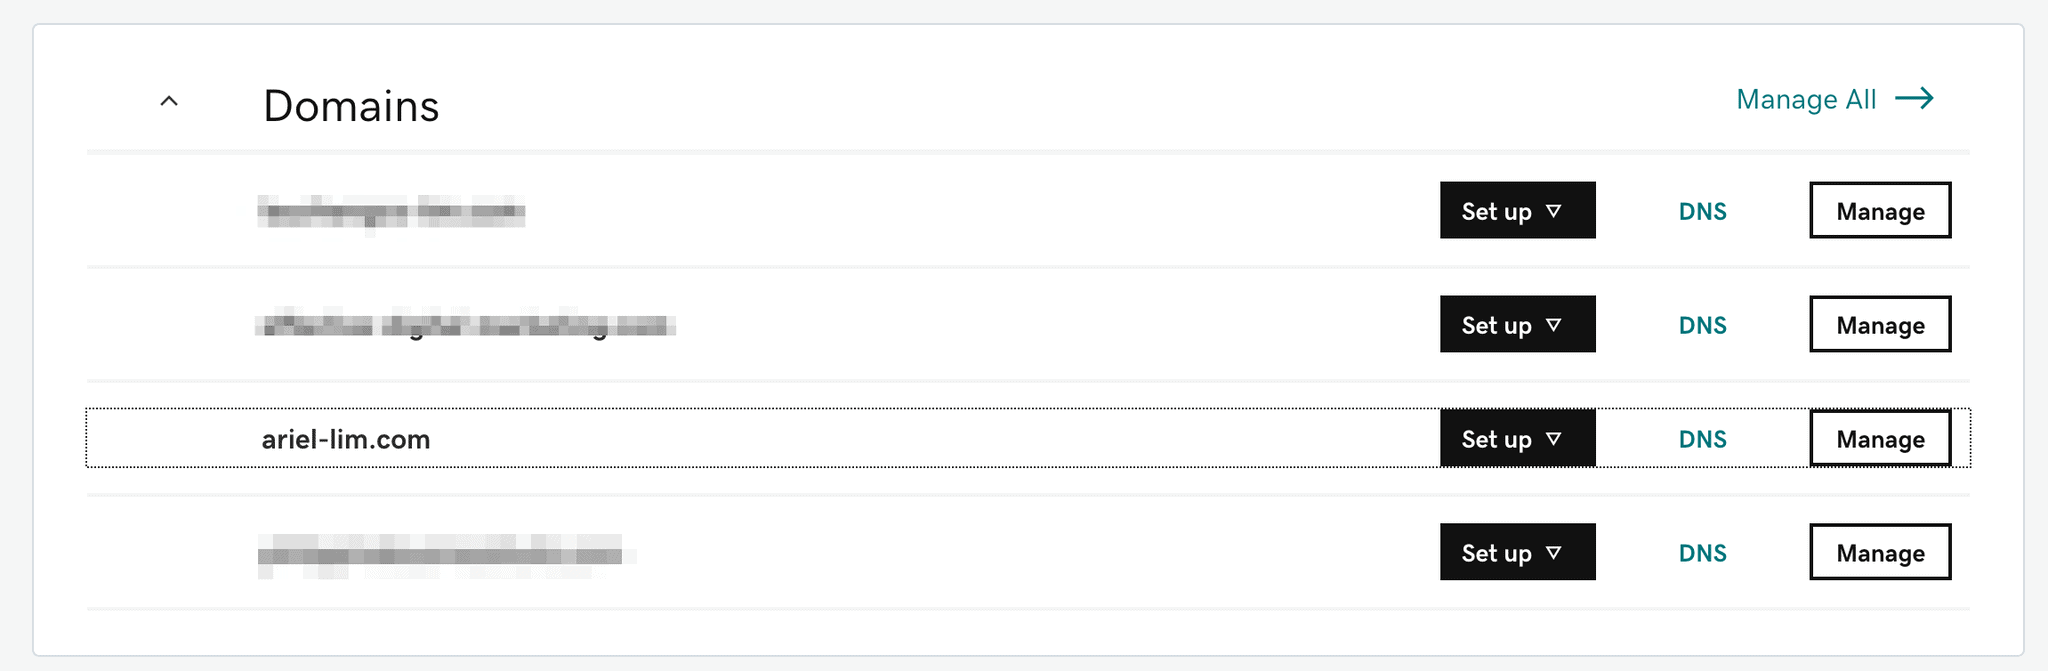
After logging in, I see the domains I have on my account. Click on the DNS button to enter the DNS settings of that particular domain.
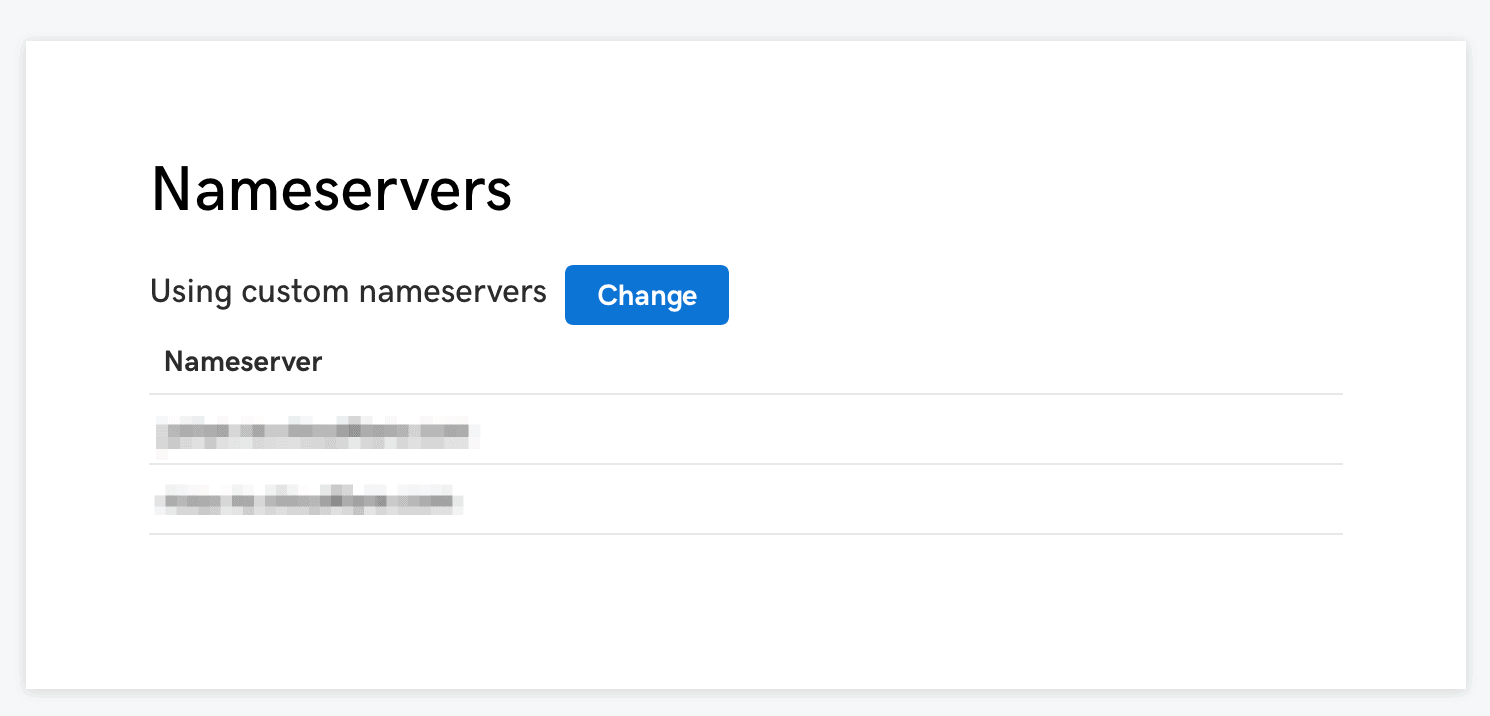
Once you’re in, find the section on Nameservers. You’ll want to click on change to edit it.
Lastly, copy and paste the nameservers from Cloudflare to this section.
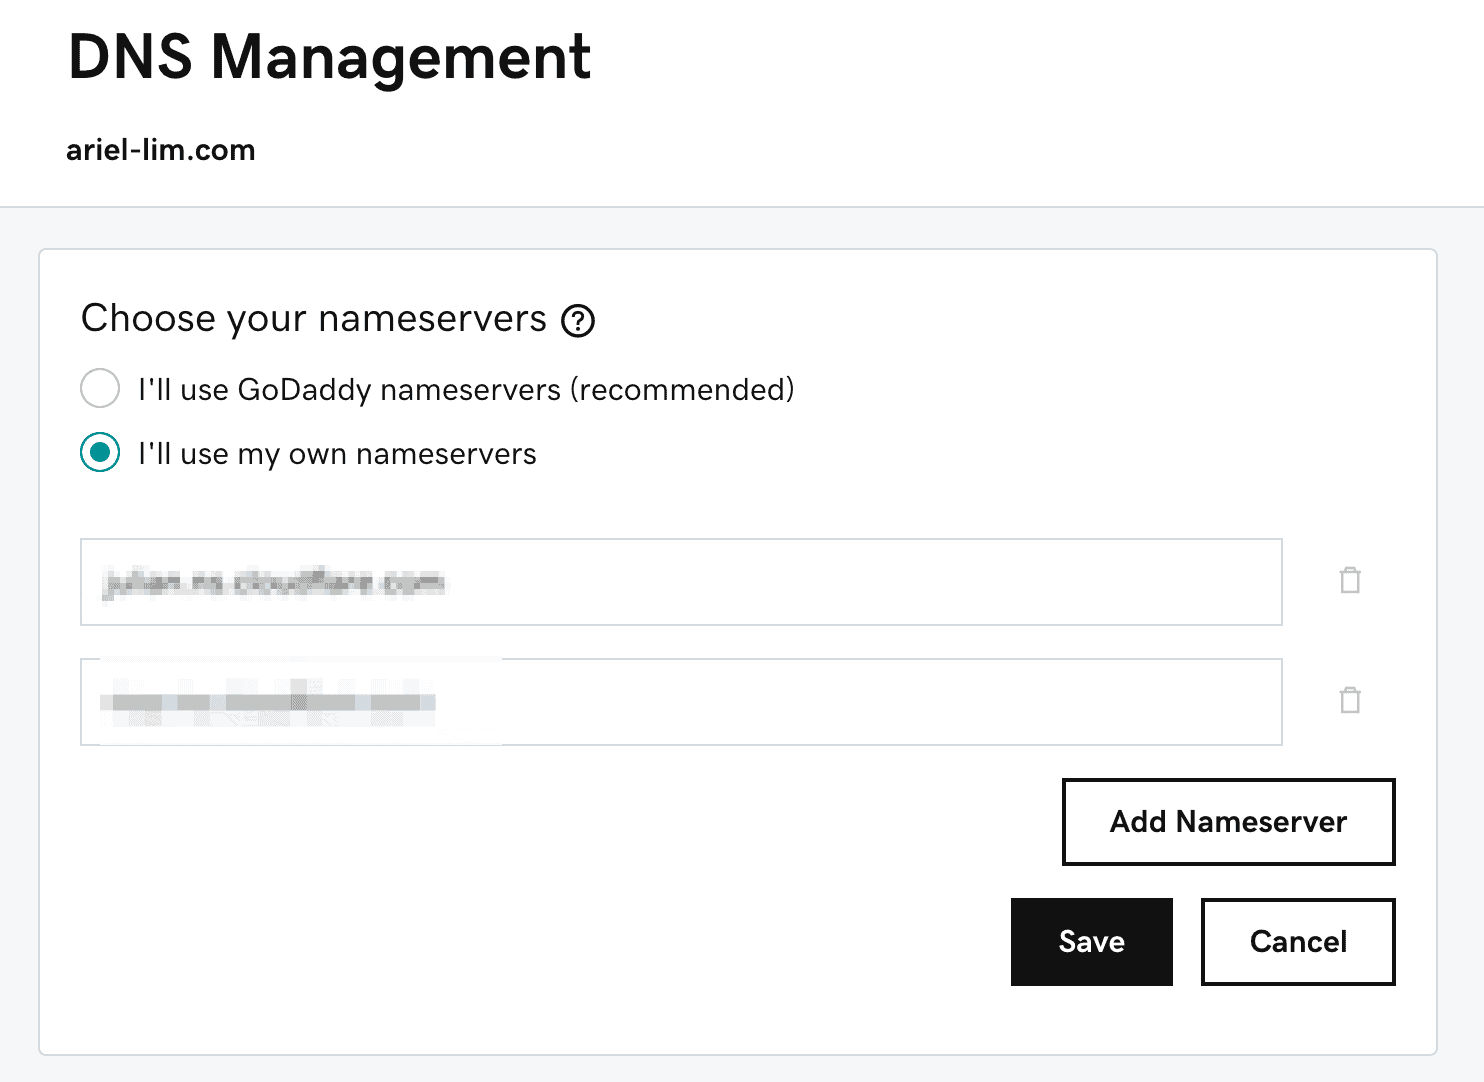
Hit save and you’re done.
5. Go back to Cloudflare and check the records
If you did everything correctly, you should see your domain saying that it’s active, just like the one shown in this image.
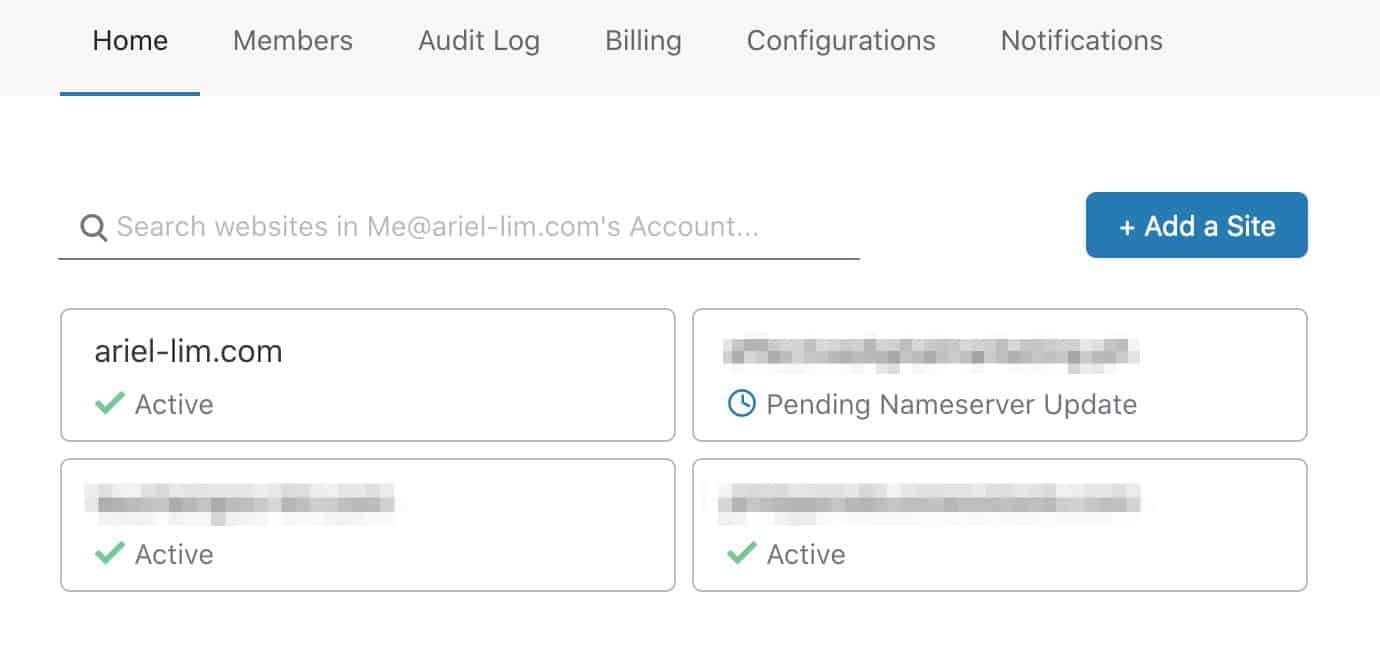
If it’s not, you should see the status there as well.
And that’s it. You have now configured Cloudflare as your website’s CDN.
Conclusion
Depending on your plan, traffic volume, and other factors, you should see your images (and other content) being served from Cloudflare. Once you’re done, feel free to explore the different sections of your account in Cloudflare.
One thing I do recommend doing right now is to make sure your pages are minified. Go to the Speed tab, then select Optimization.
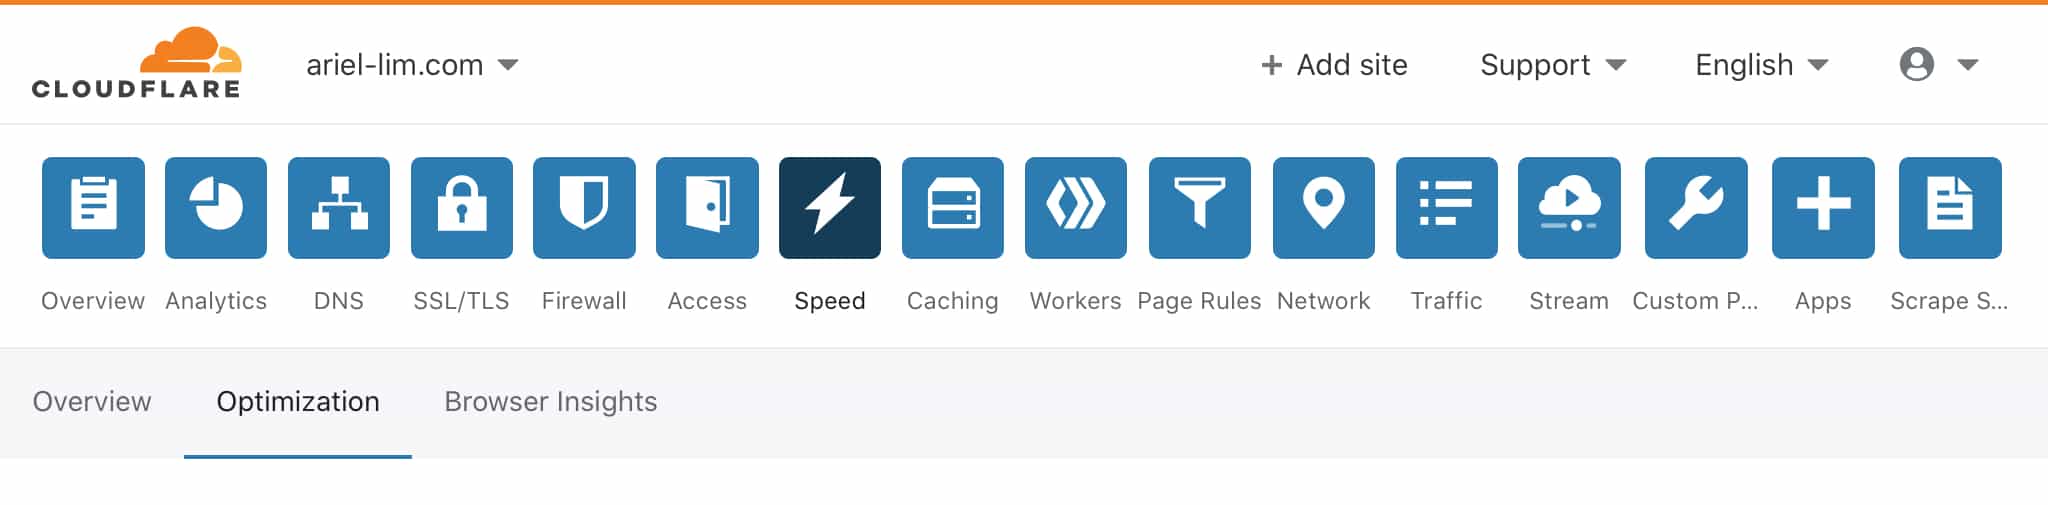
Once you’re there, make sure you check all the boxes in that section.
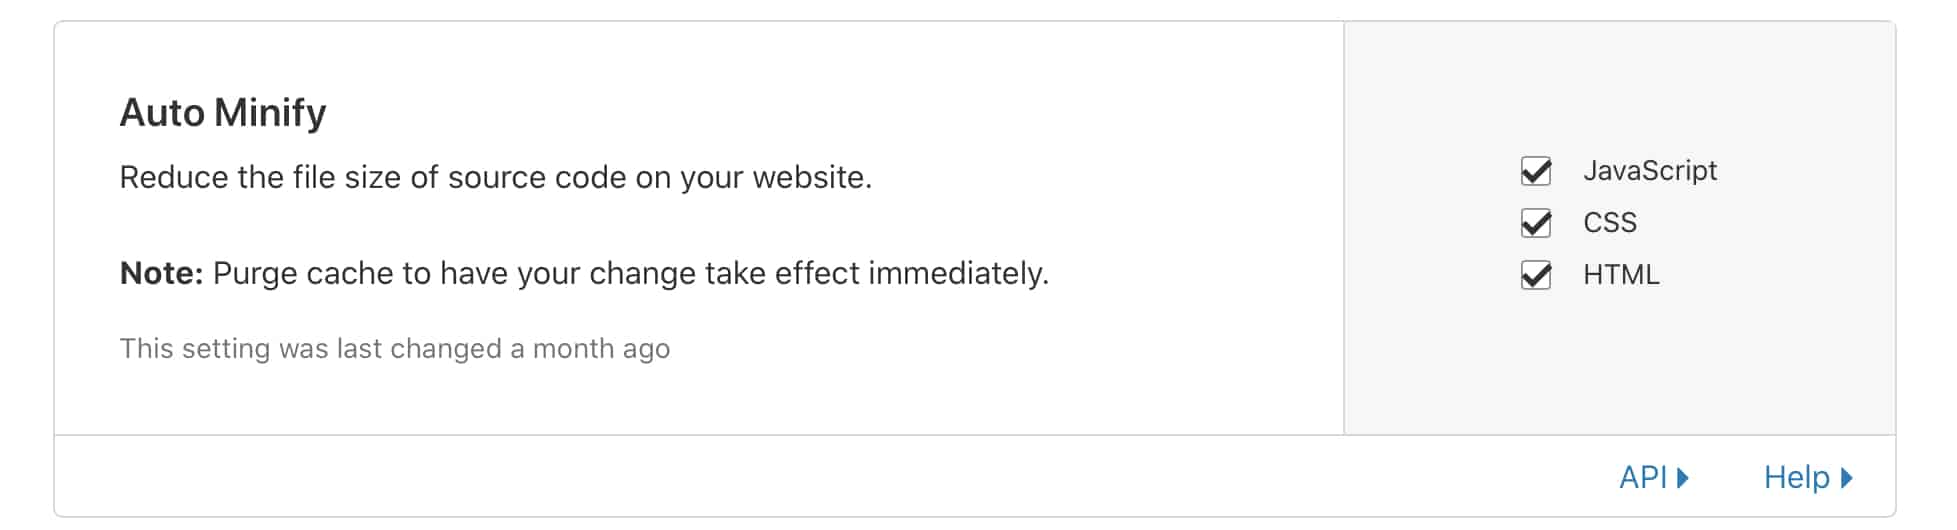
What it does is it automatically reduce the file size of your code—particularly the three ones you checked: JavaScript, CSS, and HTML.
After a couple of days, feel free to check the Analytics tab so you can see how Cloudflare has helped your site in terms of traffic, security, and performance.
