One of the sad truths of life is that we all have a limited amount of energy per day. Humans aren’t designed to be operating at 100% capacity for 24 hours. And because of that, we have learn to prioritize what must be done today and what can wait until tomorrow.
We all face constant distractions every day. The biggest culprit we don’t notice is multitasking.
Studies have shown that multitasking can reduce productivity by as much as 40%. So, instead of trying to multitask, which only 2% of the population are actually capable of doing, stick to one task and finish it first.
But what about the other stuff?
The answer is to automate it.
Click on any of these to jump straight to that topic
3 Automation Apps You Should Use in Your Daily Life
The three apps I’m going to mention are very popular and. You’ll find a lot of articles written about them already describing their history and their capabilities. I’m not going to do that. Instead, I’ll share with you the actual automations I use them for to save me a couple of seconds here and there.
That means I have more time to spend on what needs my attention the most. I don’t lose productive time during switching.
1. Shortcuts (for iOS)
Shortcuts is one of the tools I use every day. Or, put it in another way, it runs by itself without me doing anything. Once I set it up, it does the job for me.
Of course, things would be different for your particular needs. But for me, the most used automations in Shortcuts are the following:
- Reduce screen brightness when low power mode is on (automation)
- Increase screen brightness when low power mode is off (automation)
- At 4 AM, set my phone’s volume to 100% (automation)
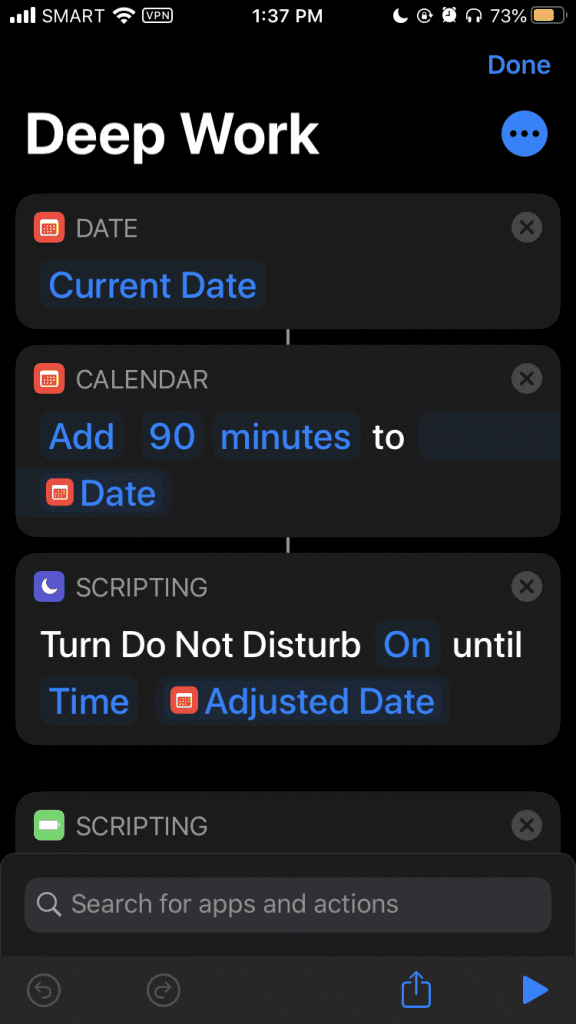
- Deep Work (shortcut)
The first 3 are self-explanatory; while the last one is more personal for me. Let me explain.
First, download the app if you haven’t already. Then, once you open the app, you’ll notice three separate tabs at the bottom:
- My Shortcuts
- Automation
- Gallery
Automations
This is the second/middle tab in the Shortcuts app. Automations make your device react to changes in conditions.
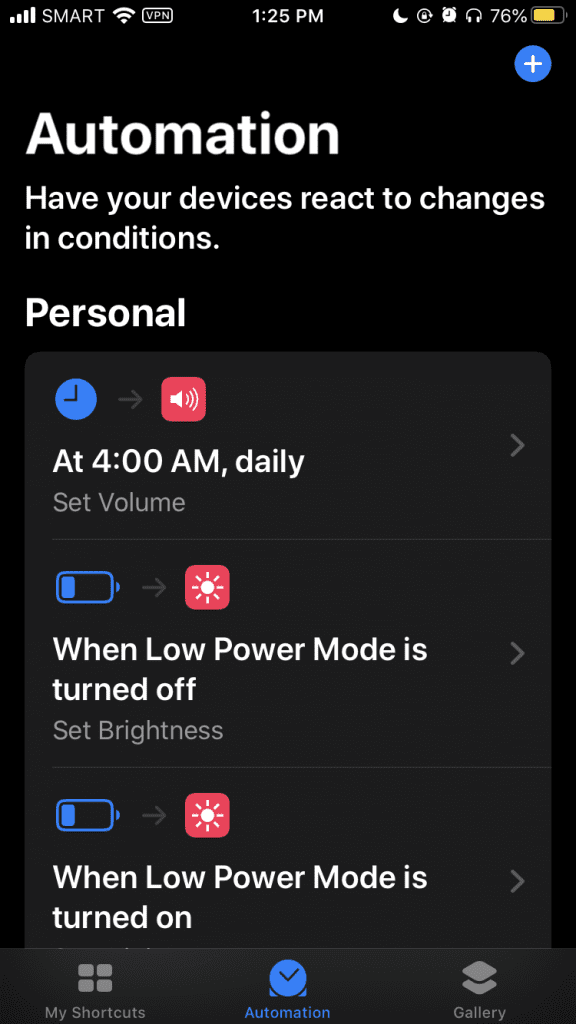
For example, whenever I turn the low power mode on, my goal is to save up on battery. Naturally, to help with that, I’ll also lower my screen brightness. Instead of doing two tasks that take up an additional 2-3 seconds, I just do one and it automatically does it for me.
Have you ever set an alarm only to wake up not hearing the alarm? That has definitely happened to me a lot of time. The culprit? It’s not because I hit snooze and can’t remember it. It’s because the alarm is tied to your phone’s volume. So, if during the night, you were watching Netflix or listening to some music, naturally, your volume would be set to around 20%. But then you fall asleep. Then your alarm goes off at 20% volume. If you are very tired the night before, you will most likely sleep through this. But if the volume was set to 100%, there’s a higher chance you’ll hear the alarm and wake up.
My Shortcuts
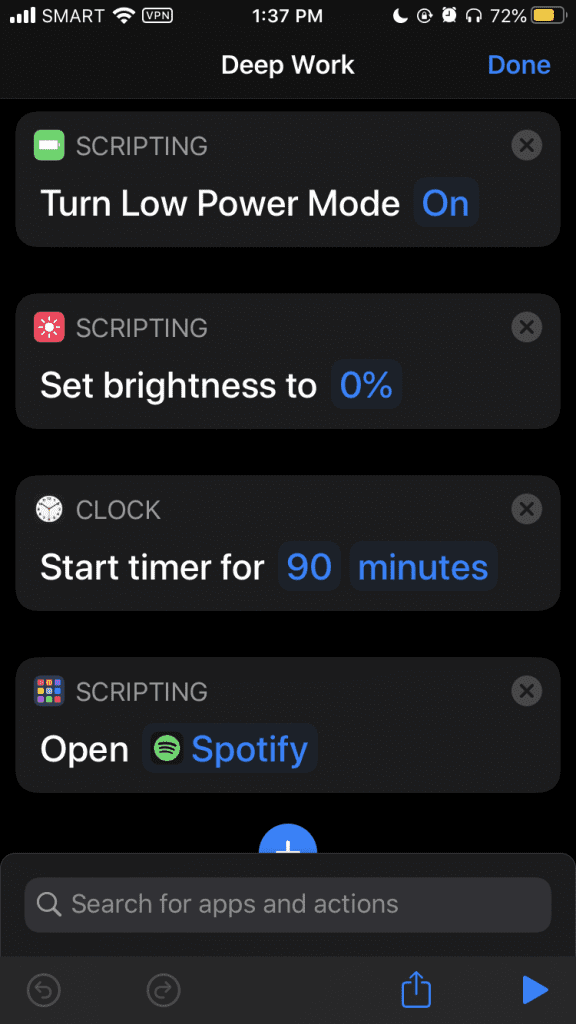
I have multiple shortcuts here, but I’ll only share one of them and what I call Deep Work. At its core, what this shortcut does is whenever I want to do some deep work, I click on it and the magic begins:
- A timer of 90 minutes starts
- Do Not Disturb is turned on for that 90 minutes
- Low Power Mode is turned on
- My phone’s brightness goes dim
- My music player (Spotify) opens
- I then manually select my Deep Focus playlist
- If you’re using Apple Music, you can do the same. That means you don’t have to manually select a playlist and just have it automatically played for you.
There are tons of ways you can use Shortcuts to automate things that you do frequently. For example, you can have it automatically send an SMS to your spouse when you get arrive at work, or automatically play a playlist when you connect to your home Wi-Fi network.
Take a couple of minutes to think about what you do daily that you can pass on the work to your phone.
For more inspiration, feel free to check the Gallery to find out how others are using the Shortcuts app. One of the automations I plan to create once I upgrade my phone is the use of NFC tags.
2. IFTTT
IFTTT is one of the oldest automation tools on this list. It stands for “if this, then that.” And it’s pretty self-explanatory. Most automations are actually configured like that. It contains two parts: a trigger and an action.
The Shortcuts app is limited to the iOS ecosystem, or more specifically, my device (iPhone or iPad).
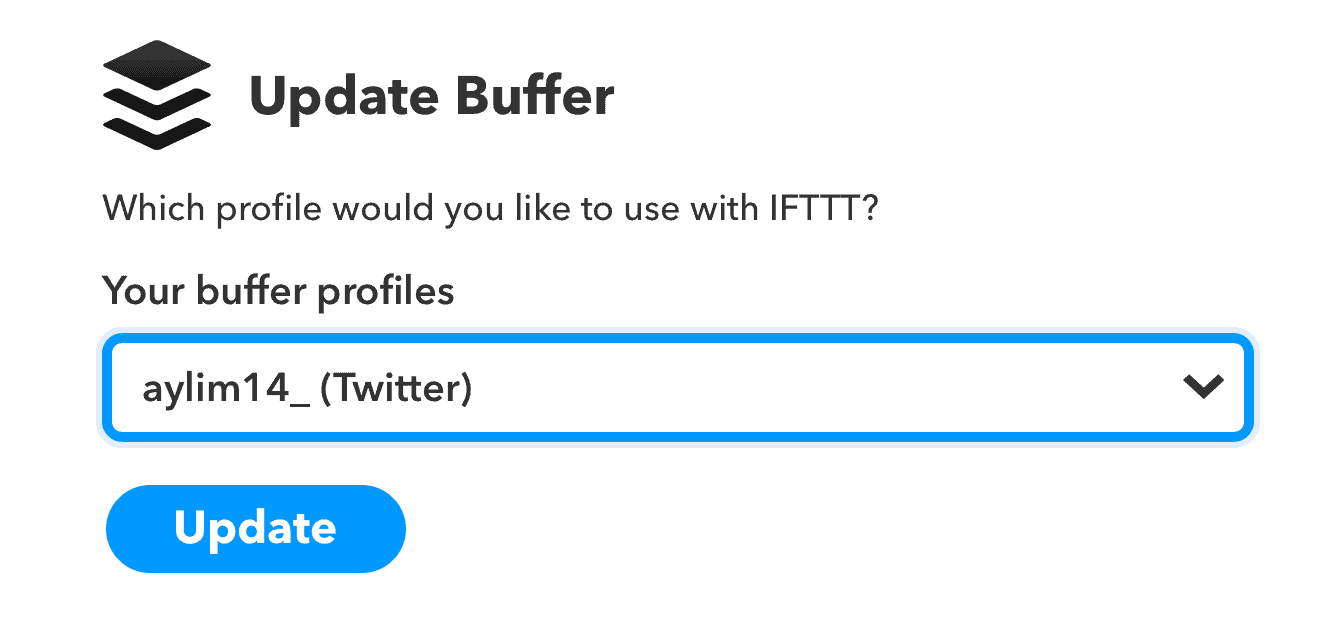
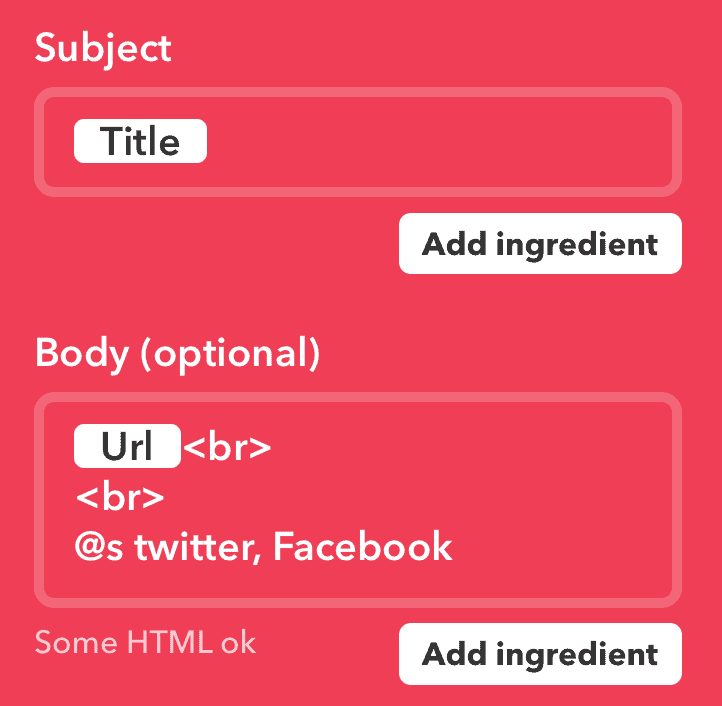
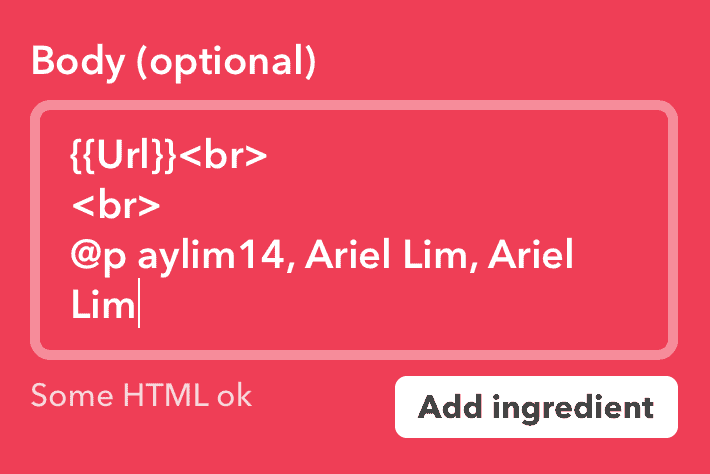
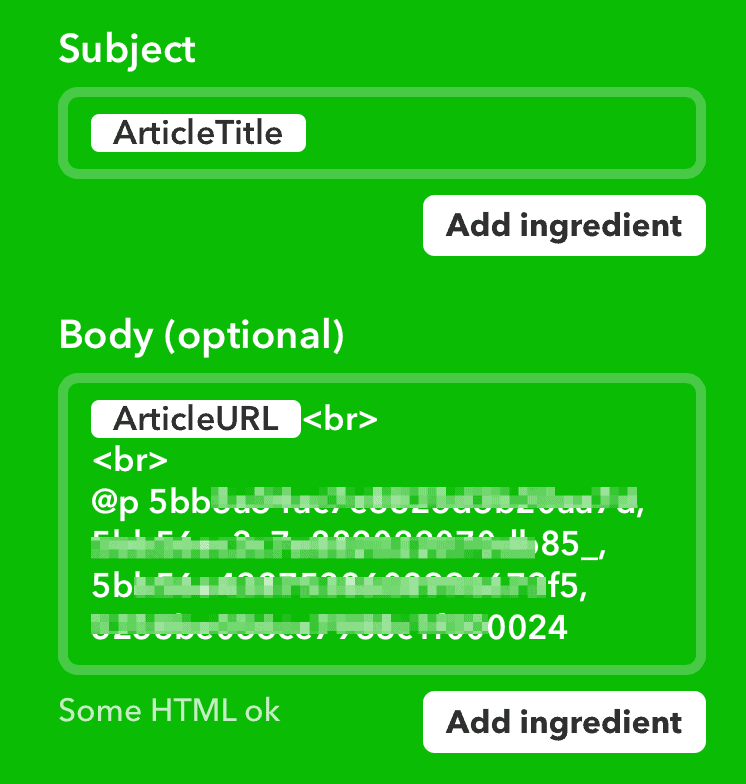
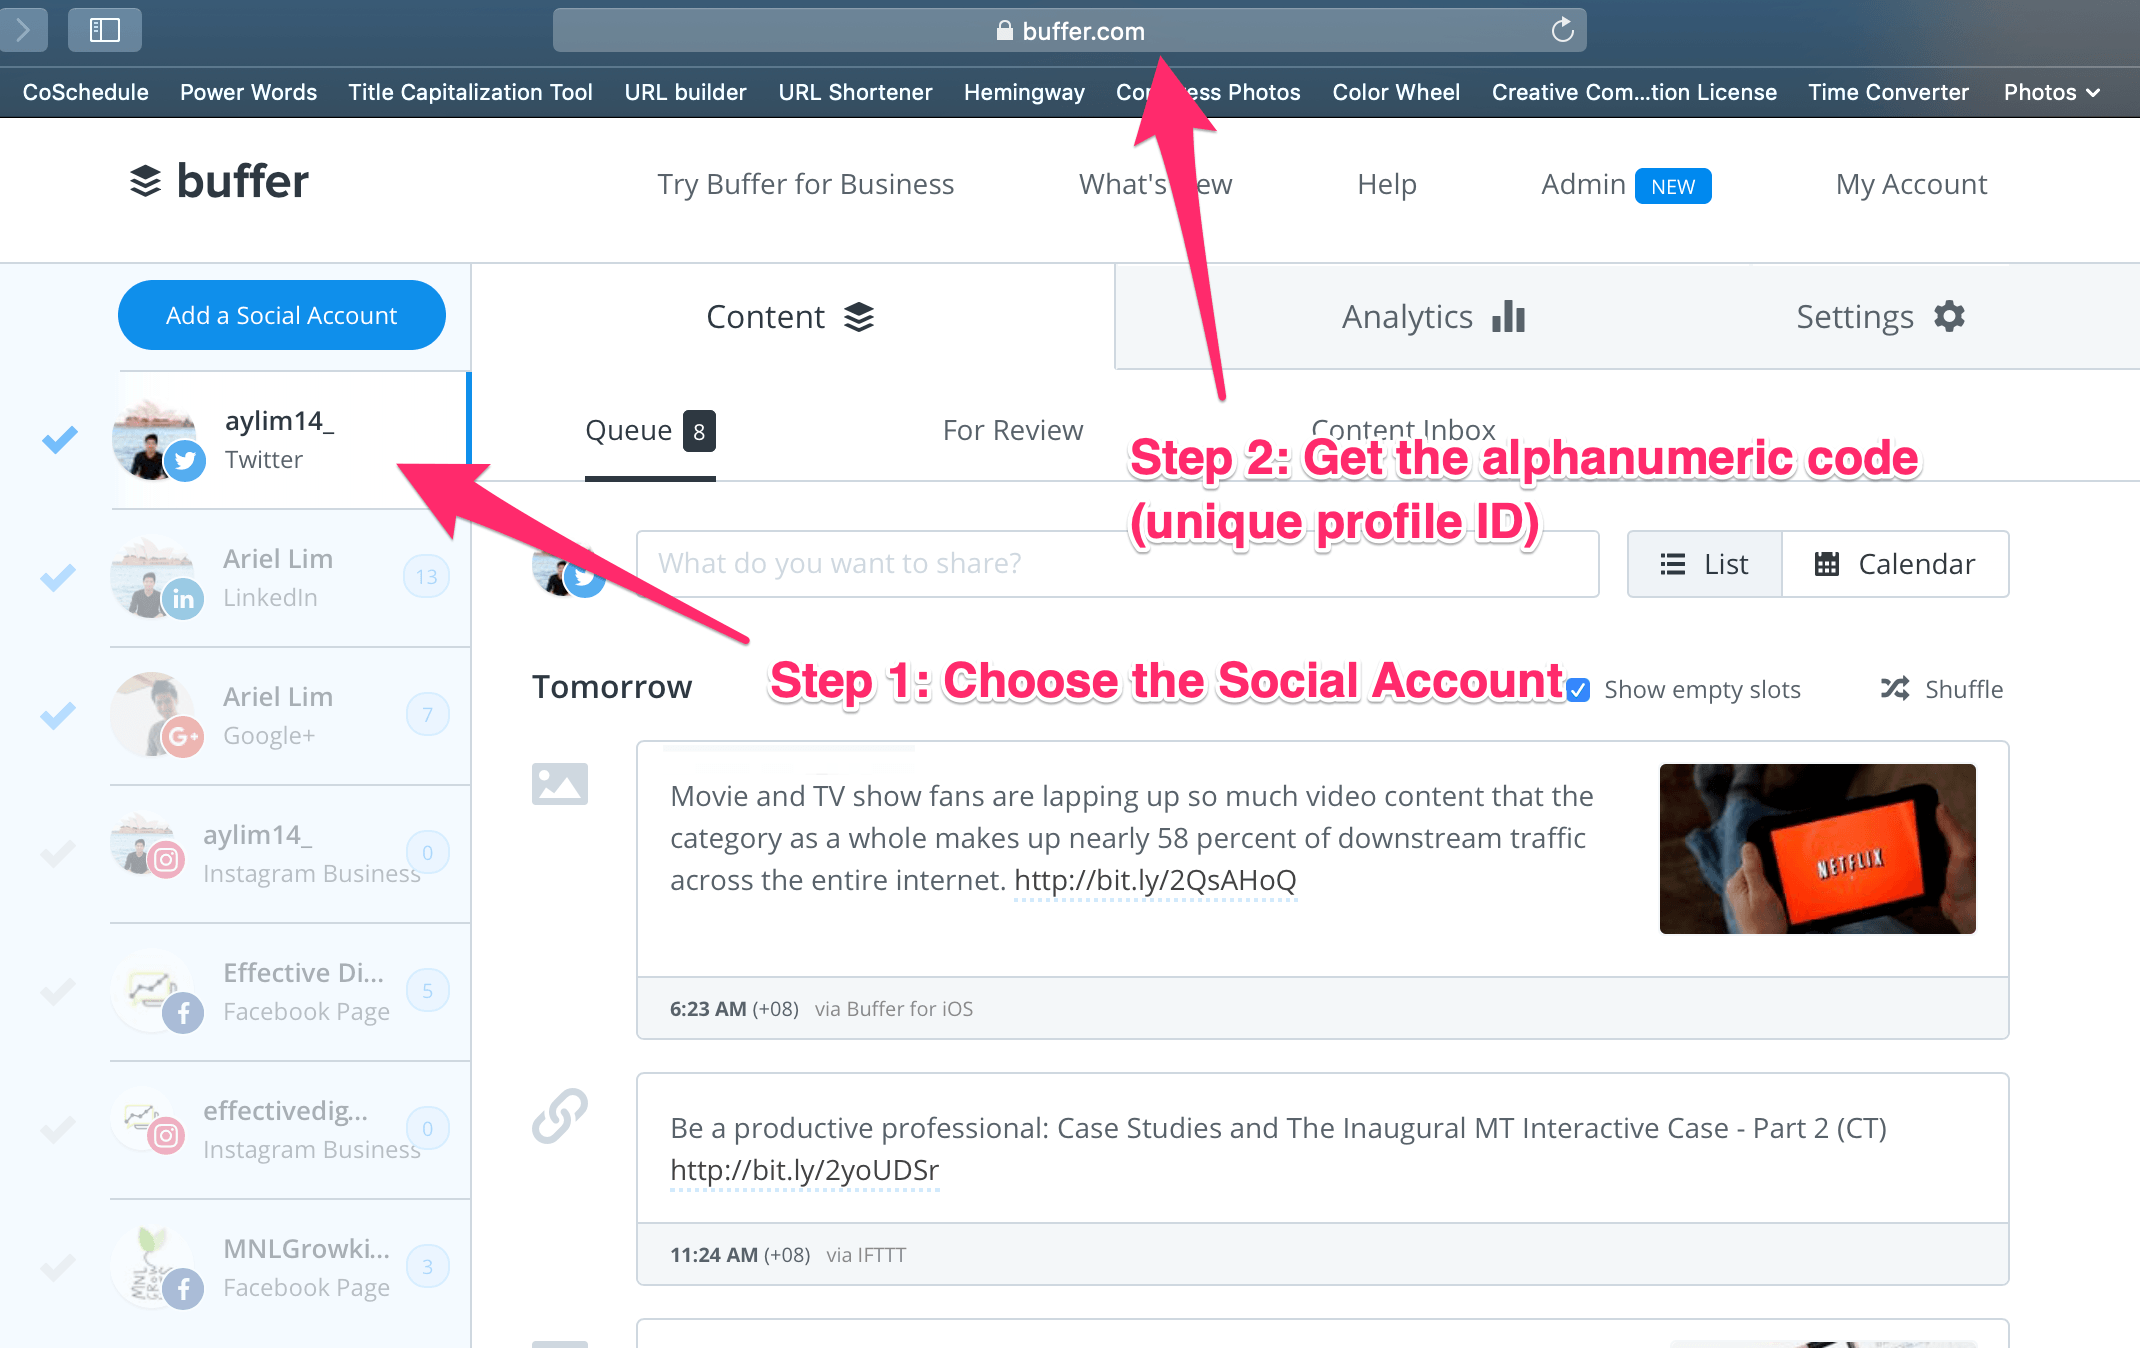
I use IFTTT for various things. But one of the most used automations I have in IFTTT is to automate social sharing of new articles I published on my website.
IFTTT Example Applet Recipe: Automatically tweet new blog posts to Twitter
The interface has changed recently. Honestly, I don’t like it. It looks more complicated to me than before.
But to set this up, you can download the app on your phone or create an account online. Once you get inside, you will see the “applets” you have. These are your automation recipes.
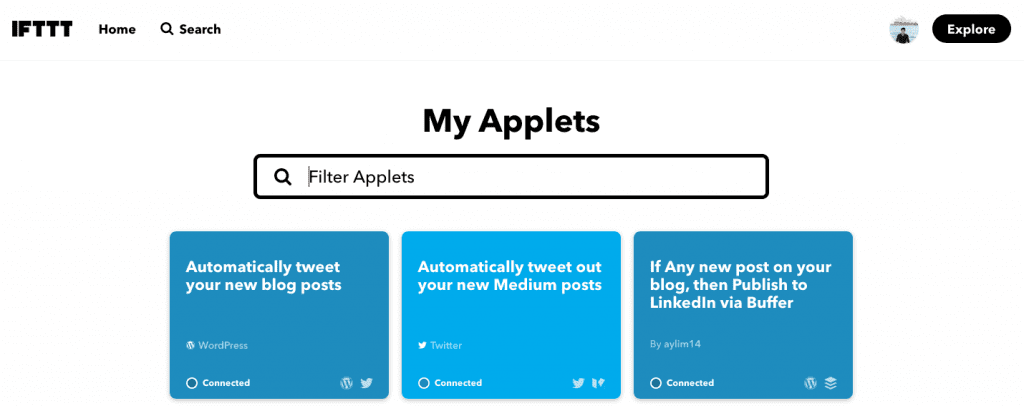
If this is the first time your using IFTTT, head on over to the Explore section. You can find some inspiration there or start creating your own applet from scratch.

Depending on what you want to automate, you can simply “connect” an existing applet so you don’t have to configure anything else. Alternately, if you want to create one, you will go through something like this…
In the video, I already connected my WordPress website and my Twitter account. But if you haven’t done so, you will be asked to do it on that screen itself. Just like with the Shortcuts app, you can do a lot of automations here.
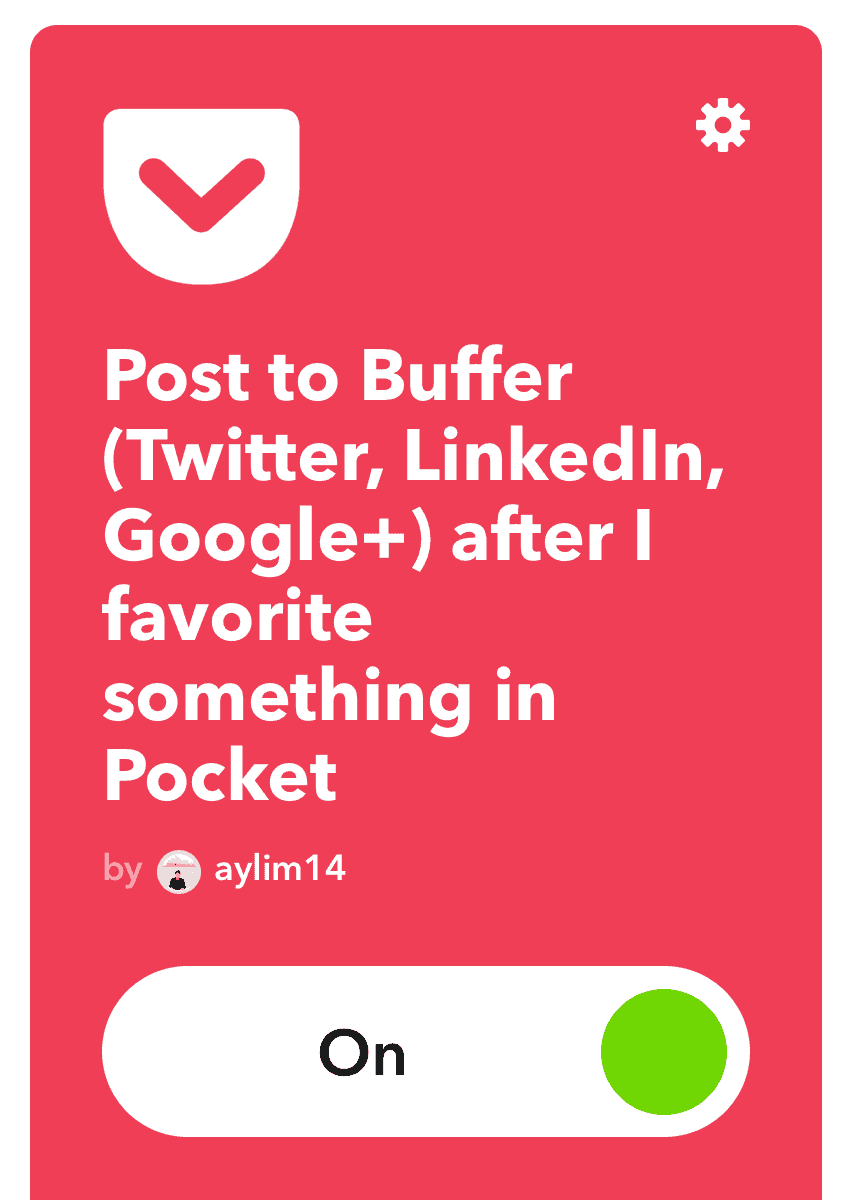
For example, I setup various Applets that do something like this: if website ABC publishes a new article, add it to my Pocket account. That way, my Pocket always has something new I can read.
3. Zapier
Zapier is one of the most popular and powerful automation tool out there. It allows for multiple conditions and logic branches, unlike Shortcuts and IFTTT. It also boasts of having the ability to integrate more than 1,500 apps. But, it comes with a price. You can create a free account but would be limited by its use to 5 running zaps (this is what you call the automation itself).
Just like with IFTTT, you can do the same thing with Zapier. For example, if you publish a new blog post, have it automatically posted on Twitter, LinkedIn, or any other social media tool. But since the free version can only run 5 zaps and I can do the same tasks inside IFTTT, I limit what I do inside Zapier to more complex tasks.
Zap Example: Automatically post hi-resolution video to YouTube
I started a project back in 2018 where I post quick 1-minute videos on marketing. I also documented the entire process of creating videos in 30 minutes or less.
One part of this process is to distribute the finished video on YouTube. Since I use Google Drive to store all my files, I created a Zap to upload new video to my YouTube channel with some pre-defined data. The video on YouTube is set to draft first. I then go in and edit the description, then schedule or publish it.
The main benefit of this setup is I eliminate the need to pre-fill the required data by YouTube and I don’t have to wait for it to upload as well. Once I move my final video to a specific folder in my Google Drive account, it does its magic.
Here’s how that looks like inside Zapier. First, make a new Zap. You’ll see a screen like this…
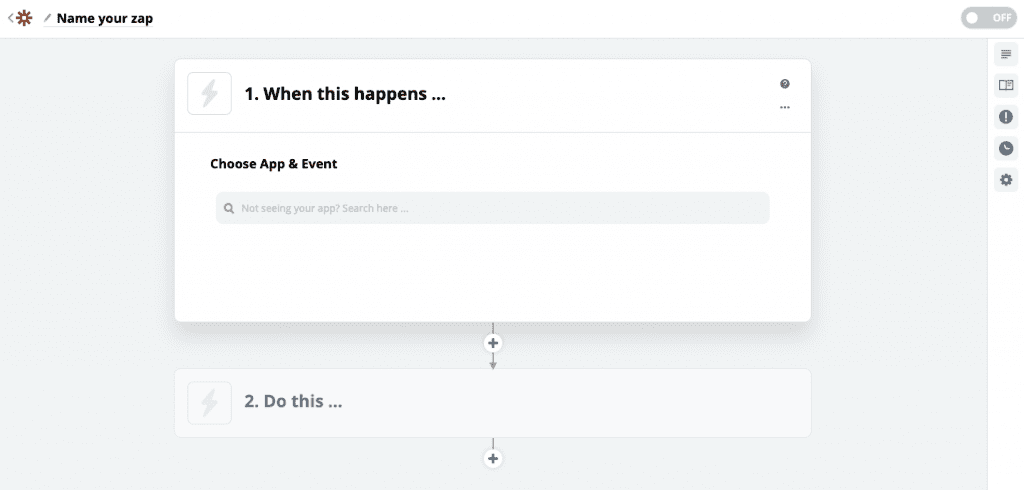
Next, populate it with the apps/services you want to do. The formula is similar to IFTTT: “when this happens…do this…” You will also get asked to connect the app if you haven’t done so in the past.
The final output of the Zap will look like this:
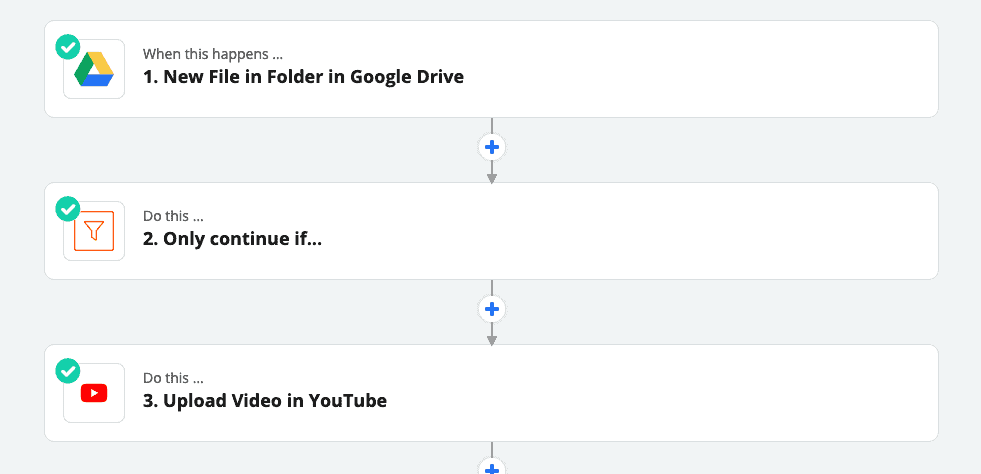
Let me break it down step-by-step…
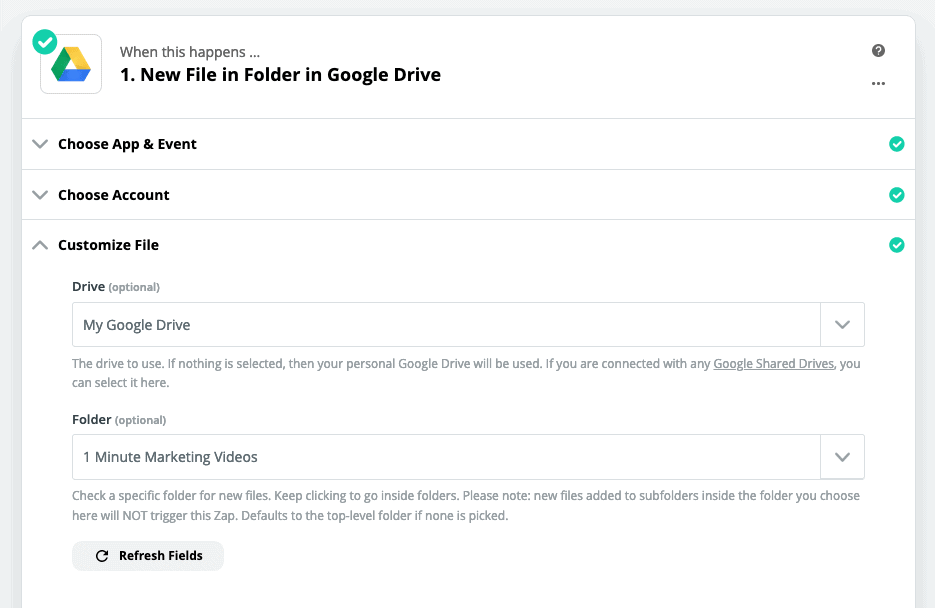
1. When there is a new file in Google Drive inside a particular folder
I created a specific folder inside my Google Drive account so that it only triggers when there is a new file in that folder.
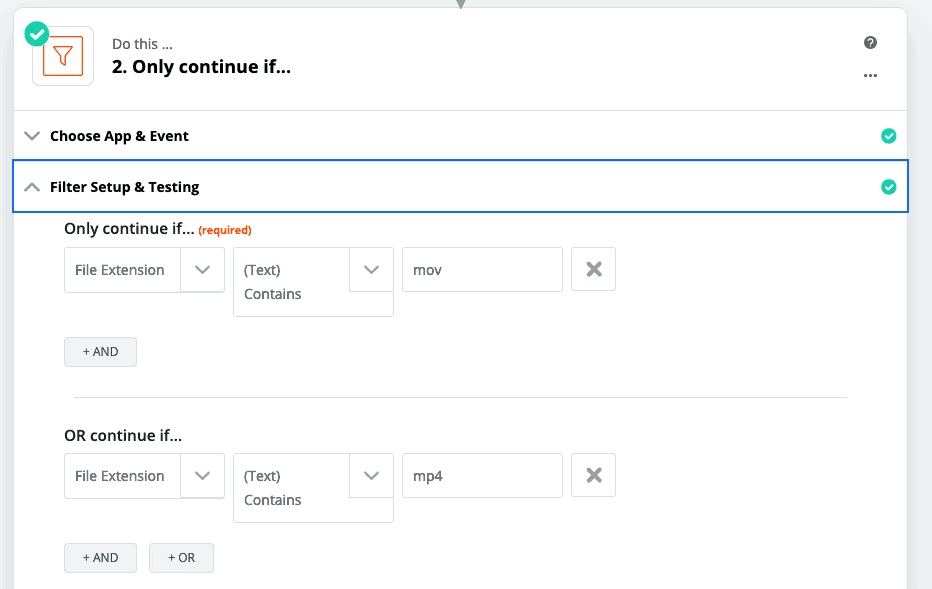
2. Add a filter so it only looks for videos
If you don’t add this, the zap will trigger every time a new file is added. For my purpose, I also add the cover photos (jpg) inside the same folder.

I don’t want to receive errors for my zap for them because I have to manually check them one-by-one to see if they are valid or not. That’s why I added this filter to only continue if the file extension is an mp4 or mov file.
3. Populate default fields in YouTube
The final step is to add the default/required fields in YouTube. In my case, I have a specific naming convention. So that works great on the title field. I also have a default text/copy that I use in the YouTube description.
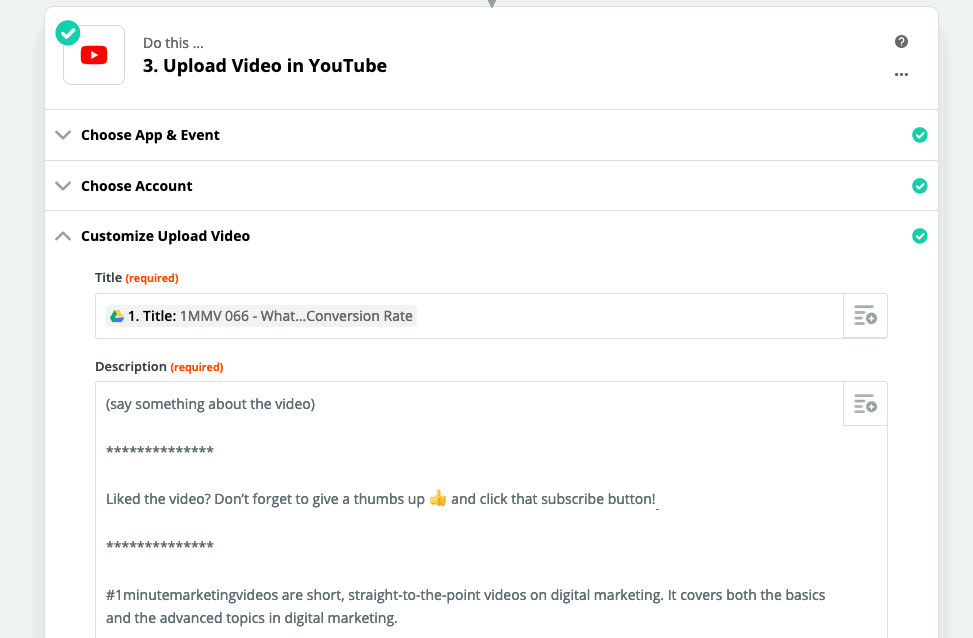
Just go over the required fields and you’re on your way.
The last step in the automation process is to test out if the zap is working. Add a new video (with file extension of .mov or .mp4) then it will automatically get posted on YouTube as a draft.
I have to tell you, this saved me a ton of time back when I was working on this project. In a country with terrible internet connection, this zap was a life-saver. I don’t know if I continued with it if it took me 45 minutes to upload the video to YouTube.
Over to You
Technology is only useful if it helps you become more productive and do more things in less time. If it drags out your day, then that’s definitely something worth cutting out from your life.
I hope you find these examples useful. I’ll be sharing more examples of automations in the future. Do you have any repetitive or administrative task that you have automated, or would like to automate? Let me know in the comments below.


